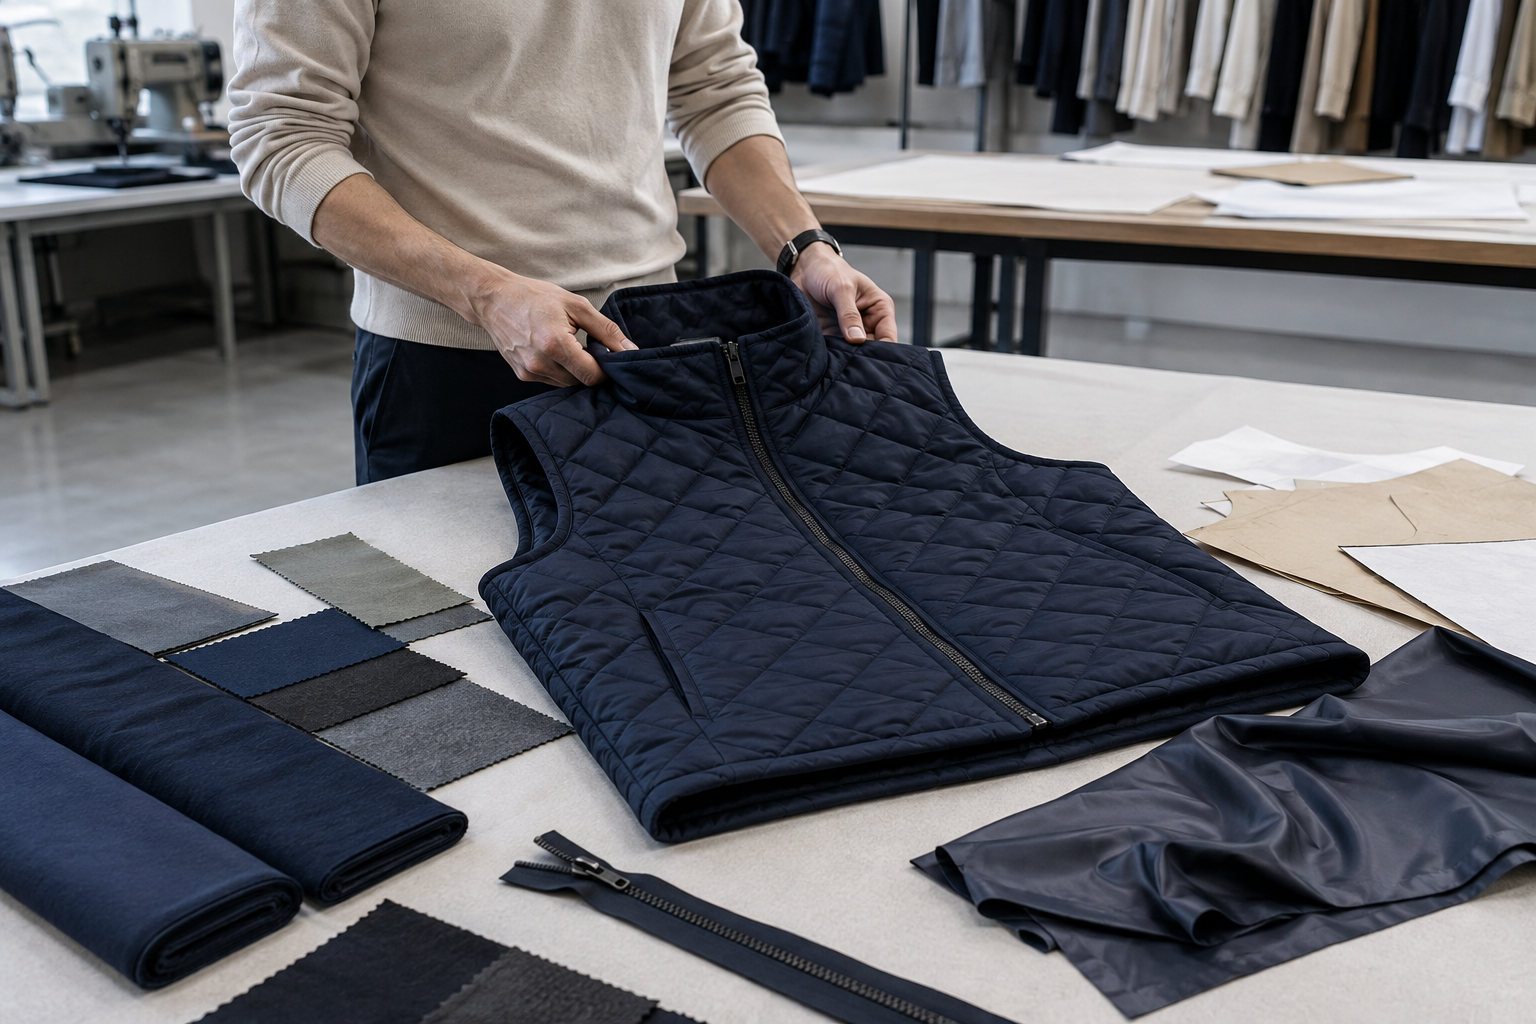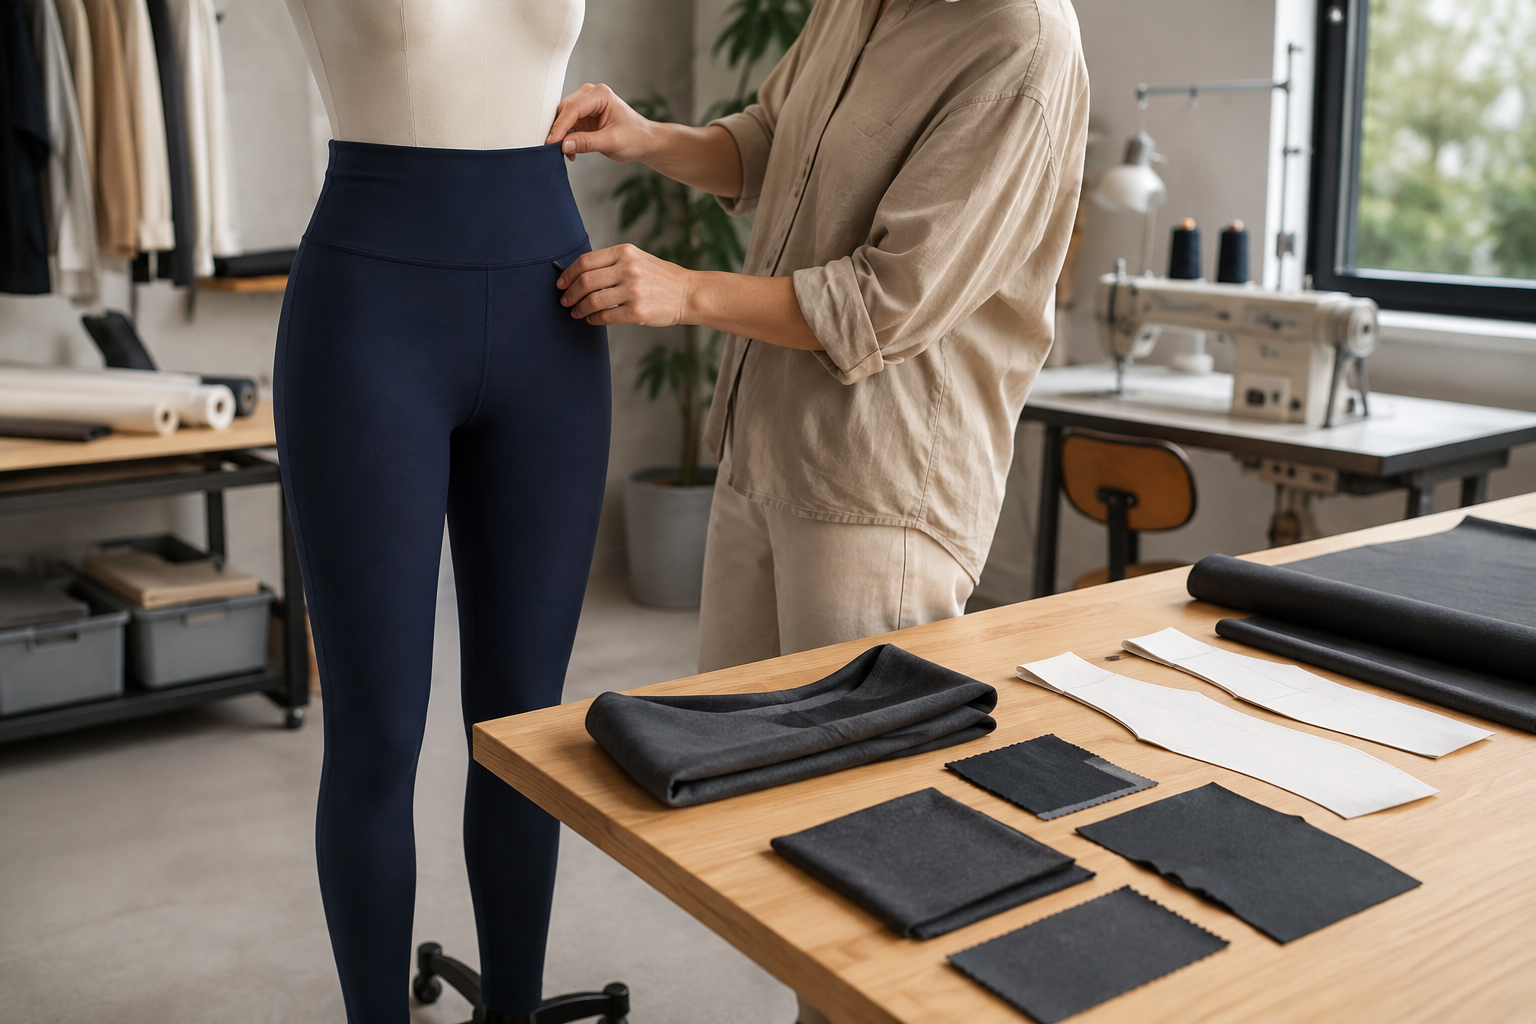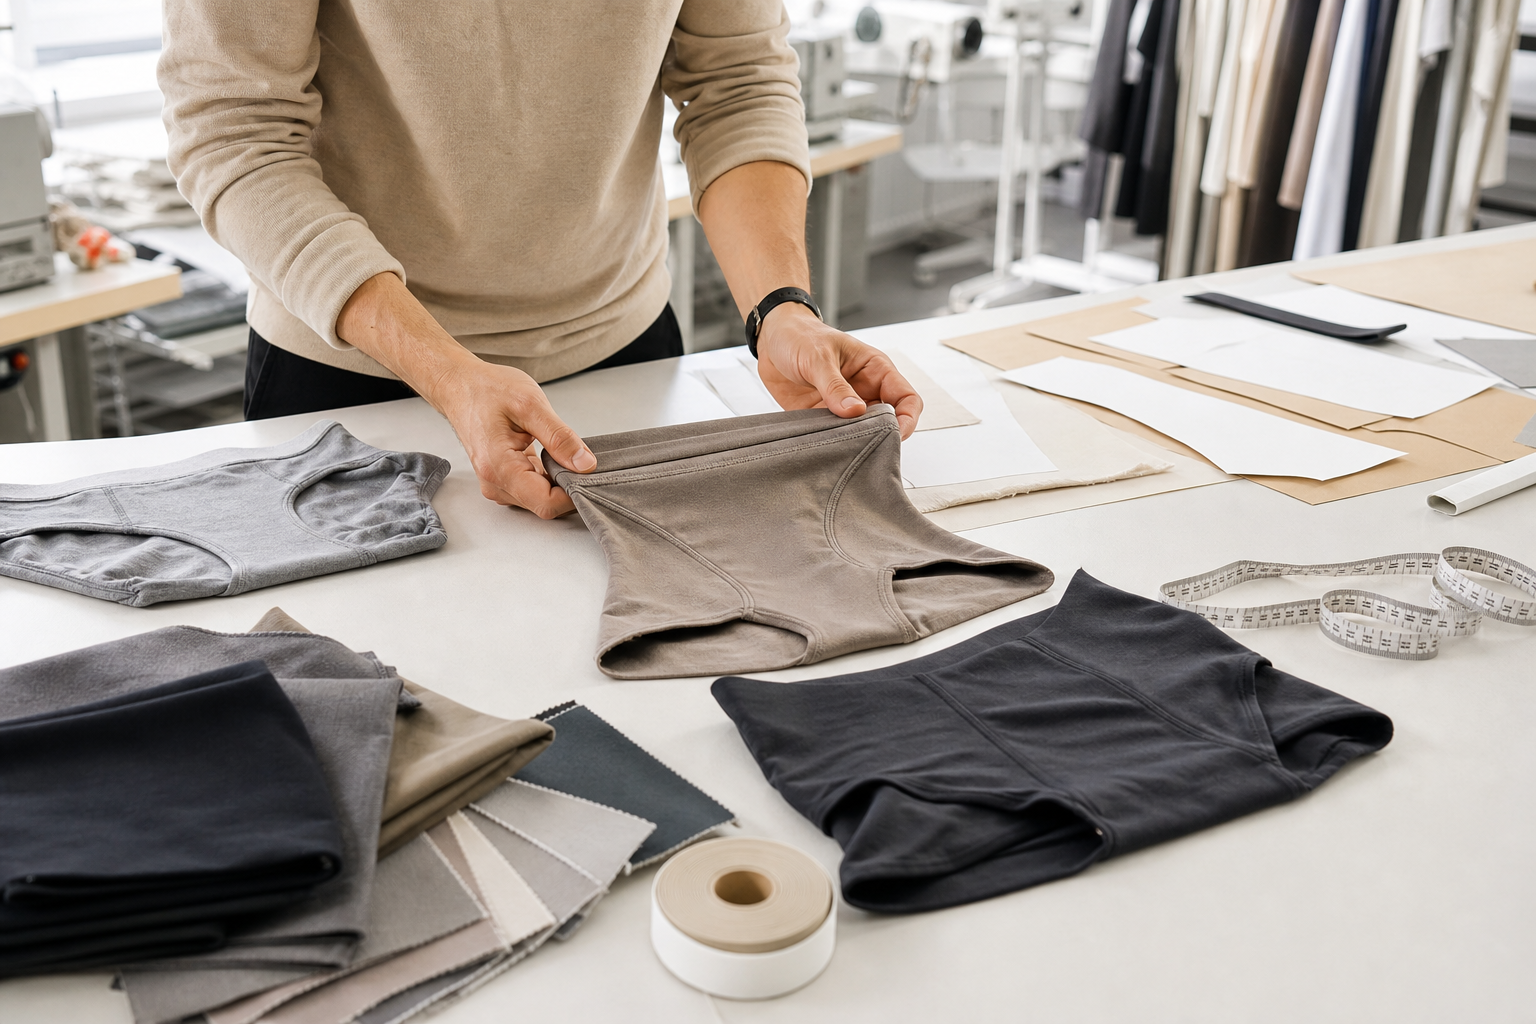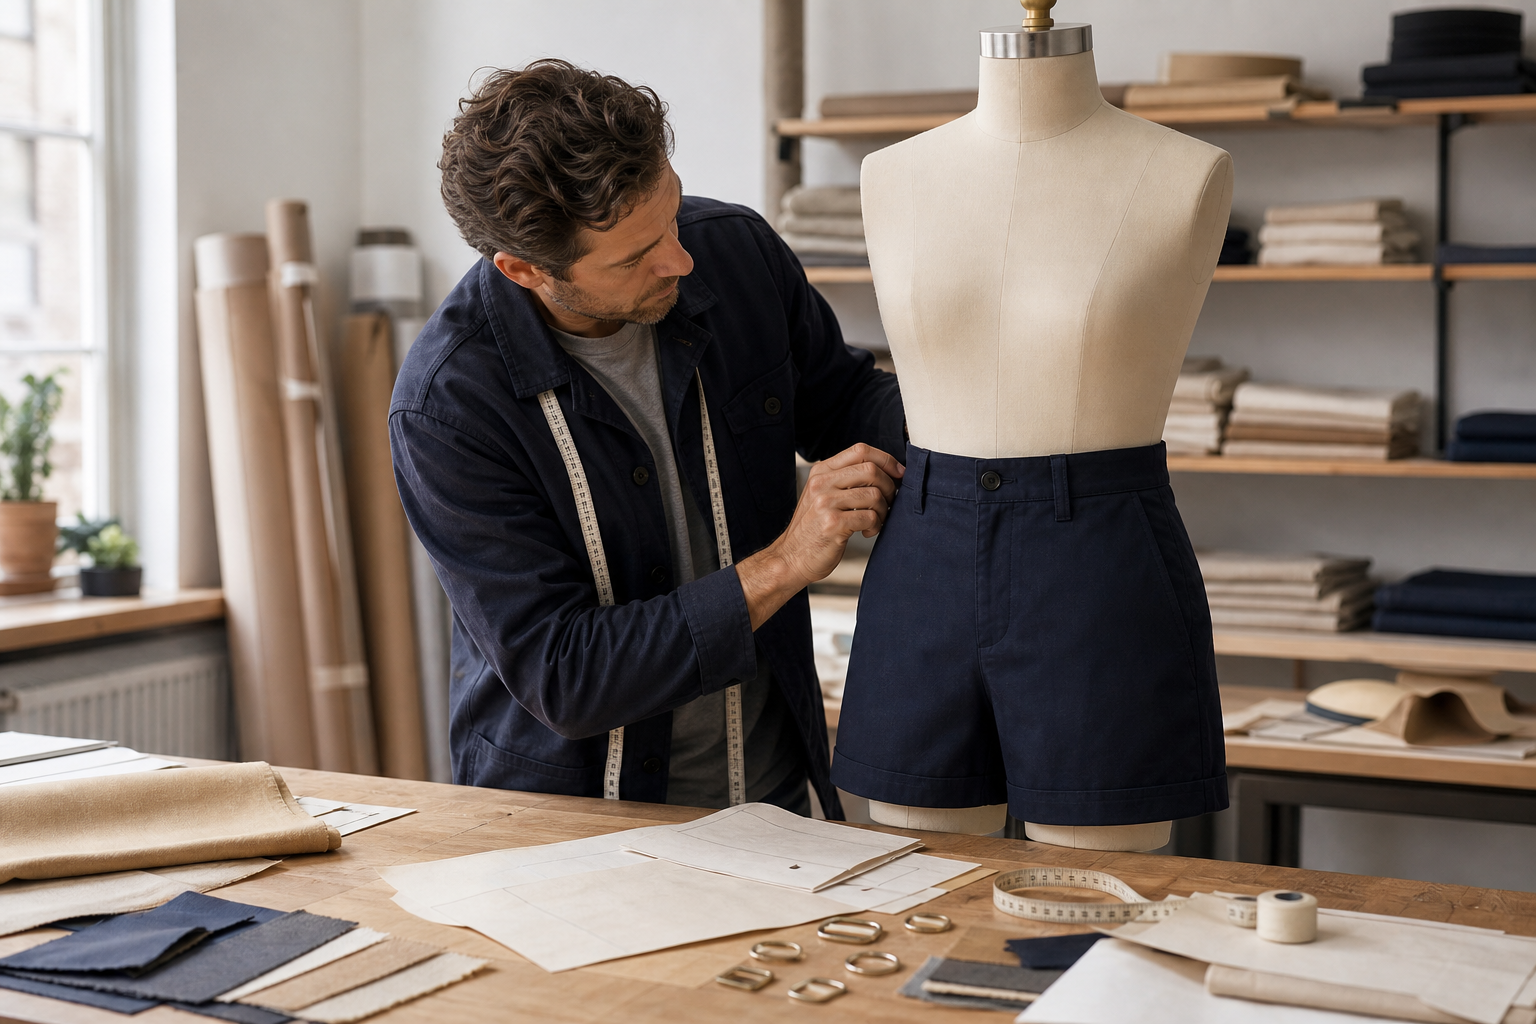
Garment Construction Details Guide for Custom Apparel Brands
Garment construction details are the practical sewing and finishing choices that turn a design idea into a repeatable product. For a clothing brand, they influence how a garment fits, wears, feels, washes, and looks when customers handle it in real life.
Many startup and growing apparel brands spend time on fabric, color, artwork, and sizing, but leave construction notes too general. A phrase such as “premium stitching” or “same as sample” may sound clear during development, yet it can create confusion when the factory team needs to cut, sew, press, finish, and inspect bulk production.
This guide explains how B2B apparel buyers can specify garment construction details more clearly when working with a custom clothing manufacturer, especially for private label, small batch, and sourcing projects in China.
What Are Garment Construction Details?
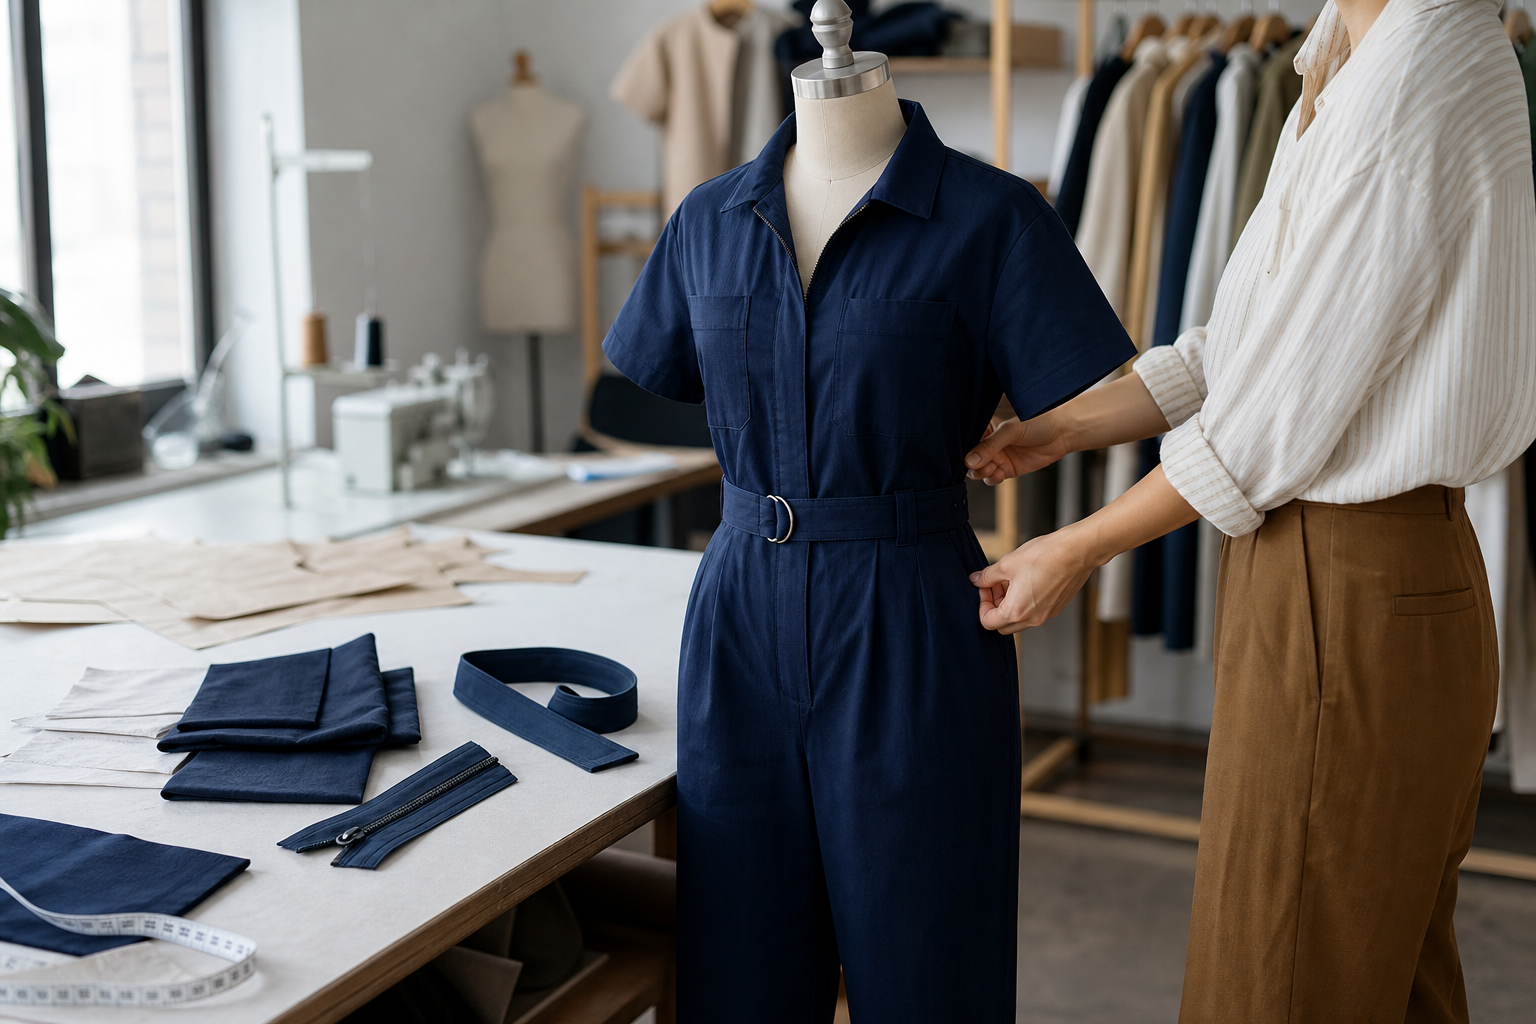
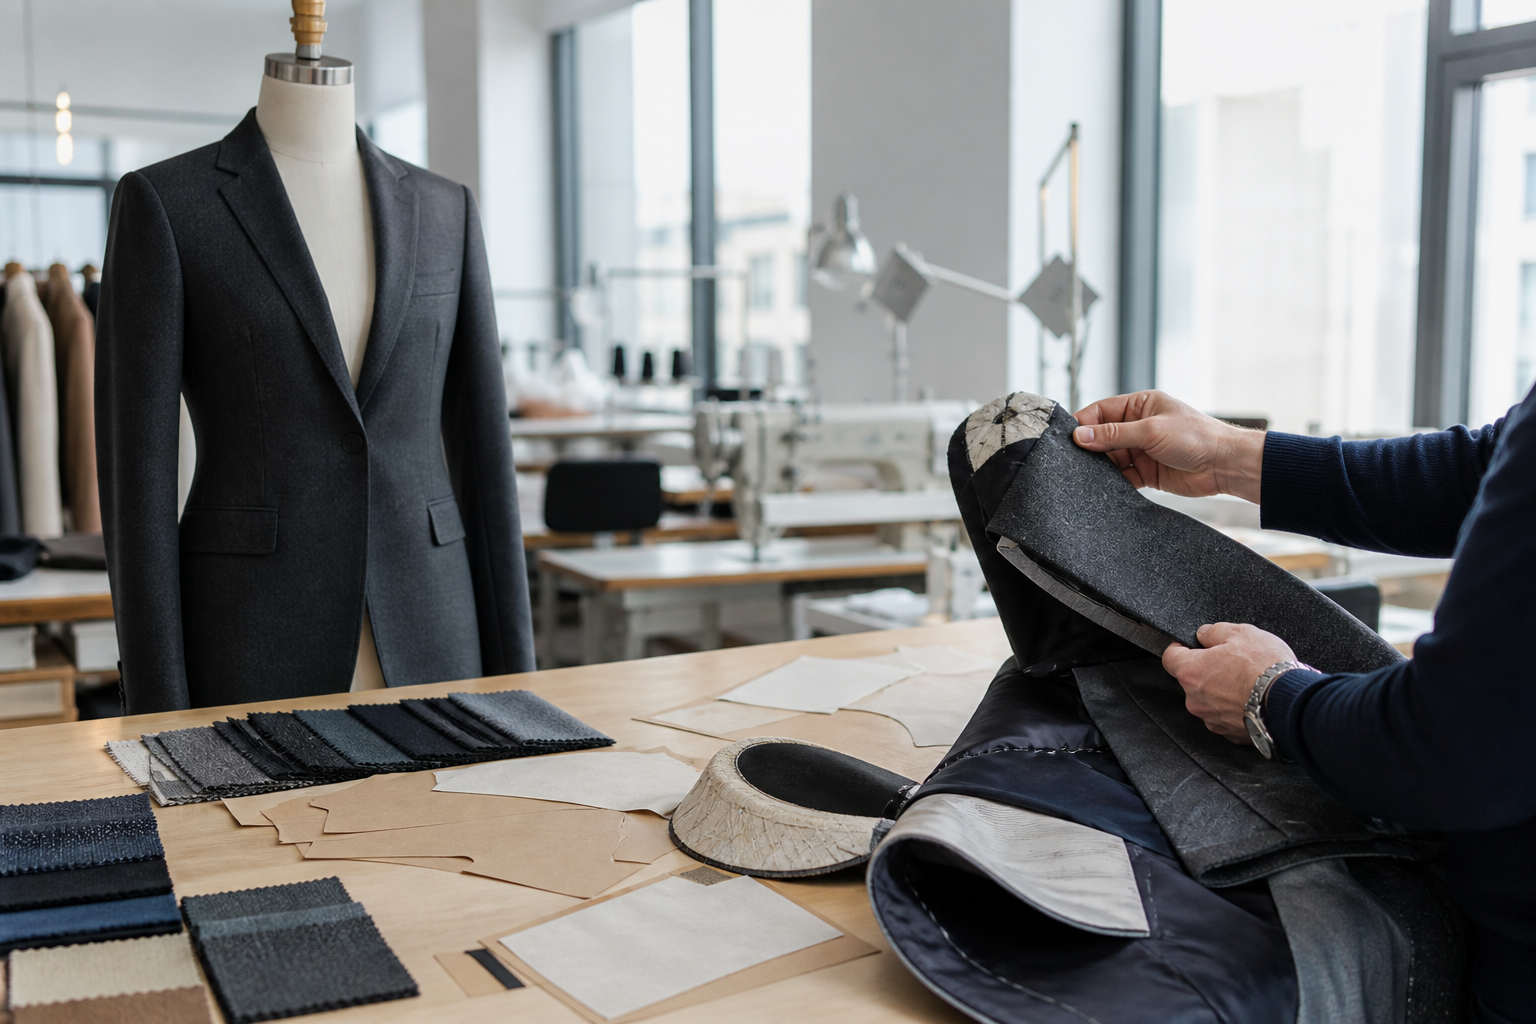
Garment construction details describe how the garment is physically built. They include seam types, stitch types, hem finishes, pocket construction, waistband structure, drawcord placement, closures, lining, reinforcement, binding, thread choice, and finishing methods.
These details should be documented in your product files before bulk production begins. The construction information does not need to replace a full apparel tech pack for custom clothing production. Instead, it should become a clear part of that tech pack, supported by photos, diagrams, measurements, sample comments, and approved physical references.
Why Construction Details Matter in Custom Clothing Production
Construction choices affect both appearance and performance. Two garments can use similar fabric and the same pattern but feel very different if the seams, hems, linings, or reinforcements are handled differently. A T-shirt neckline may stretch if the rib and topstitching are not suitable. A hoodie pocket may sag if the attachment method is weak. A woven pant may look clean on a table but twist after washing if seam handling and fabric behavior are not considered together.
Clear construction notes also reduce avoidable interpretation. Manufacturers can often suggest practical solutions, but they still need to understand the buyer’s intended look, quality level, and functional priorities. Good documentation helps the factory quote, sample, revise, and inspect the garment against the same expectations.
Start with the Garment Type and End Use
Before specifying stitches and seams, define the garment category and how the customer will use it. A casual jersey T-shirt, structured woven jacket, fleece hoodie, activewear legging, baby romper, and streetwear cargo pant all have different construction needs.
For example, stretch garments may need seam types that can move with the body. Lightweight woven tops may need clean internal finishing so the garment does not feel bulky. Outerwear may require stronger stress points, lining considerations, or special closures. Children’s clothing may need extra attention to comfort, softness, and secure trims.
The goal is not to make every garment complex. The goal is to match construction decisions to the fabric, fit, price position, customer use, and brand quality standard.
Key Construction Details to Specify
Seam types
Seams are where garment pieces join together. Your files should identify important seam types for the shoulder, side seam, armhole, inseam, rise, pocket, hood, collar, waistband, or panel joins. If a seam must be overlocked, flatlocked, bound, French seamed, topstitched, or clean finished, state that clearly.
When you are unsure which seam is best, provide reference garments or close-up photos and ask the manufacturer to recommend a practical construction method. The recommendation should then be captured in the sample comments and tech pack so it is not lost in email threads.
Stitch types and visible stitching
Visible stitching can be both functional and decorative. Brands should specify where topstitching appears, whether it is single needle or double needle, how far it sits from the edge, what thread color should be used, and whether contrast stitching is part of the design.
For knit garments, stitch stretch and recovery matter. For woven garments, stitch density and appearance may matter more. If a visible stitch line is part of the design identity, include close-up references and review it carefully during clothing sample development.
Hems, cuffs, collars, and necklines
Hems and openings are often noticed by customers because they sit at the edges of the garment. Specify whether hems are coverstitched, blind stitched, turned and topstitched, bound, raw edge, ribbed, elasticated, or finished with another method.
For necklines, cuffs, and collars, include the rib quality, width, seam placement, topstitching, and finished shape. A small difference in rib tension, collar shape, or cuff height can change the final look of a product, especially for basics and private label programs.
Pockets and functional openings
Pockets should be treated as construction details, not only design features. Include pocket type, pocket bag fabric, opening width, placement, reinforcement, stitching, bartacks, snaps, zippers, flaps, and lining if applicable.
If the pocket must hold a phone, keep a clean shape, or avoid bulk, explain that functional requirement. For cargo pockets, welt pockets, kangaroo pockets, and zipper pockets, sample review should include both appearance and usability.
Closures, trims, and reinforcement
Buttons, snaps, zippers, drawcords, eyelets, elastic, toggles, hook-and-loop tape, and other trims all need construction instructions. Specify placement, attachment method, color, size, finish, and whether reinforcement is needed around stress points.
Stress areas such as pocket corners, crotch seams, strap joins, zipper ends, and drawcord exits often need extra attention. Reinforcement can be simple, but it should be intentional and approved in the sample stage before bulk production.
Use Reference Photos, Not Vague Adjectives
Words like clean, premium, heavy, soft, durable, neat, or high quality are useful as brand direction, but they are not enough as production instructions. A manufacturer needs observable details: seam type, stitch position, thread color, component width, placement, and finishing method.
Use close-up photos from approved samples, reference garments, or development rounds. Mark the exact area being discussed. If you are changing a construction detail after a sample review, write the update clearly instead of relying on a general note such as “improve stitching.”
Connect Construction Details with Fabric Selection
Construction and fabric cannot be separated. A seam that works well on medium-weight cotton fleece may not work the same way on light rib, satin, linen, or stretch performance fabric. Fabric thickness, stretch, recovery, drape, shrinkage, and surface texture can all affect sewing and finishing.
When selecting materials, consider how the fabric will behave during cutting, sewing, pressing, washing, and wearing. If fabric choice is still open, review the construction plan together with your fabric selection for private label clothing so the sample room is not forced to solve preventable problems later.
Review Construction During Sampling
The first sample is not only for checking silhouette. It is also the right time to review whether the construction method supports the design. Look at seam neatness, symmetry, bulk, puckering, stretch, hand feel, trim attachment, lining behavior, and how the garment looks after trying it on.
When sending sample comments, separate construction feedback from fit feedback. A note such as “side seam twists after wear test” is different from “waist is too loose.” Clear categories help the manufacturer identify whether the issue is pattern, fabric, sewing, measurement, or finishing related.
Create a Simple Construction Checklist
For each style, prepare a checklist that can be used by your team and the manufacturer. It does not need to be complicated, but it should cover the areas most likely to affect the final product.
- Approved sample version and date
- Main seam types and visible stitch details
- Hem, cuff, collar, waistband, and neckline finishes
- Pocket construction and reinforcement points
- Closure and trim attachment requirements
- Thread color, contrast stitching, and decorative details
- Known risk areas to check during inspection
This checklist can support your internal review and the manufacturer’s quality control process. For a broader inspection framework, see this garment quality control checklist for clothing brands.
Common Mistakes to Avoid
One common mistake is approving the overall look of a sample without approving the construction details that created that look. If the sample room used a special finish, thread, or reinforcement method, make sure it is recorded before production planning.
Another mistake is changing fabric after construction has already been approved. A fabric substitution may require new seam, stitch, pressing, or finishing decisions. Even when the design looks the same, the sewing behavior may change.
A third mistake is giving too many unprioritized comments. If every minor preference appears equally urgent, the factory may not know which changes are essential. Mark critical construction issues separately from optional improvements.
How to Work with a Manufacturer on Construction Decisions
Brands do not need to know every sewing term before speaking with a manufacturer. What matters is sharing clear expectations and being willing to approve practical solutions. Send photos, explain the intended use, identify quality concerns, and ask for construction recommendations when needed.
Once a decision is made, document it in the tech pack, sample comments, and production files. If you are preparing a new private label or custom apparel project, you can contact Huilin Fashion to discuss the information your manufacturer will need before sampling and production.
FAQ
Do I need to specify every stitch in a garment?
No. Focus on the details that affect appearance, fit, durability, comfort, function, or brand consistency. Basic internal construction can often follow the manufacturer’s standard unless a specific method is required.
Can the manufacturer choose construction methods for me?
A manufacturer can often recommend practical methods based on the fabric, garment type, and target result. However, the final approved construction should still be documented so the sample and bulk production follow the same reference.
What is the best way to explain construction details if I do not know technical terms?
Use close-up photos, reference garments, marked sample images, and plain English notes. Ask the manufacturer to confirm the correct technical name and then add that wording to your tech pack or sample comments.
Should construction details be checked during quality control?
Yes. Inspectors should compare production garments with the approved sample and written construction notes. Visible stitching, seam quality, pocket placement, trims, reinforcement, and finishing should all match the approved standard.
Final Thoughts
Garment construction details help a clothing brand move from a design concept to a product that can be sampled, approved, manufactured, and inspected with fewer misunderstandings. By documenting seams, stitches, hems, trims, pockets, closures, and reinforcements clearly, buyers give the manufacturer a stronger foundation for custom apparel production.
Start simple: collect reference photos, mark important details, review construction during sampling, and keep approved decisions inside your production files. Clear construction communication is one of the most practical ways to protect product quality before bulk production begins.