Seam Types in Garment Manufacturing: A Practical Guide for Apparel Brands
Seams are easy to overlook when a garment is viewed from a distance, but they shape how it wears, moves, lasts, and presents at close range. For apparel brands, choosing seam types is not simply a factory detail. It is a design and product-development decision that should be visible in the technical brief, checked during sampling, and confirmed before bulk production.
This guide explains the common seam types in garment manufacturing, the questions that help a brand choose between them, and a practical way to document approvals. The goal is not to prescribe one construction for every product, but to help buyers turn an intended look and use case into clear, reviewable instructions.
Why seam choice belongs in the product brief
A seam joins fabric panels, but it also influences bulk, stretch, abrasion resistance, interior neatness, and the visible character of a garment. The same silhouette can feel refined or utilitarian depending on how its seams are built. A lightweight blouse may need enclosed seam allowances for a clean interior, while a hard-wearing overshirt may benefit from a stronger, visibly topstitched construction.
When seam direction is left open to interpretation, a sample can still look generally correct while missing the intended finish. That may lead to another sample round, inconsistent construction between sizes, or changes that affect fit. Include the seam decision alongside the fabric, measurements, trims, and stitch details in the product pack. A clear garment construction brief gives the development team a shared reference for both appearance and function.
Start with the garment, fabric, and wearer
Before naming a seam, define what the product needs to do. Consider the following points together:
- Fabric behavior: Is the fabric light, bulky, prone to fraying, stretchy, sheer, coated, or easily marked by a needle?
- Location: Is the seam at a side body, inseam, shoulder, armhole, crotch, pocket, or a highly visible exterior panel?
- Wear and movement: Will the seam experience pulling, repeated flexing, friction, or laundering?
- Desired finish: Should it look clean and minimal, tailored, workwear-inspired, sporty, or deliberately exposed?
- Production consistency: Can the chosen construction be shown clearly in the technical package and inspected on a representative sample?
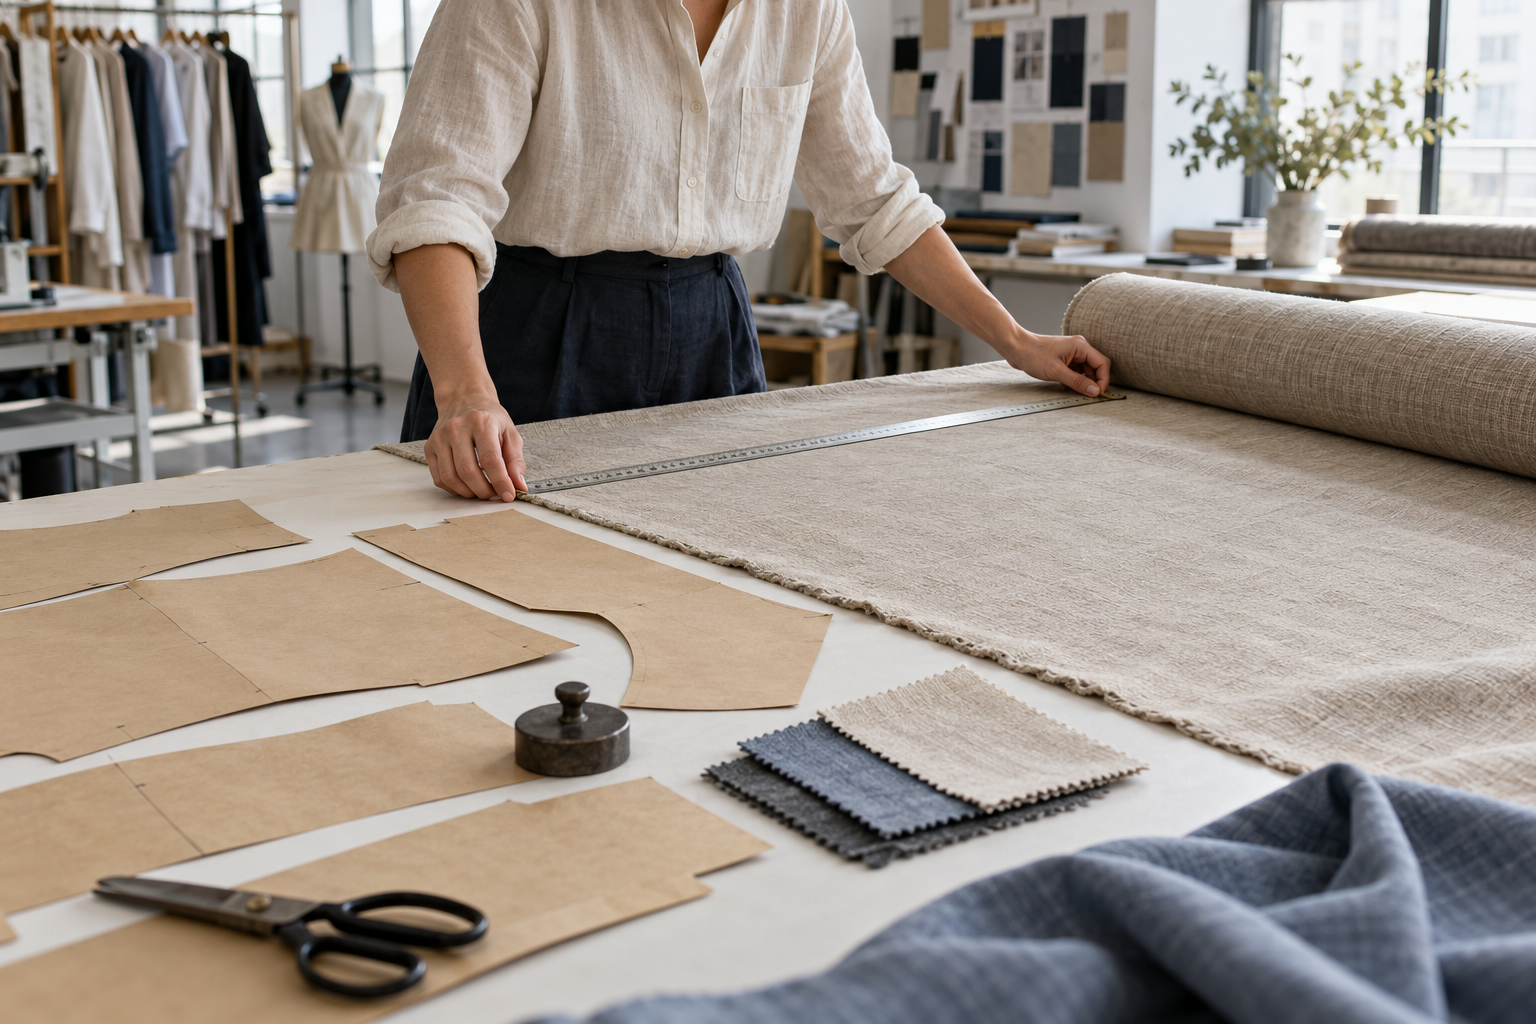
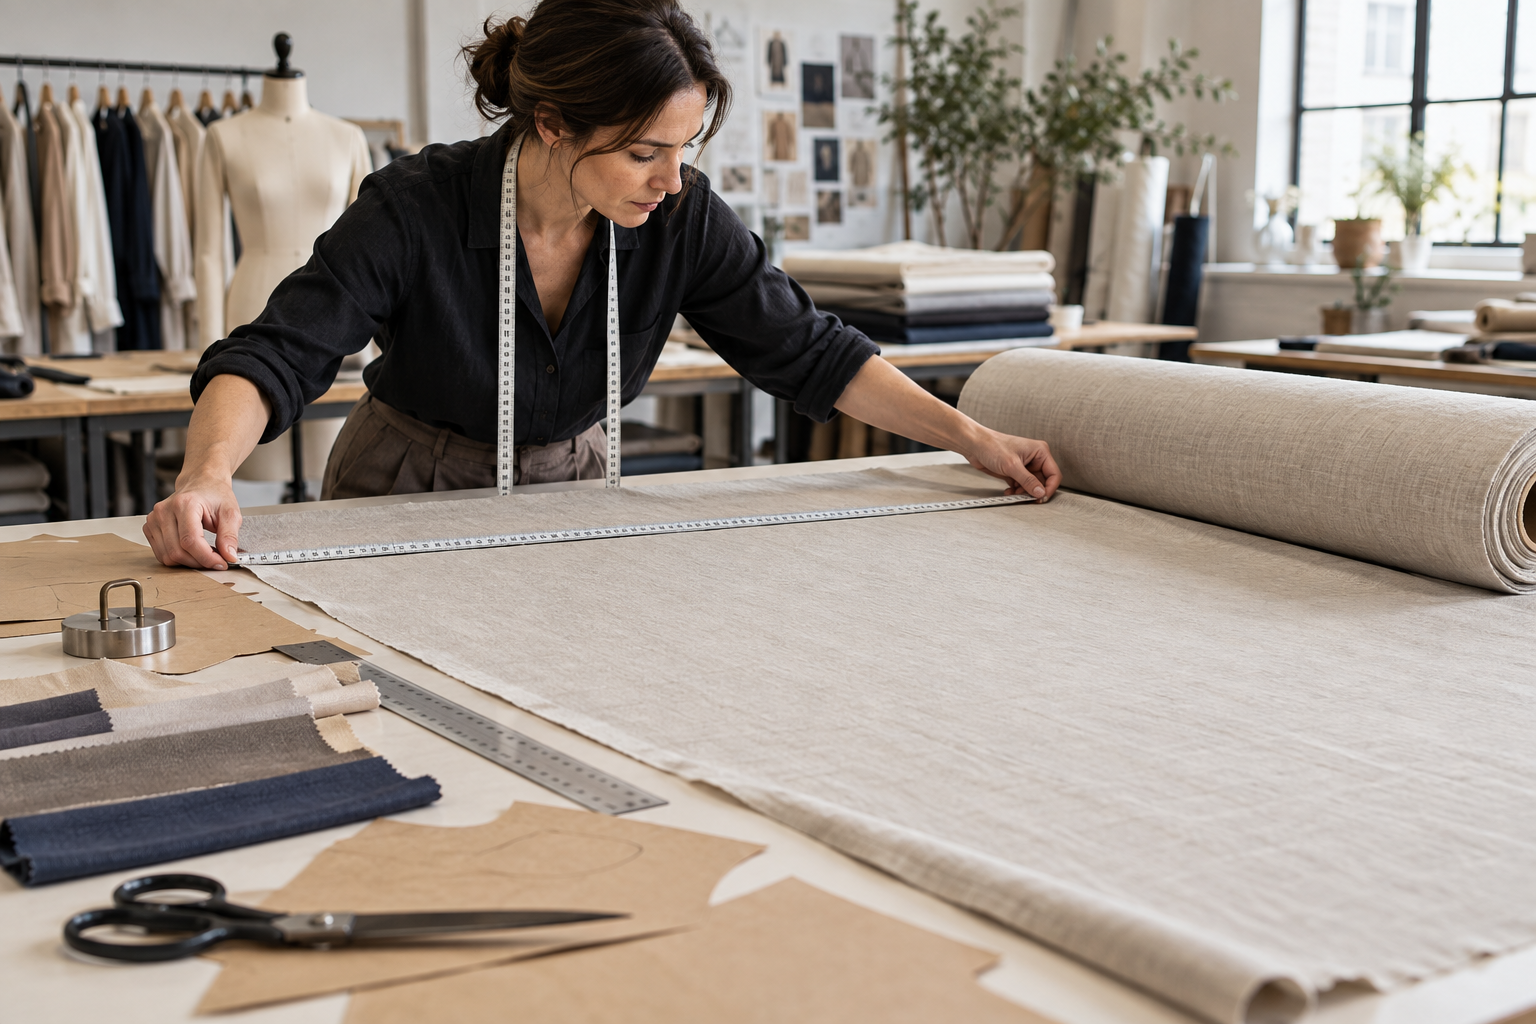
These questions prevent a common mistake: choosing a seam only because it looks appealing in a sketch. The construction must work with the actual fabric and end use. For example, a crisp plain-weave fabric and a soft, fluid fabric can react differently to the same seam allowance, pressing method, and topstitch. Fabric selection should therefore be reviewed in parallel with construction decisions, not after them. A focused fabric selection process gives the seam discussion a more useful starting point.
Common seam types in garment manufacturing
Plain seam
A plain seam is a basic joined seam with the seam allowances pressed open or to one side. It is widely used because it is adaptable, relatively unobtrusive, and suitable for many woven garments. The finish of the raw seam allowances still needs to be specified, especially when the fabric frays. Depending on the design, that may mean overlocking, binding, or another enclosed finish.
For brands, the important instruction is not merely “plain seam.” State where it is used, how the allowance is pressed, and how the inside edge should be finished. This helps distinguish a simple interior construction from a visible design seam.
French seam
A French seam encloses the raw edges within the seam itself, creating a tidy interior and a narrow double line of stitching. It is often considered for lightweight woven fabrics, semi-sheer fabrics, and garments where an unlined interior will be visible. Its clean look can support a refined product, but it adds bulk in some materials and may be unsuitable for sharp curves or thick fabrics.
Ask for a sample of the exact fabric and color where possible. A French seam can look elegant in a light fabric yet become stiff or prominent in a heavier cloth. Specify the locations where it is required rather than assuming it should be used everywhere.
Flat-felled seam
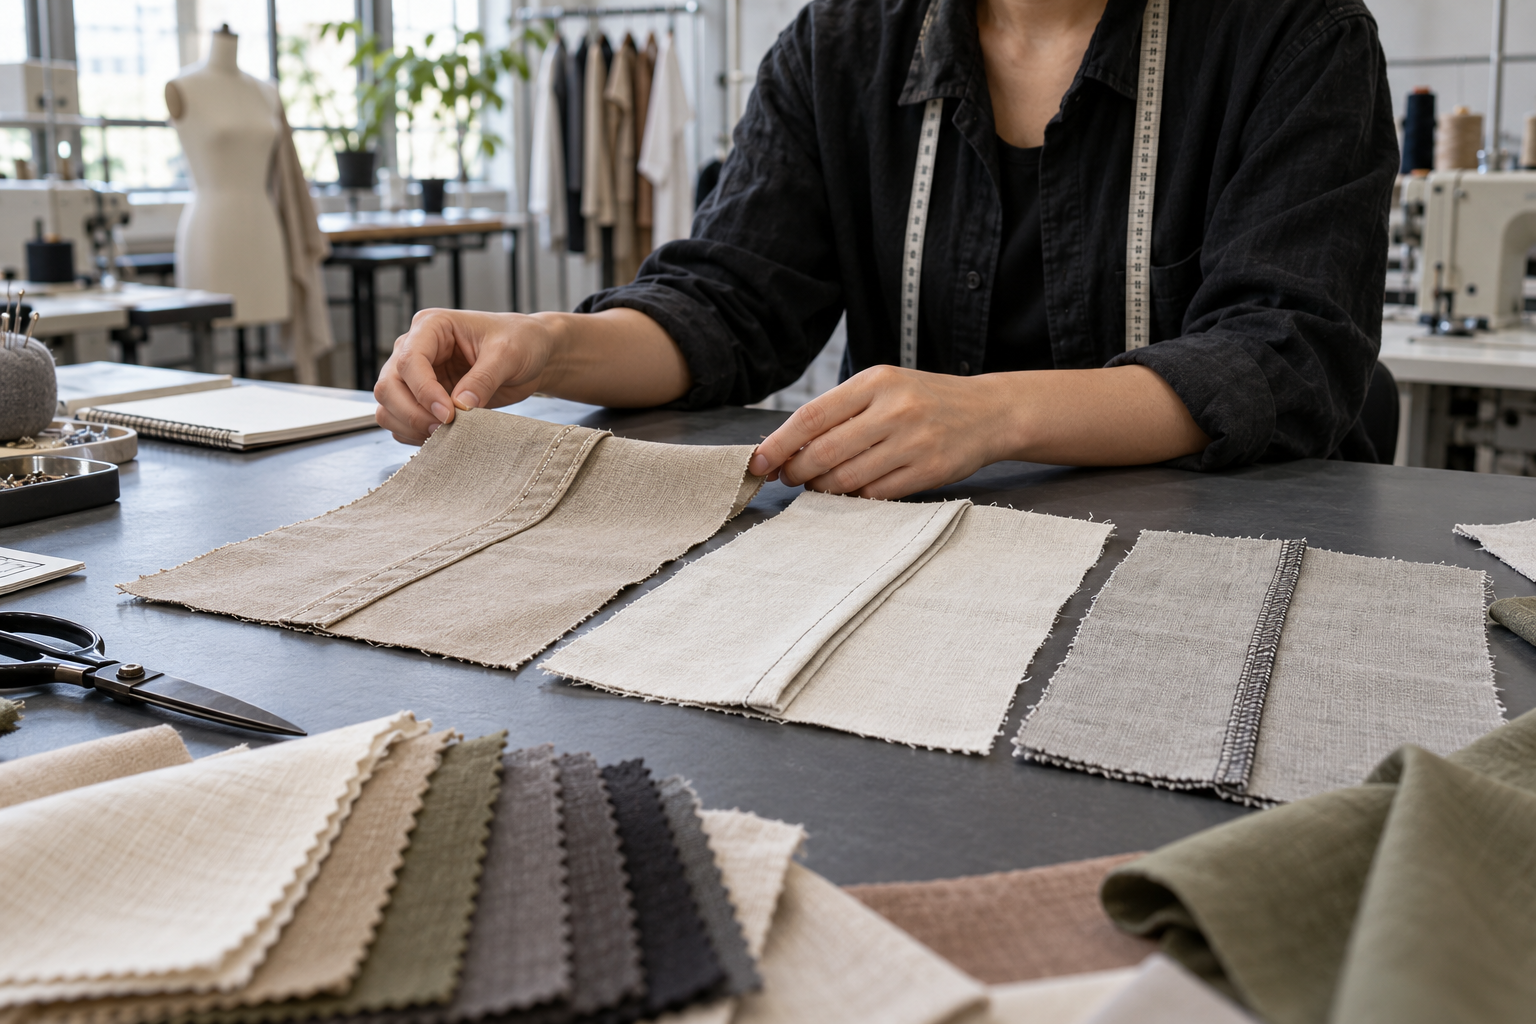
A flat-felled seam encloses seam allowances and is stitched down so the finished seam lies flat. It is associated with durable garments such as denim, utility styles, and shirts, and it can be both functional and decorative. The visible rows of stitching are part of the design language, so thread color, spacing, and stitch regularity matter as much as the internal fold.
Use a reference image or construction detail to identify the intended side of the fell, the number of visible stitch rows, and whether contrast thread is part of the design. If the seam appears on a curved area, review it carefully during sampling; the result should be judged on the garment, not only on a flat swatch.
Overlocked or serged seam
An overlocked seam uses thread loops around the cut edge to join and finish fabric. It is common in knitwear and can also finish seam allowances in woven garments. The construction can be efficient and flexible, but the specification should explain whether the overlock is an internal finish or a visible feature. Stitch density, thread tone, and the amount of stretch needed are practical review points.
For stretch garments, look at recovery after gentle wear simulation and laundering appropriate to the fabric. The seam should move with the garment without looking distorted. Avoid treating “stretchy fabric” as a sufficient instruction; the seam, thread, and stitch method need to work together.
Bound seam
A bound seam covers the raw edge with a separate binding, often made from self fabric, contrast fabric, or a compatible tape. It can create a premium-looking interior, control fraying, and add a deliberate design detail. Because binding introduces another material and fold, the brand should define its width, color, fabric, placement, and whether joins or corners must be concealed.
Bound seams are especially worth reviewing in close-up photography during approval. A neat result depends on even width, smooth curves, and consistent attachment. The approval sample should show the actual binding material rather than a substitute where practical.
Mock flat-fell and topstitched seams
Some products use a standard seam with topstitching to create a flat-felled or workwear-inspired appearance without the same internal construction. This can be an intentional choice when the design calls for visible stitching but the fabric or location does not suit a true flat-felled seam. It also illustrates why a name alone is not enough: ask for the finished exterior look and the inside view.
How to write seam instructions that can be sampled
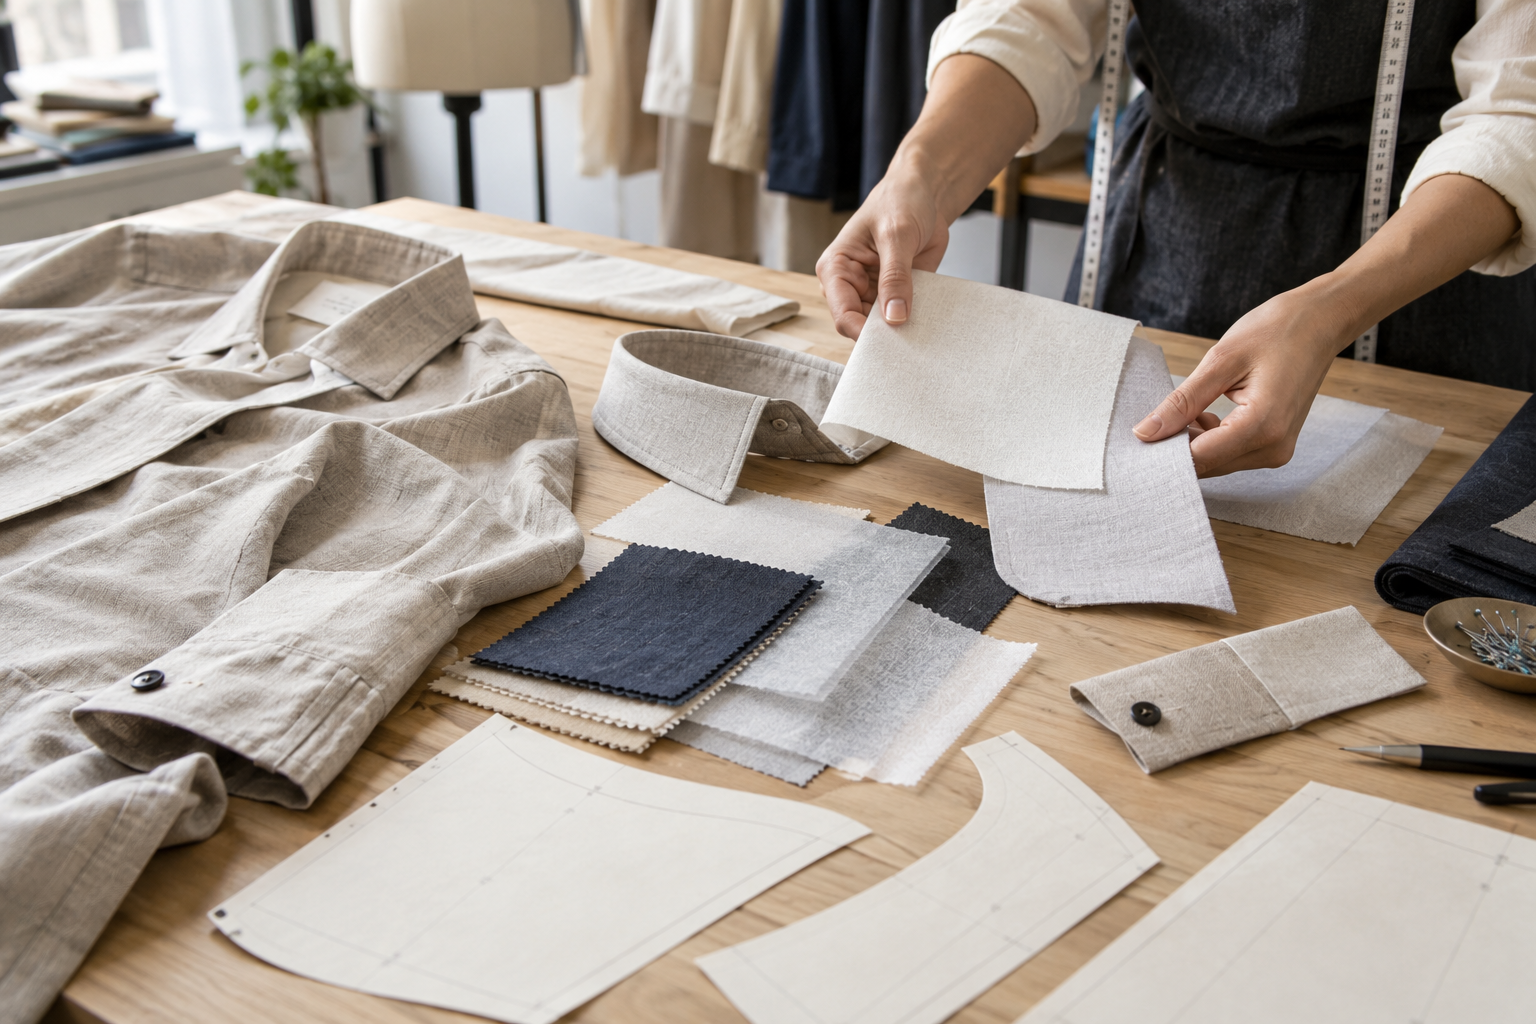
Good seam instructions are visual, location-specific, and testable. On each relevant technical page, identify the panel join, seam type, seam allowance if relevant, finish, topstitch detail, thread color, and the correct side of the garment. A numbered callout linked to a close-up sketch or reference photo is easier to interpret than a paragraph placed far from the drawing.
It also helps to keep seams tied to the measurement specification. A change in seam construction can alter how a garment sits at a shoulder, side seam, or crotch. Use a structured measurement spec sheet so the fit review checks both the finished measurements and the construction that supports them.
Review seam decisions during development
Do not wait until bulk production to examine the inside of a garment. During sampling, review seams on the actual garment under normal handling and, where appropriate, after the care process defined for the product. Check for puckering, uneven seam allowances, skipped stitches, twisting, loose thread tails, inconsistent topstitch distance, and visible raw edges where an enclosed finish was intended.
Ask the reviewer to comment by location, not with a general note such as “improve seams.” A useful note might state: “Side seam: use enclosed finish shown on approved sample; keep topstitching absent on exterior.” Version the correction and attach a close-up image to the approval record. This creates a clearer bridge from design feedback to the final production package.
A practical seam approval checklist
- Match every visible seam to the technical drawing or approved reference.
- Confirm the seam construction is suitable for the actual fabric weight, stretch, and fraying behavior.
- Inspect both exterior and interior finishes in key areas.
- Check topstitch direction, spacing, thread color, and stitch consistency where they are visible.
- Compare seam placement with the measurement and fit requirements.
- Record approved details and any exceptions in the production-ready package.
The final check should capture what was approved, not just what was discussed. A broader pre-production approval checklist can help brands place seam confirmation alongside fabric, trims, artwork, measurements, and packing details before moving forward.
FAQ
What seam type is best for clothing?
There is no universal best seam type. The right choice depends on the fabric, garment area, intended wear, interior finish, and desired visual effect. Evaluate the construction on a representative sample rather than relying only on a standard name.
Should a tech pack specify seam types?
Yes. Specify important seam types and finishing details by location, especially where they affect durability, fit, stretch, interior neatness, or the visible design. Use drawings, close-ups, and notes together where useful.
How can a brand check seam quality before bulk production?
Review the approved sample inside and out, compare it to the technical instructions, inspect areas under stress or movement, and document any corrections with location-specific photos and comments. Then include the accepted construction in the production approval record.
Turn seam choices into a clearer production handoff
Seam details become easier to manage when a brand treats them as part of the product specification, not a last-minute finishing decision. Define the product purpose, select a construction that suits the fabric, show it clearly in the brief, and approve it on a representative sample. If you are preparing a new style for development, contact Huilin Fashion with your sketches, fabric direction, measurements, and construction references to begin a more focused discussion.