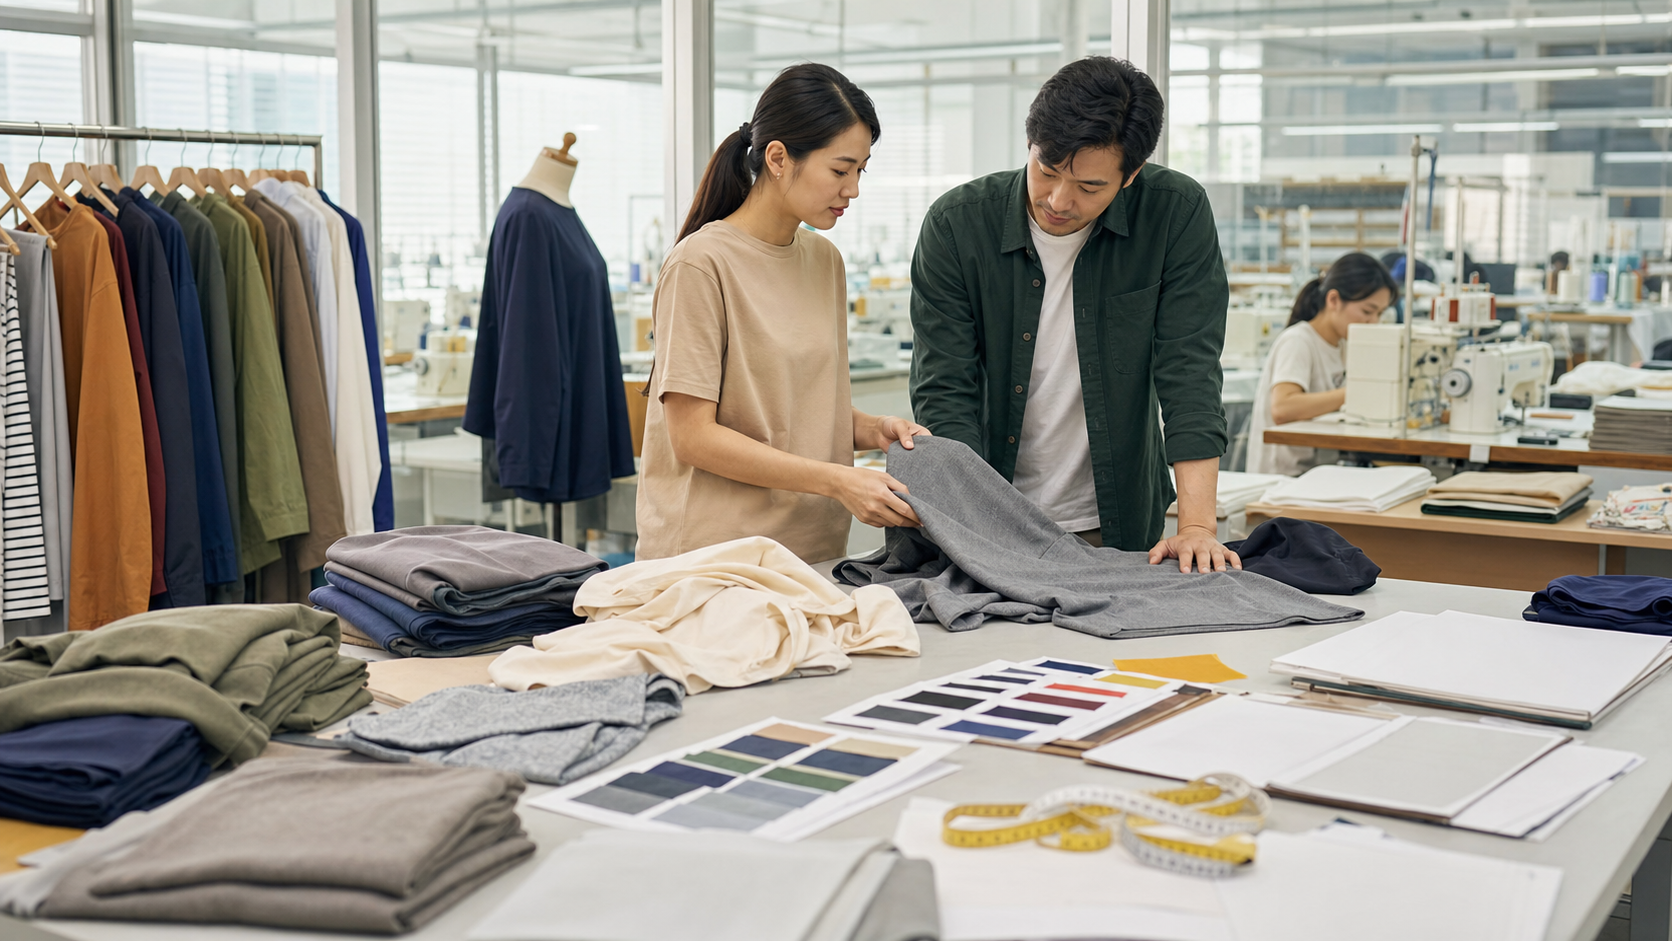
Turning a clothing idea into a production-ready garment rarely happens in one step. The clothing sample development process is where a sketch becomes something your team can touch, fit, test, cost, and improve before committing to bulk production.
For startup brands, careful sampling is especially important. A small mistake in fit, fabric, or construction can become an expensive problem when it is repeated across an entire order. This guide explains the main sample stages, what to prepare, how to give useful feedback, and how to decide when a garment is genuinely ready for production.
What Is Clothing Sample Development?
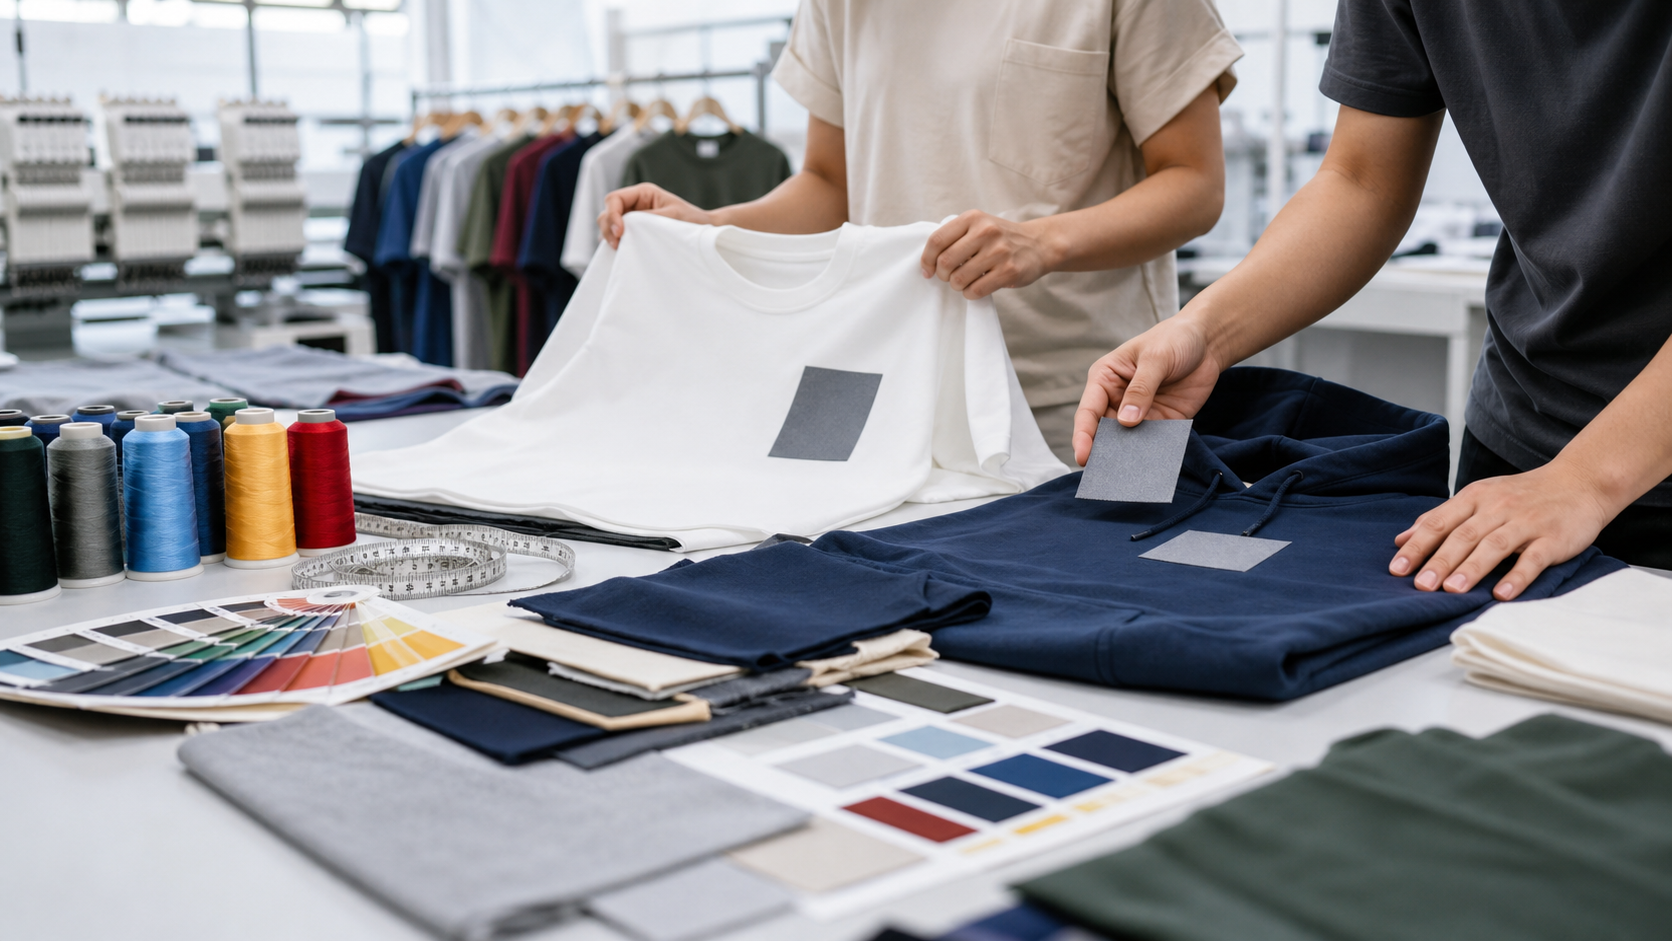
Clothing sample development is the process of creating and refining physical garment prototypes before bulk manufacturing. The manufacturer uses your design information, measurements, fabric choice, trims, and construction requirements to make a sample. Your brand then reviews that sample and requests changes where needed.
The goal is not simply to produce a garment that looks close to a sketch. A successful sample should communicate the intended fit, appearance, materials, construction quality, and commercial feasibility of the final product.
Sampling also gives brands an opportunity to test ideas at a smaller scale. This is valuable when working with a low MOQ clothing manufacturer, because the process can help reduce avoidable risk before a small-batch order begins.
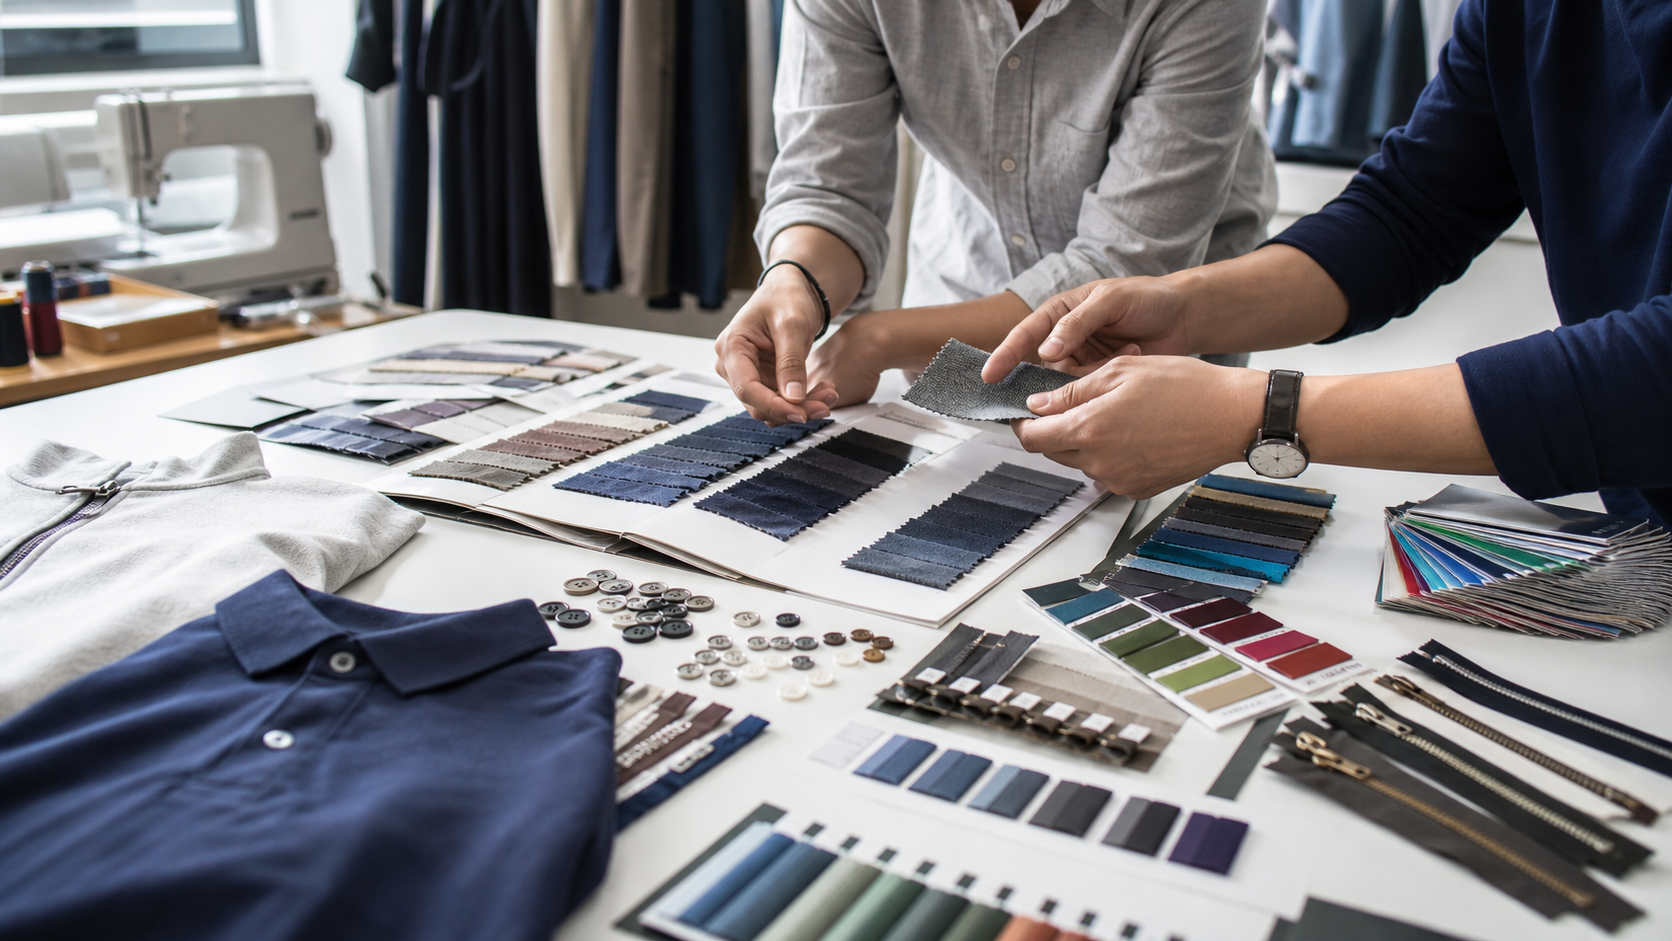
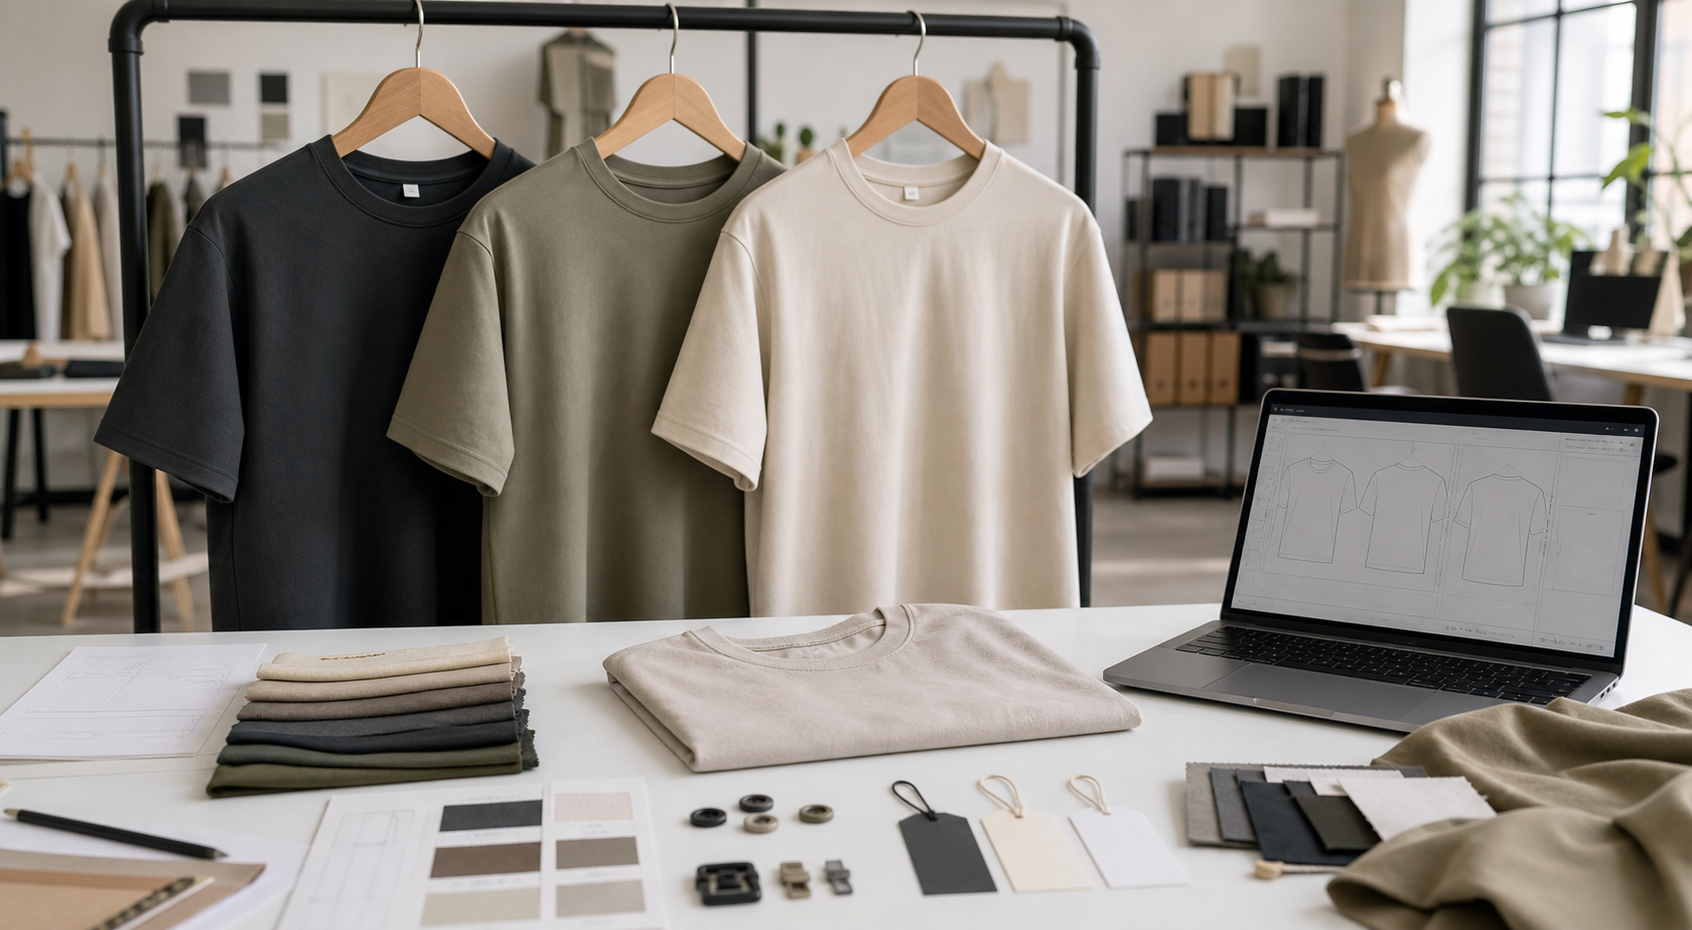
What to Prepare Before Requesting a Sample
A manufacturer can produce a more accurate first sample when the design brief is clear. Before requesting one, prepare as much of the following information as possible:
- A technical sketch showing the front, back, and important details
- A measurement specification with your intended sample size
- Fabric composition, weight, color, stretch, and finish preferences
- Construction details such as seam types, pocket shapes, and closures
- Artwork files and placement measurements for prints or embroidery
- Label, hang tag, packaging, and trim requirements
- Reference garments or photos that clarify fit and design intent
A detailed tech pack is helpful, but it does not need to be perfect before the conversation starts. If your design is still developing, clearly label uncertain details and discuss them with the manufacturer. That makes it easier to separate confirmed requirements from ideas that still need testing.
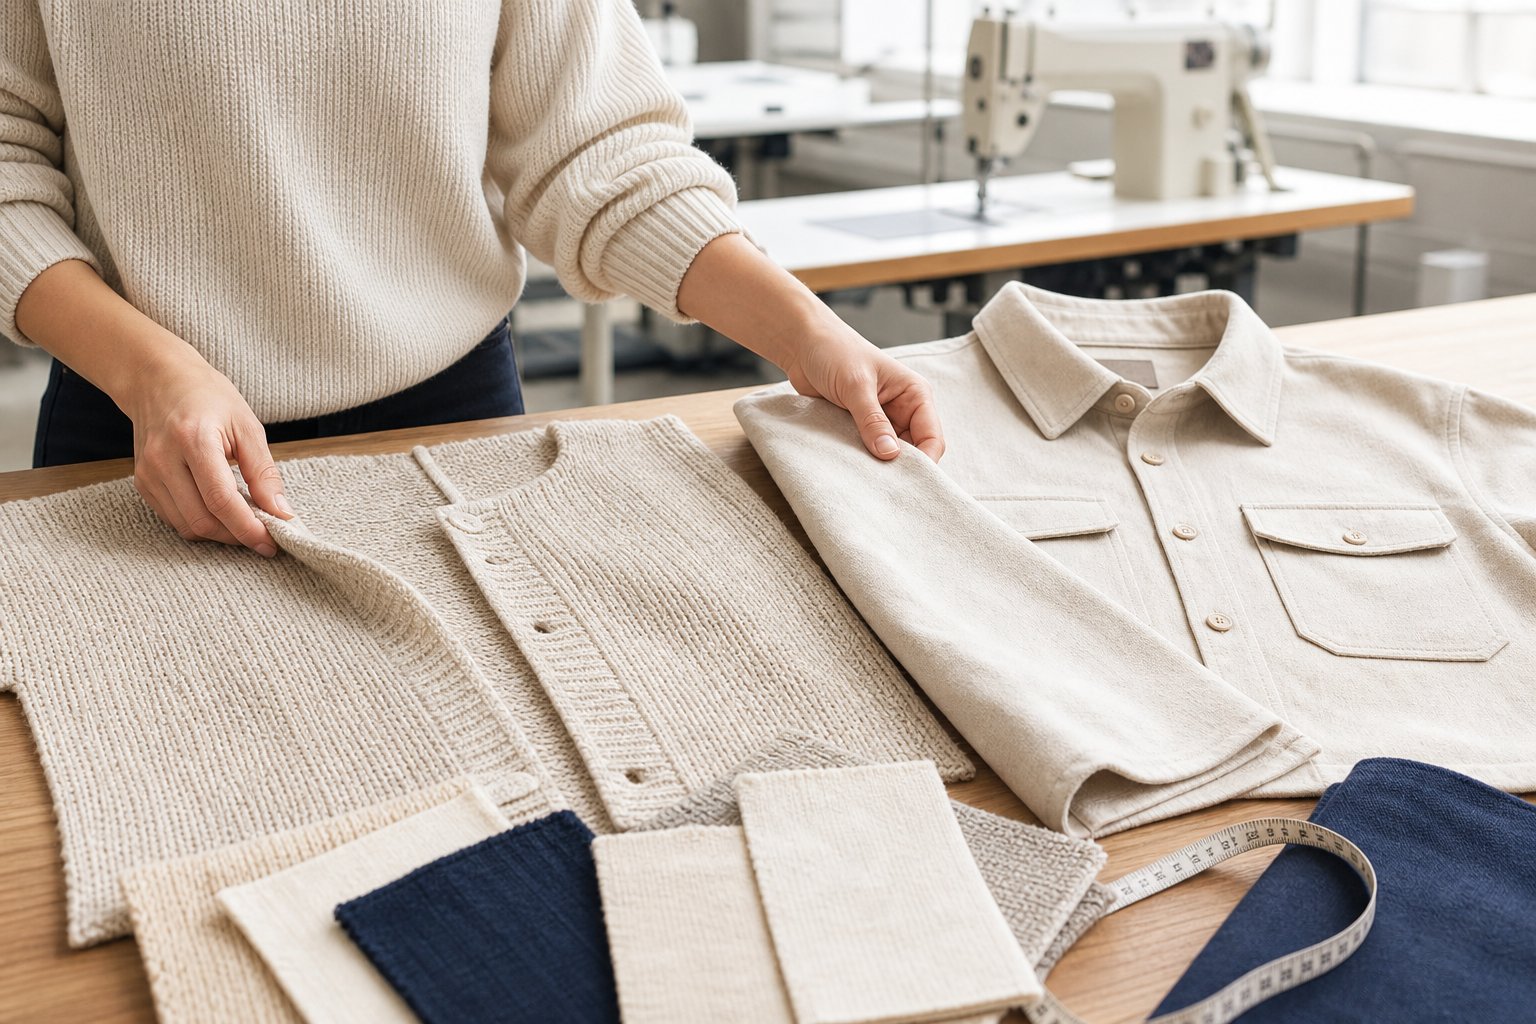
The Main Types of Clothing Samples
1. Prototype or Development Sample
The first development sample is used to evaluate the overall design. At this stage, the focus is usually silhouette, construction, proportions, and feasibility. Substitute fabric or trims may sometimes be used when final materials are not yet available, so brands should confirm which parts of the sample are temporary.
2. Fit Sample
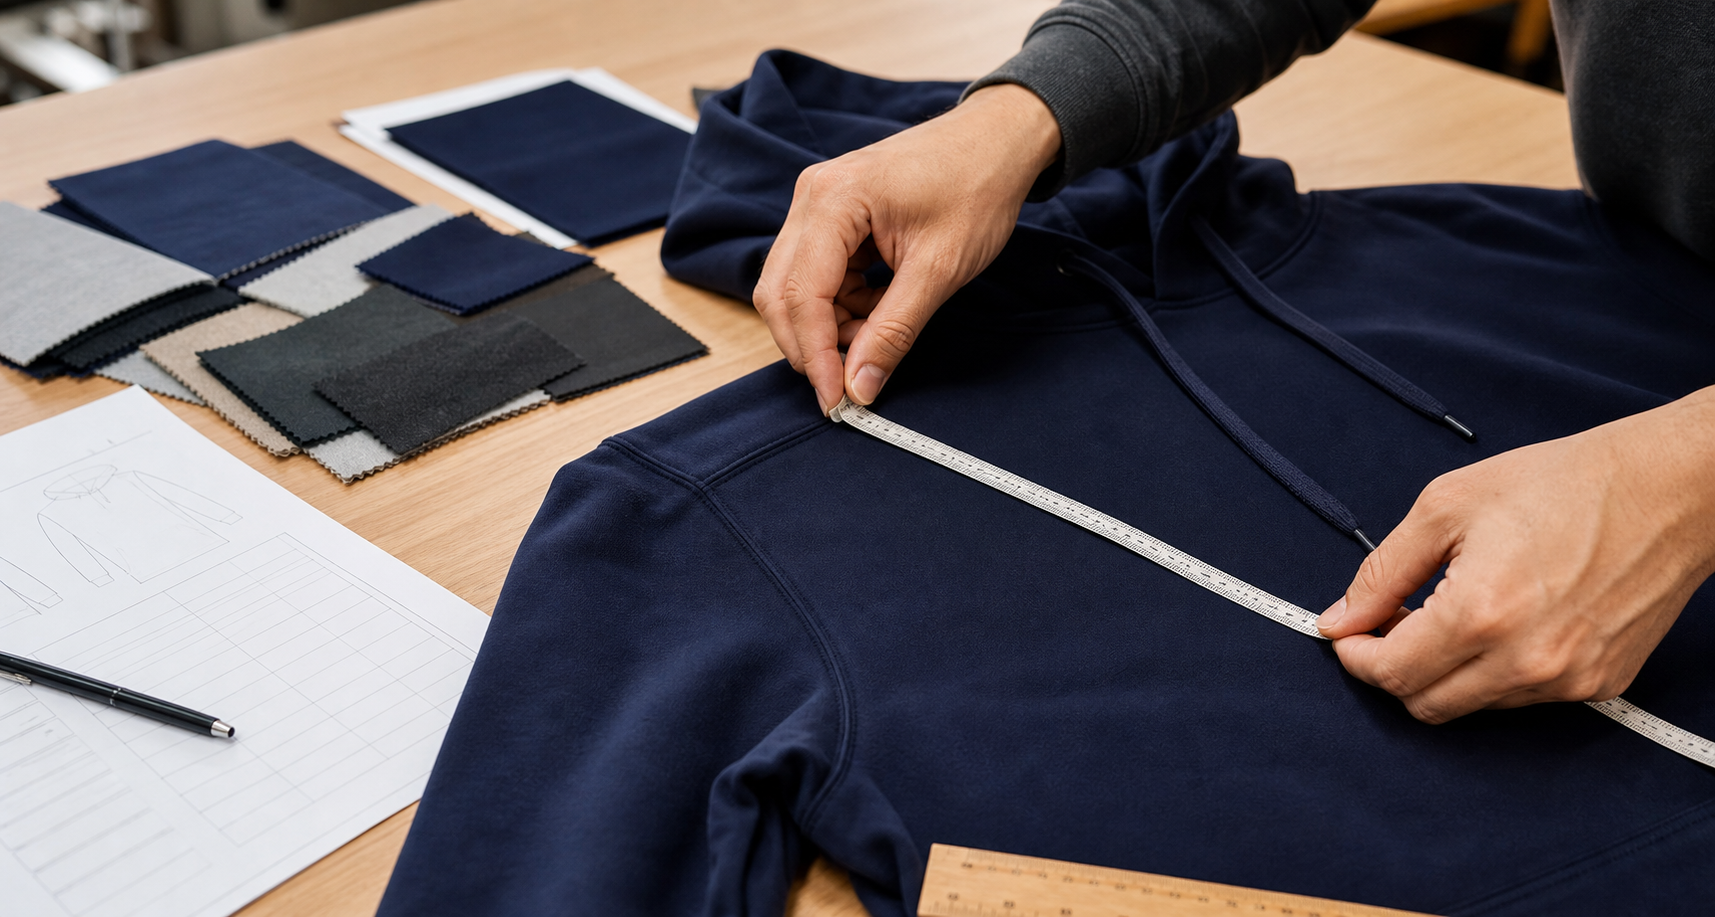
A fit sample is made to check measurements, comfort, balance, and movement. Review it on a suitable fit model or dress form and compare every important measurement against the specification. Look beyond chest width and total length: shoulder slope, armhole shape, sleeve pitch, rise, and pocket position can significantly affect how the garment feels.
3. Size Set Sample
A size set tests how the approved base size translates into additional sizes. Good grading is not just a matter of making every measurement larger or smaller by the same amount. Different garment areas may require different increments to maintain proportion and comfort.
4. Pre-Production Sample
The pre-production sample, often called a PP sample, should closely represent the garment that will be produced in bulk. It is commonly reviewed using the intended fabric, trims, colors, labels, artwork, and construction methods. Approval of this sample gives both the brand and manufacturer a clear production reference.
5. Shipment or Production Sample
A production or shipment sample is taken from the bulk order and checked against the approved standard. It helps confirm that the finished garments reflect the agreed specifications before shipment.
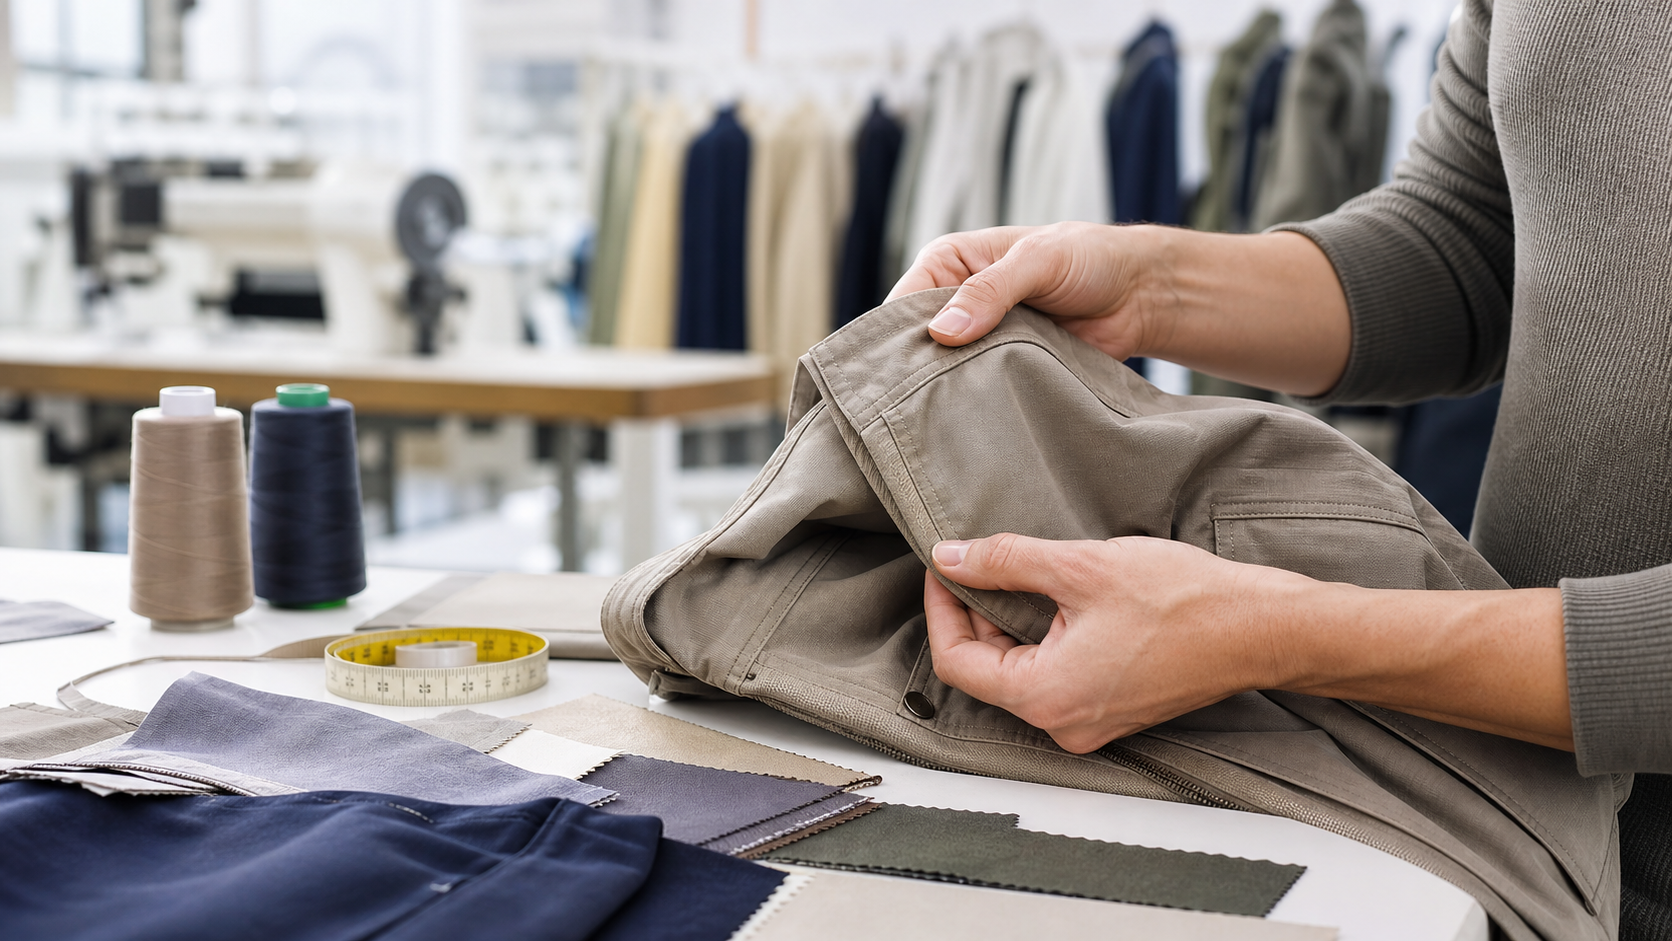
How to Review a Clothing Sample
Reviewing a sample systematically produces better results than sending broad comments such as “make it fit better.” Use a consistent checklist and record every requested change.
Check Measurements
Measure the garment on a flat surface using the same method each time. Compare the results with the measurement specification and note differences clearly. If a measurement method could be interpreted in more than one way, add a diagram or photo.
Assess Fit and Movement
Ask the fit model to sit, walk, raise their arms, and perform movements appropriate for the garment. A piece may look correct while standing still but feel restrictive during normal use. Pay attention to pulling, twisting, gaping, excess volume, and uneven hems.
Inspect Fabric and Construction
Evaluate the fabric’s hand feel, opacity, recovery, drape, and performance after care testing when relevant. Then inspect stitching, seam consistency, closures, pockets, hems, and reinforcement points. For more context on the production journey, see this overview of how clothes are made.
Review Branding and Trims
Confirm the size, color, location, and attachment method of labels, hang tags, zippers, buttons, cords, and other trims. Small details can have a large effect on perceived product quality and should be approved before bulk production.
How to Give Clear Sample Feedback
Clear feedback saves time for both the brand and the manufacturer. Combine written comments with marked-up photos, and organize revisions by garment area. Each comment should explain what needs to change and, where possible, provide a measurable target.
For example, “reduce the hood opening by 2 cm” is more actionable than “the hood is too large.” When a visual change is difficult to describe, annotate a photo or send a reference garment. Keep each revision round in a dated document so everyone can identify the latest approved information.
Common Sampling Mistakes to Avoid
- Changing too many variables at once: If fit, fabric, artwork, and construction all change together, it becomes difficult to understand what improved or caused a new issue.
- Approving only from photos: Photos are useful for progress checks, but physical fit, hand feel, and construction are difficult to judge remotely.
- Skipping wash or performance tests: Fabrics and prints can change after washing, stretching, or wear.
- Using vague feedback: Subjective comments without measurements or visual references can lead to repeated revisions.
- Starting bulk production too early: Production should begin only after the critical details and reference sample are approved.
How Long Does Clothing Sample Development Take?
There is no single timeline that applies to every garment. The number of revisions depends on design complexity, fabric and trim availability, the quality of the original specifications, shipping time, and how quickly feedback is provided.
A straightforward T-shirt may require fewer decisions than a technical jacket with custom hardware and performance materials. Instead of focusing only on speed, brands should aim to make each sample round answer specific questions and move the product closer to an approved standard.
When Is a Sample Ready for Production?
A sample is ready when the brand and manufacturer share the same clear, documented standard for the final garment. Before approving production, confirm that:
- Fit and measurements are approved
- Fabric, color, trims, and branding are confirmed
- Construction details match the specification
- Artwork size, position, and technique are approved
- Care, performance, or wash tests have been reviewed where needed
- The latest tech pack and comments reflect all approved changes
Brands planning a focused first collection may also benefit from working with small-batch clothing manufacturers, allowing them to validate demand while maintaining close attention to product development.
Frequently Asked Questions
Do I need a tech pack to make a clothing sample?
A detailed tech pack usually improves accuracy and communication. However, brands at an early stage can often begin a development discussion with sketches, measurements, material preferences, and clear references, then refine the technical information with the manufacturer.
How many sample rounds are normally needed?
The number varies by product and the clarity of the initial brief. Simple products with complete specifications may need fewer rounds, while complex garments or developing designs may require several revisions.
Can the first sample use substitute fabric?
Sometimes. A substitute may be suitable for checking basic construction or silhouette, but it may not accurately represent the final drape, stretch, weight, or fit. Confirm the purpose and limitations of any substitute before reviewing the sample.
Should I approve a sample from photos?
Photos and video are useful for early feedback, but a physical sample is generally better for final approval because it allows you to inspect fit, fabric, construction, and comfort directly.
Build a Better Product Before Bulk Production
Clothing sample development is not just a preliminary expense. It is a practical quality-control process that helps brands make informed decisions before production. With clear specifications, structured reviews, and measurable feedback, each sample round can reduce uncertainty and improve the final garment.
If you are preparing a new apparel collection and need support turning your design into a production-ready sample, contact Huilin Fashion to discuss your requirements.