Button Selection for Clothing Manufacturing: A Practical Guide for Apparel Brands
A button can be a small component, but it affects how a garment functions, feels, wears, and presents at retail. For an apparel brand, button selection is not simply a styling decision made at the end of development. It should connect the garment’s use, fabric, construction, care expectations, attachment method, and approval process.
This guide gives product teams a practical way to choose and document buttons for clothing manufacturing. The aim is to help a brand move from an early design idea to a clearly approved component without relying on assumptions during sampling or bulk production.
Start with the garment’s job
Begin with the role the button plays. A front closure on a lightweight shirt, an adjustable cuff on a workwear overshirt, and a decorative button on a tailored dress may look similar in a sketch, yet each has different demands. Define the button’s purpose before choosing its material or finish.
- Closure: Does it open and close the garment repeatedly, or only occasionally?
- Adjustment: Does it control fit at a cuff, waistband, tab, or strap?
- Structure: Will the button work with a placket, waistband, collar stand, or reinforced panel?
- Visual detail: Is it intended to blend in, provide contrast, or become a focal point?
- Care exposure: Will the garment be washed, pressed, dyed, or finished in a way that may affect the component?
Write the answers into the product brief. A concise functional note prevents a decorative reference from being treated as a production specification. It also helps the team decide whether a button, snap, hook-and-eye, or another closure system is the more suitable solution.
Match button construction to the garment
Buttons are commonly specified by construction as well as appearance. The construction affects how the component sits on fabric, how it is attached, and how it performs with the garment.
Sew-through buttons
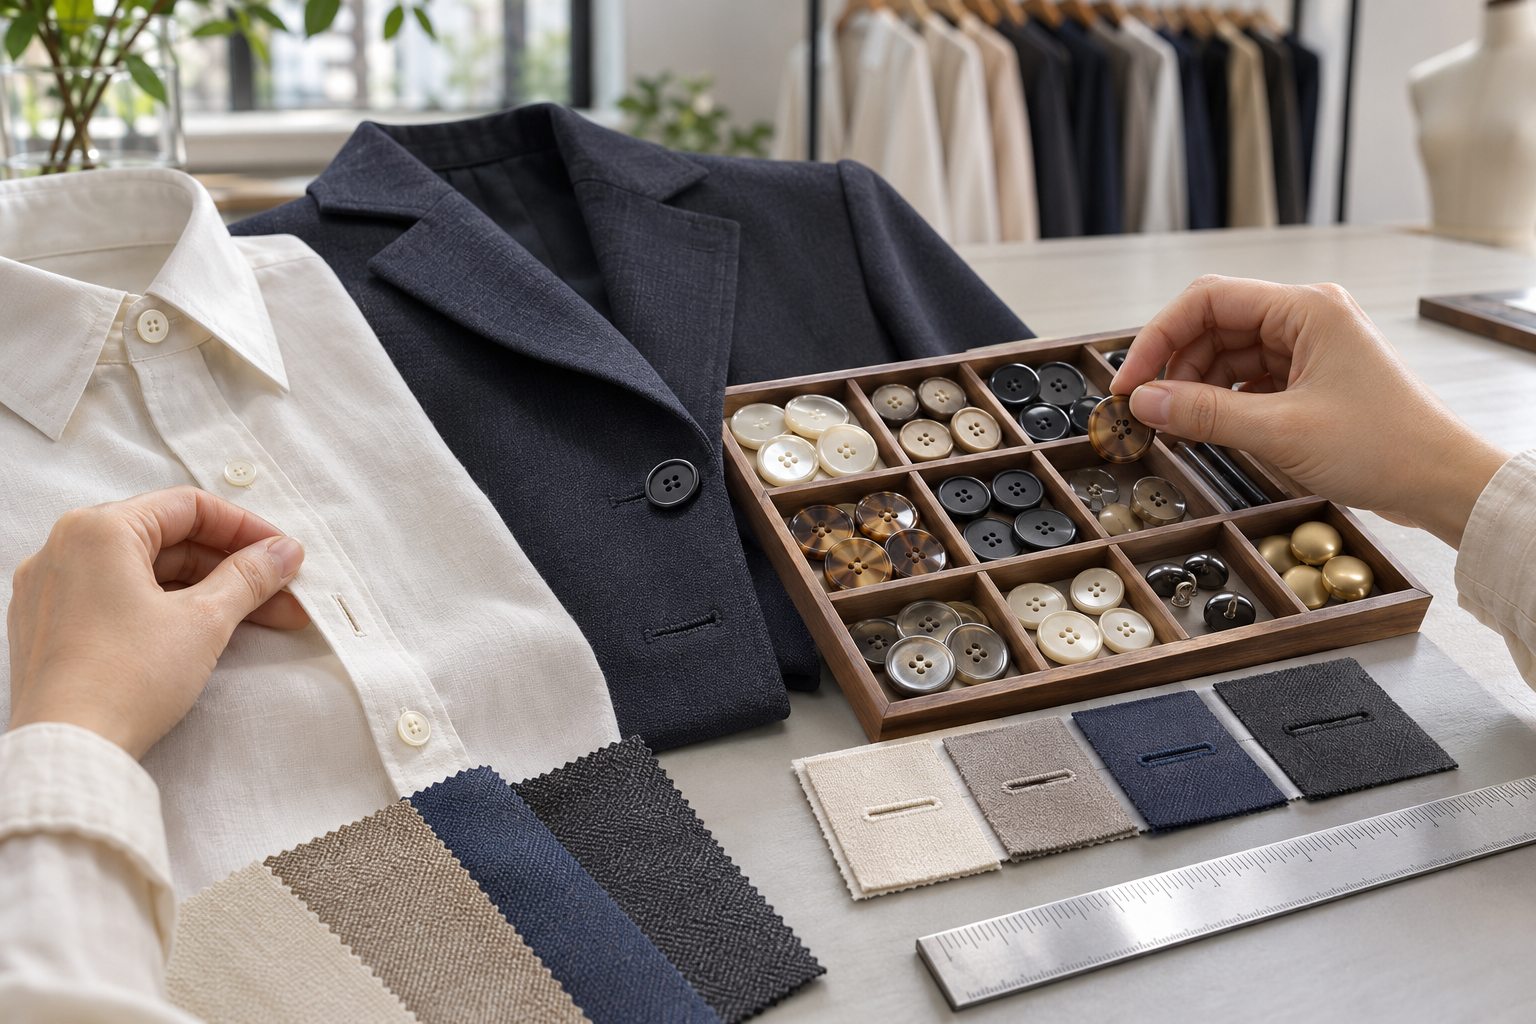
Sew-through buttons have visible holes through the face. They sit close to the garment and are widely used on shirts, blouses, knitwear, casual trousers, and many other styles. When considering a sew-through button, look at the number and placement of holes, the edge profile, and whether the button is compatible with the fabric thickness and buttonhole construction.
Shank buttons
A shank button has a loop on the back rather than holes through the face. This can help a button stand away from a thicker or more textured garment surface. The back construction should be reviewed in the sample because its depth and attachment can change how the closure sits on the garment.
Covered and specialty buttons
Covered buttons can create a coordinated look, but the cover fabric and edge finish need representative review. Specialty shapes, novelty surfaces, and decorative finishes should be assessed for their interaction with sewing, pressing, wear, and care. Treat any unusual component as an approval item, not just a visual reference.
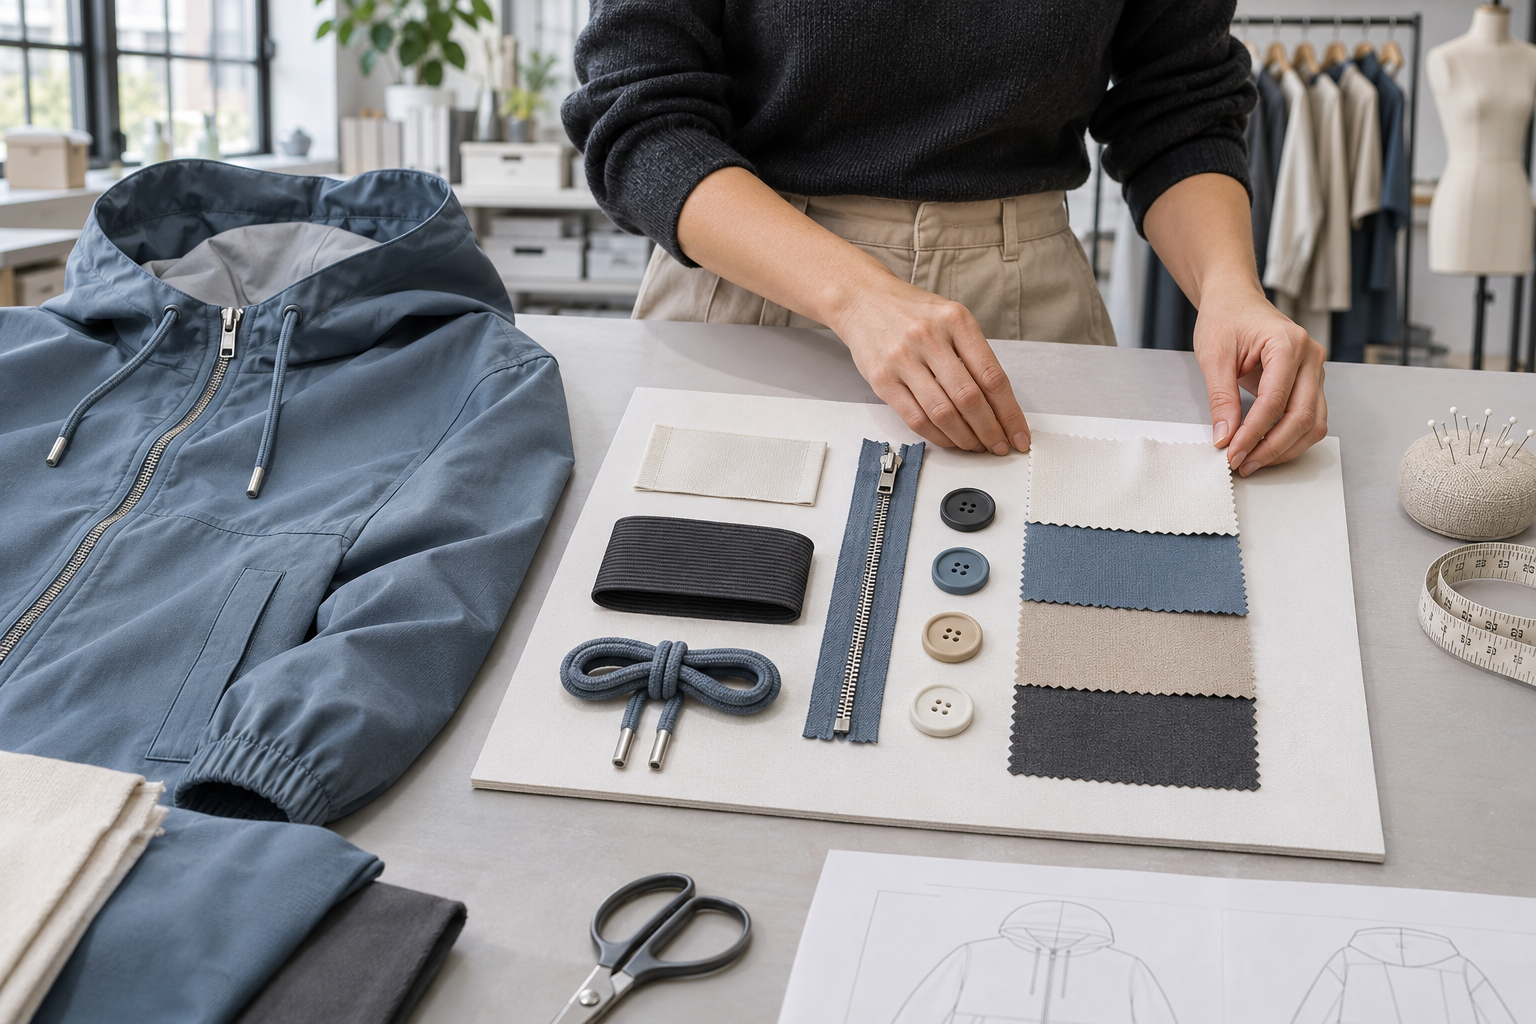
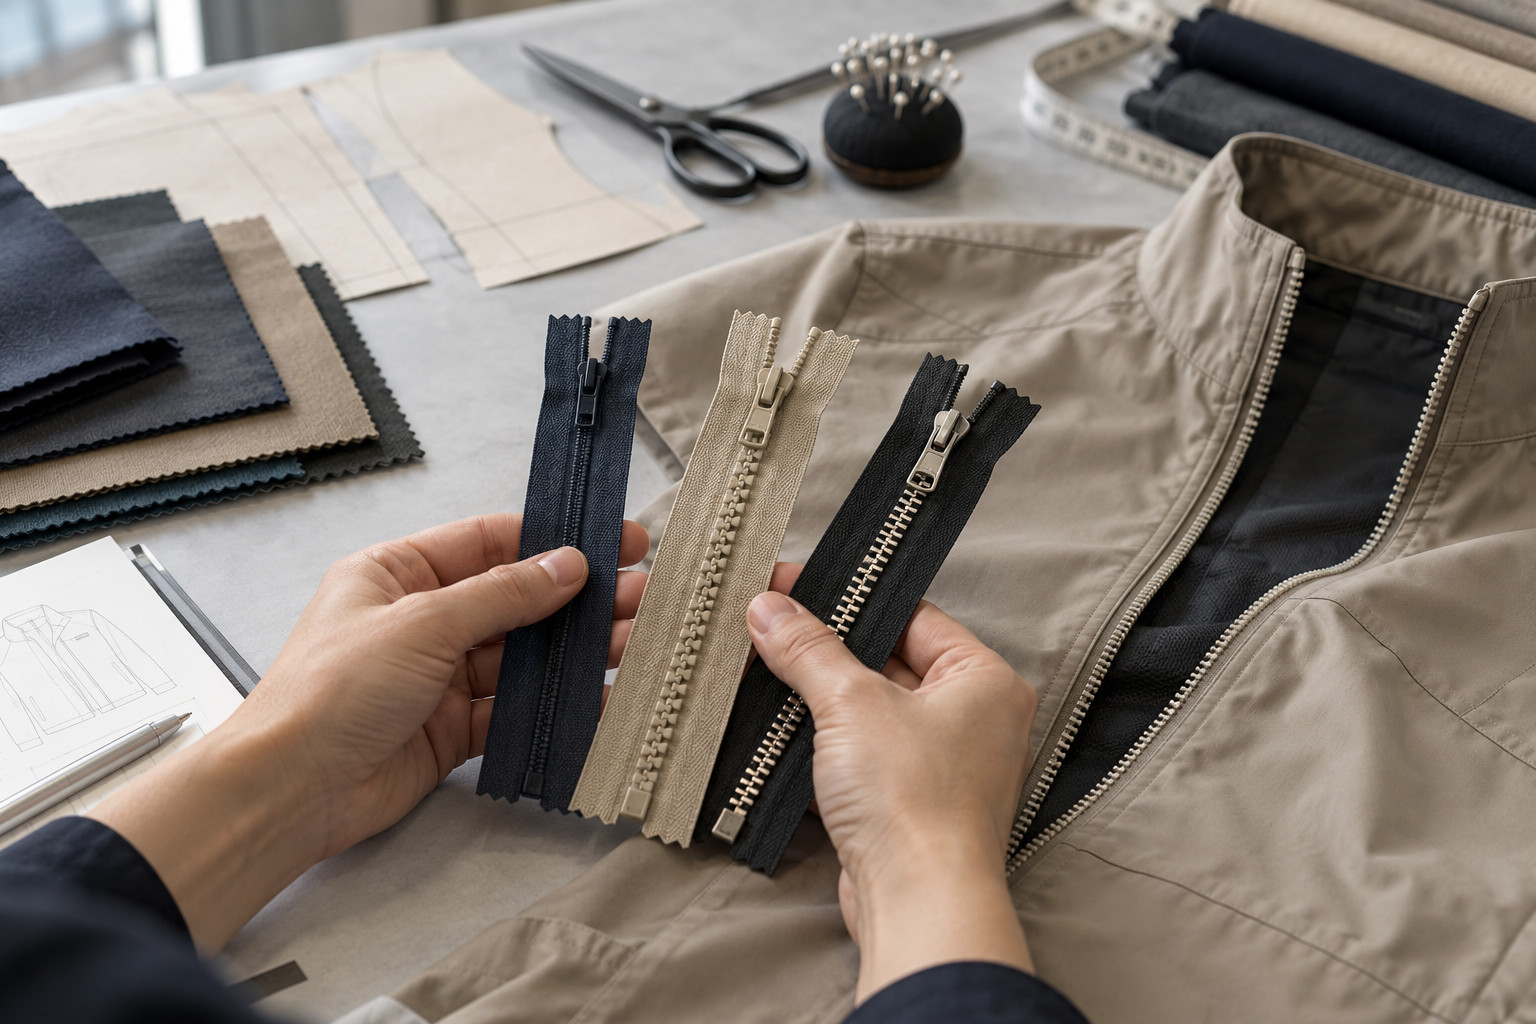
The wider trim plan matters too. A button should be considered alongside labels, elastic, zippers, cords, and other components rather than chosen in isolation. A garment trim sourcing guide can help a brand frame that broader review.
Specify material and finish with the end use in mind
Button material influences weight, hand feel, visual character, and care behavior. Instead of selecting material only from a mood board, connect it to the fabric and the garment’s intended use. For example, a hard, heavy button can pull on a delicate fabric, while a smooth, lightweight option may be more appropriate for a fluid blouse. On a dense outer layer, the same lightweight option may not provide the desired balance or feel.
Ask the following questions during selection:
- Does the material visually suit the shell fabric, lining, and other trims?
- Will the surface be comfortable where it touches the wearer or overlaps another layer?
- Does the selected finish need to remain stable through the garment’s planned care process?
- Is the color, translucency, grain, marbling, or sheen intentionally controlled, or is natural variation acceptable?
- Will a metal-look, coated, painted, or textured surface need a representative sample review?
A physical swatch or approved button reference is more useful than a broad phrase such as “matte black button.” Define the attributes that matter to the design: color reference, diameter, thickness, face finish, back construction, and any acceptable variation. This supports a more disciplined fabric, color, and trim approval process before production.
Set size, placement, and buttonhole requirements together
Button size cannot be decided independently from the buttonhole, placket, fabric thickness, and garment scale. An attractive button may still be awkward to fasten if the buttonhole is too tight, too loose, poorly positioned, or unsuitable for the fabric’s recovery and stability.
For each location, document the button diameter or dimensions, quantity, placement measurement, spacing, and buttonhole direction. Indicate whether the buttonhole is vertical, horizontal, or another intentional orientation. On a waistband, collar stand, cuff, or curved edge, test the closure in the way a wearer will actually use it.
Do not assume one button specification can be copied across every style. A collection may share a visual button family while requiring different sizes, attachment methods, or reinforcements for different garments. Add the details to the style’s technical pack and bill of materials; this apparel bill of materials guide explains why each component record needs a clear, traceable entry.
Review attachment as part of garment construction
A suitable button can still fail the garment if its attachment is not defined and reviewed. The thread type, thread color, stitch pattern, shank allowance, reinforcement, and finishing can all change both durability and appearance. Brands should describe the visible result they expect and identify locations that require particular attention, such as a high-use front opening or a button attached through a heavy seam intersection.
During sampling, inspect the garment from the outside and inside. Check whether the button is centered, whether the stitch attachment appears neat, whether a shank has enough clearance for the fabric thickness, and whether the buttonhole is clean and stable. Close and open each relevant position. Look for pulling, distortion, gaping, loose threads, or a closure that catches on surrounding layers.
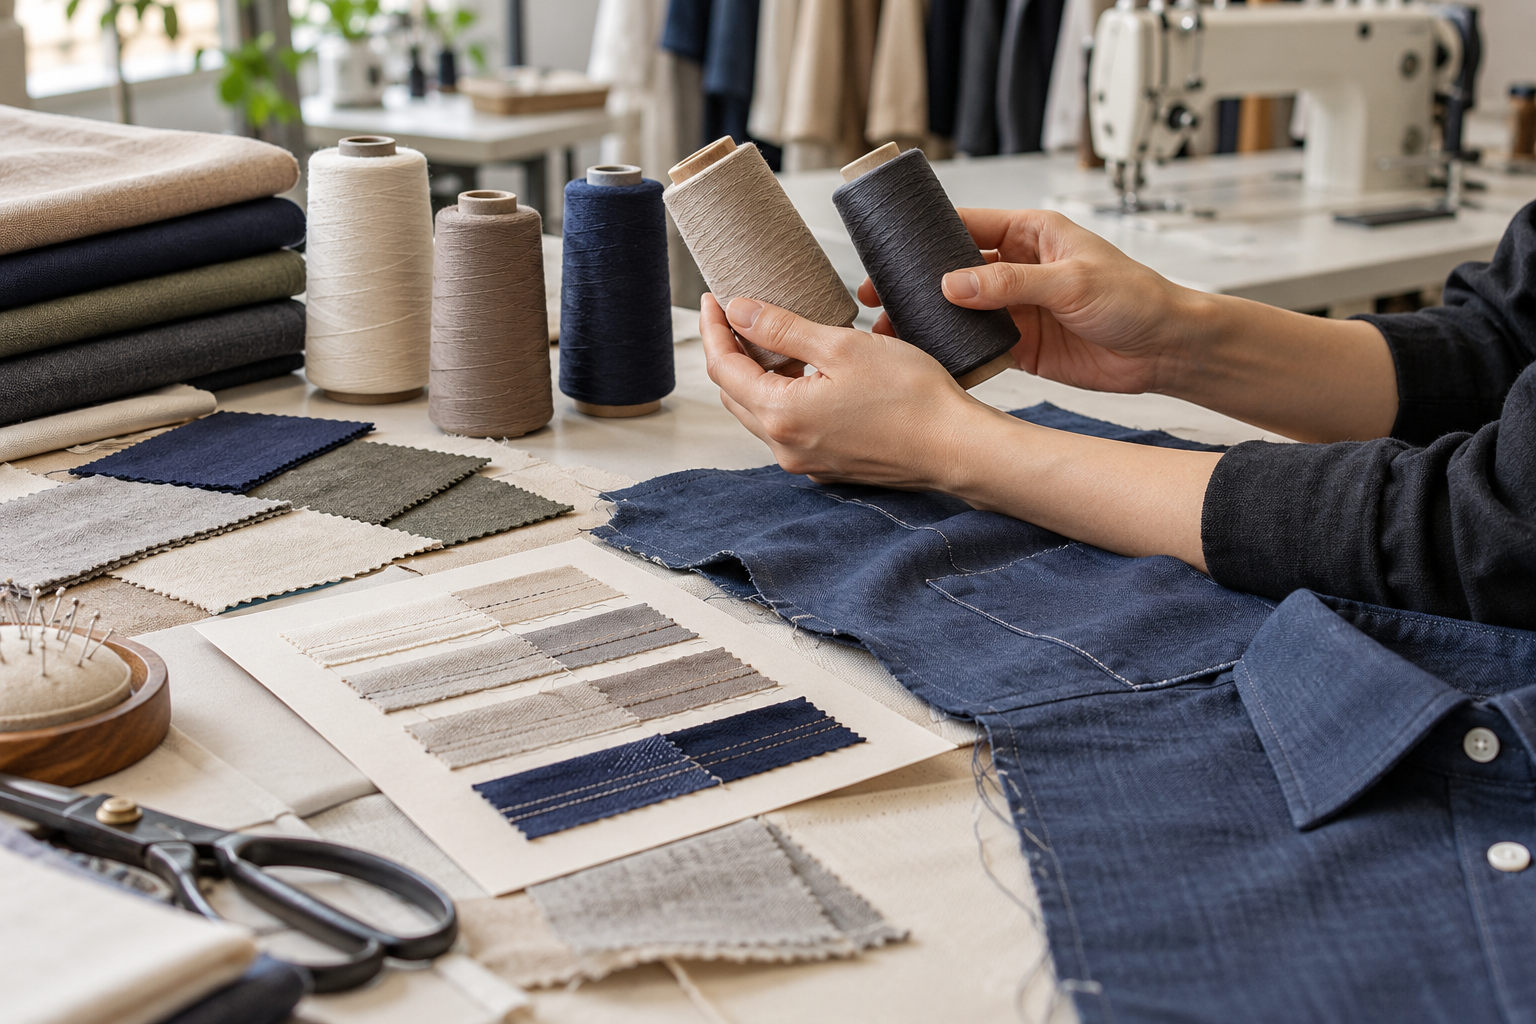
Where a design uses a contrast attachment thread or a deliberate stitch pattern, make that instruction explicit. Where the attachment should disappear, specify that visual intent as well. Clear construction details reduce the chance that an unspoken styling choice becomes an inconsistent result.
Use sampling to approve the complete button system
Approve buttons in context whenever possible. A loose trim card can confirm a color direction, but it cannot show how a button behaves on the actual fabric, through the selected buttonhole, after finishing, or alongside the garment’s proportions. The sample stage is where the brand can make decisions before the component is repeated across an order.
A practical sample review sequence is:
- Confirm that the button matches the approved reference for material, size, color, and finish.
- Inspect the number, position, spacing, and alignment on the garment.
- Operate each closure and assess ease of fastening, stability, and appearance when closed.
- Review the attachment from both sides of the garment, including any reinforcement or backer.
- Record any change in a dated approval note and update the component reference before the next stage.
This should be part of a structured sample feedback loop, not a last-minute comment. The process outlined in this clothing sample development guide is a useful companion when teams are consolidating comments across fit, construction, and trims.
Build a production-ready button specification
A production-ready specification makes the selected button easy to identify and review. Avoid relying on a supplier name, informal description, or a photo without dimensions. A clear record can include:
- Style name and button location
- Component reference or approved sample reference
- Construction type, material, color, and finish
- Diameter, thickness, and any key dimensional note
- Number of buttons per garment and placement details
- Buttonhole direction and relevant construction instruction
- Attachment thread appearance and any shank or reinforcement requirement
- Sample approval status, version date, and owner of the decision
Keep this information aligned across the tech pack, bill of materials, artwork or color references, and approval notes. If a component changes after sampling, update all affected documents. Version control is especially important when a design shares similar-looking buttons across several styles.
Common mistakes to avoid
The most avoidable problems arise when a button is treated as a generic detail. Avoid approving only from a digital image, omitting the buttonhole direction, leaving placement open to interpretation, or changing a button without reviewing it on the finished garment. Also avoid treating “same as sample” as a complete instruction if the sample itself has not been formally approved or clearly identified.
Another common issue is separating aesthetic approval from functional approval. The finish may look right under studio lighting yet feel unsuitable in use; the button may suit a flat fabric swatch yet pull on the sewn garment. Reviewing appearance, operation, attachment, and documentation together gives the brand a more dependable decision.
FAQ
How early should a brand choose buttons?
Choose the functional direction early enough to develop the placket, buttonhole, and garment construction around it. Final approval should be based on a representative sample, with the agreed component details recorded before production preparation.
Should every button be specified in the tech pack?
Each distinct button type and placement should be documented. A tech pack can reference a shared approved component when appropriate, but it should still show where that component is used and any style-specific requirements.
What should be checked on a button sample?
Check the material, finish, size, placement, buttonhole interaction, attachment appearance, ease of fastening, and how the complete closure looks on the garment. Record any approved adjustment rather than relying on verbal feedback.
Turn a small trim into a clear production decision
Button selection becomes easier when it is approached as a system: function, fabric, construction, attachment, sample review, and documentation. For a new style or collection, prepare the component references and approval questions before requesting development support. When you are ready to discuss a custom apparel project, contact Huilin Fashion with your tech pack, garment references, and trim requirements.