Interlining in Garment Manufacturing: A Practical Guide for Apparel Brands
Interlining is easy to overlook when a collection is still being developed. It is usually hidden inside collars, cuffs, waistbands, plackets, facings, and shaped panels, yet it can change how a garment holds its form, feels in the hand, and performs after care. For apparel brands, the right approach is not simply to choose a “soft” or “firm” option. It is to define the intended effect, test it with the actual shell fabric, and approve the finished construction before bulk production.
This guide explains how to make interlining decisions more clearly when developing custom apparel. It is written for brand teams working with manufacturers, especially when a style needs a reliable silhouette without losing comfort or the character of the outer fabric.
What is interlining in garment manufacturing?
Interlining is a layer placed between the outer fabric and an inner layer, facing, or lining. It adds support, stability, body, or shape to selected parts of a garment. It is not the same as a garment lining: a lining covers the inside for comfort, finish, or ease of wear, while interlining is primarily a structural component.
Depending on the design, an interlining may be fused with adhesive, sewn in as a separate layer, or used in a combination of methods. The choice affects both the garment’s appearance and the production process. A crisp shirt collar, a clean blazer lapel, and a stable waistband may each use interlining, but they do not necessarily need the same material or construction.
Start with the garment effect, not a material name
“Interlining” describes a function, not one universal product. Before requesting options, describe what each garment area needs to do. A short functional brief keeps a supplier conversation focused and makes sample review more useful.
Define the intended hand and structure
Ask whether the area should remain fluid, gain gentle support, hold a sharp edge, resist stretching, or keep a shaped form. Consider the garment as worn rather than judging a swatch alone. A structured neckline may need enough support to sit neatly, while a lightweight overshirt may need only enough stability to prevent a placket from rippling.
Useful notes can include the desired collar roll, cuff firmness, waistband recovery, front-opening stability, or pocket edge appearance. These observations are more actionable than a vague request for “premium” interlining.
Map each application separately
One garment can require more than one interlining. A shirt may need a different option in the collar, collar stand, cuff, and front placket. A tailored jacket may use support in lapels, fronts, hems, pocket openings, and shoulder areas. Document the location, target feel, and construction for every application. That prevents a single general note from being interpreted too broadly during sampling.
Match interlining to the shell fabric
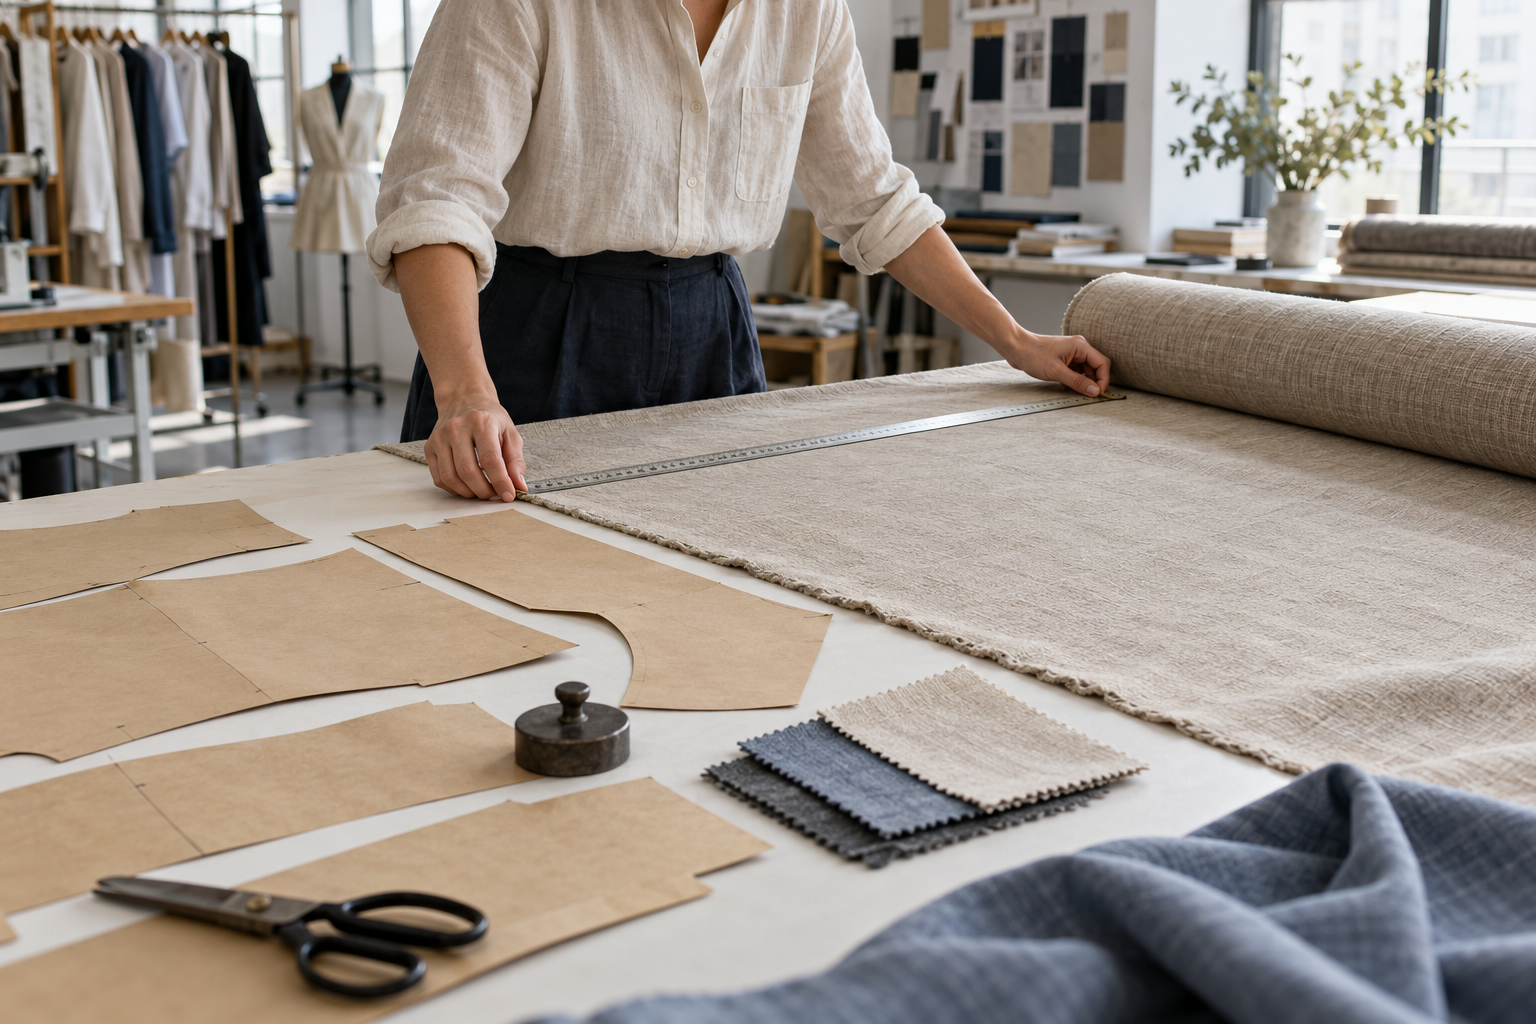
The shell fabric is the starting point. Its weight, weave or knit structure, stretch, surface texture, finish, color, and care requirements all influence which interlining is suitable. The same interlining can look clean on a stable poplin and create problems on a brushed, loosely woven, coated, or stretchy fabric.
Review the two layers together under normal handling. Check whether the interlining changes drape, creates an unwanted color shadow, telegraphs through a light shell, or makes the edge feel heavier than the surrounding garment. If the style uses more than one shell fabric or a contrast fabric, evaluate those combinations separately rather than assuming the first approval applies everywhere.
Material confirmation should also be part of the wider development process. A fabric testing checklist for clothing production can help teams identify the physical and care checks worth discussing before the garment moves forward.
Choose the construction method deliberately
Fusible interlining
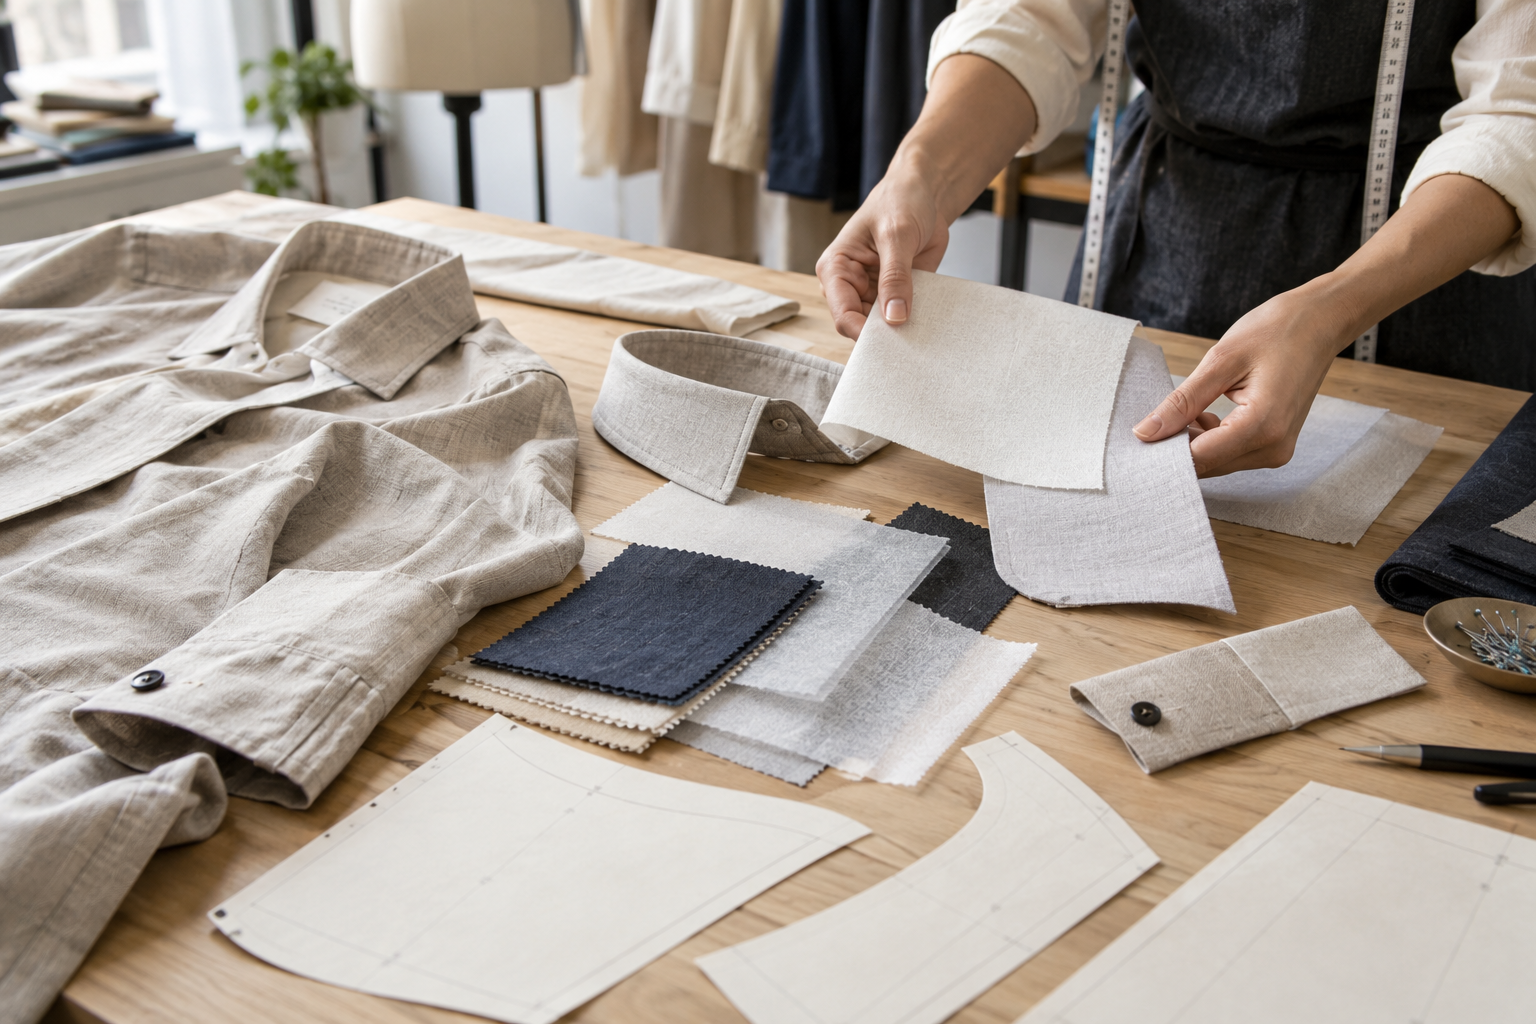
Fusible interlining is bonded to the shell fabric with heat, pressure, and time. It can provide a clean result and is common in many garment components. Its performance depends on the compatibility of adhesive, interlining base, shell fabric, and the fusing process. Approval should therefore cover the complete combination, not just an individual roll or reference card.
During review, look for smooth bonding and an even surface. Also check whether the shell has become overly stiff, distorted, shiny, or visibly marked. A good-looking press sample is not enough; wash or care evaluation can reveal lifting, bubbling, wrinkling, or changes in hand that were not visible at first.
Sewn-in interlining
Sewn-in interlining is attached as a separate layer rather than fused directly to the shell. It can be appropriate when the design needs a particular drape, when the shell fabric is not suitable for fusing, or when the intended construction calls for a more layered approach. It also introduces handling and seam considerations, so the sample should be examined for bulk, shifting, and how the supported area transitions to the unsupported area.
Combination construction
Some garments use fused support in one area and sewn-in support in another. The key is to record the decision by location. Your technical package should make clear which pieces are fused, which are sewn in, the placement boundaries, and any pressing or handling notes. For a broader foundation, see this guide to garment construction details for custom apparel.
Build an approval plan before bulk production
Interlining should be reviewed through samples, not approved as a detached material decision. Plan the review in stages so that comments become more specific as the garment develops.
- Material trial: Pair proposed interlinings with the actual shell fabric and assess hand, appearance, and behavior after the relevant care process.
- Component trial: Make representative collars, cuffs, plackets, waistbands, lapels, or facings. This is a practical way to compare options without waiting for a full sample.
- Garment sample: Inspect the interlined areas on the complete garment, on a body or form where possible, and alongside the style’s intended fit and styling.
- Pre-production confirmation: Record the approved material, color if relevant, construction method, component locations, and sample reference before production begins.
Use photos and concise comments to document what was approved. If a change is requested, identify the exact component and desired outcome: for example, “reduce collar stand stiffness” is more usable than “make it softer.” A structured fit sample feedback process is also useful for keeping construction comments traceable across versions.
What to check during sample review
Review interlining with the garment laid flat, hanging, and worn. Each view can reveal a different issue. The checklist below helps brand teams focus on observable results rather than assumptions about the material.
- Does the supported area keep the intended shape without looking board-like or overly rigid?
- Is the surface smooth, with no bubbling, rippling, strike-through, discoloration, or obvious adhesive effect?
- Does the edge transition naturally from the supported area to the shell fabric?
- Do collars, cuffs, facings, or waistbands sit evenly after closing, folding, and wearing?
- Does the shell retain its intended drape, stretch, and texture?
- After relevant care testing, is the bond or sewn-in layer still stable and visually acceptable?
- Are the approved components consistent across sizes, colorways, and fabric variants that use different materials?
Put interlining specifications in the tech pack
A production-ready tech pack should not leave interlining to an unwritten expectation. Include a component-by-component callout with the interlining reference, construction method, placement, and desired performance. Add a marked pattern or construction sketch if that will clarify the boundary or direction of application.
Where a final commercial material code is not available at the early stage, document the approved sample reference and the functional criteria it met. Then update the pack when the production material is confirmed. This supports controlled handoff and reduces the chance that an approved look is lost between development and bulk production. Brands can use an apparel tech pack guide to organize those decisions alongside measurements, trims, artwork, and construction notes.
Common mistakes to avoid
One common mistake is choosing interlining from a swatch without testing it on the actual shell fabric. Another is using the same support level across every component because it is convenient, even though each area has a different job. Teams also run into avoidable confusion when changes are made in conversation but not added to the approved specification.
Be careful with late shell-fabric substitutions. A change in weight, coating, stretch, finish, or color can affect the interlining result, so it may require a renewed trial. Likewise, a decision based only on an unwashed sample may miss care-related issues. Treat interlining as part of the garment system, not as a hidden afterthought.
FAQ
Is fusible interlining always better for clothing production?
No. Fusible and sewn-in options serve different construction needs. The suitable method depends on the shell fabric, component, desired silhouette, intended care, and the result shown by the approved sample.
Can one interlining be used throughout a garment?
Sometimes, but it should not be assumed. Components such as collars, cuffs, waistbands, lapels, and facings may require different levels of support or different methods. Decide by function and confirm the finished appearance in samples.
When should a brand approve interlining?
Approve it after reviewing it with the actual shell fabric and in representative components or a full garment sample. The final record should be included with the pre-production information before bulk work begins.
Make the hidden structure part of your development plan
Well-chosen interlining helps a garment deliver the silhouette the brand intended, while poor matching can undermine even strong shell fabrics and patterns. Define the effect by component, test it in the real material combination, review it through samples, and document the approved result clearly.
If you are preparing a custom apparel style for sampling, contact Huilin Fashion with your design brief, fabric information, and the structural details you want to evaluate. A clear starting package makes it easier to discuss the right sample questions.