Garment Dyeing vs. Piece Dyeing for Custom Apparel: A Brand Guide
Color is not only a design choice. For a custom apparel brand, the dyeing route can affect fabric behavior, fit review, color consistency, trim coordination, sampling, and the information a factory needs before production. Two common approaches are piece dyeing and garment dyeing. They can produce very different visual results and production considerations, even when the finished style looks simple.
This guide helps brand buyers compare garment dyeing vs. piece dyeing, ask better development questions, and build an approval path that keeps color decisions connected to the garment—not isolated from it.
What is piece dyeing?
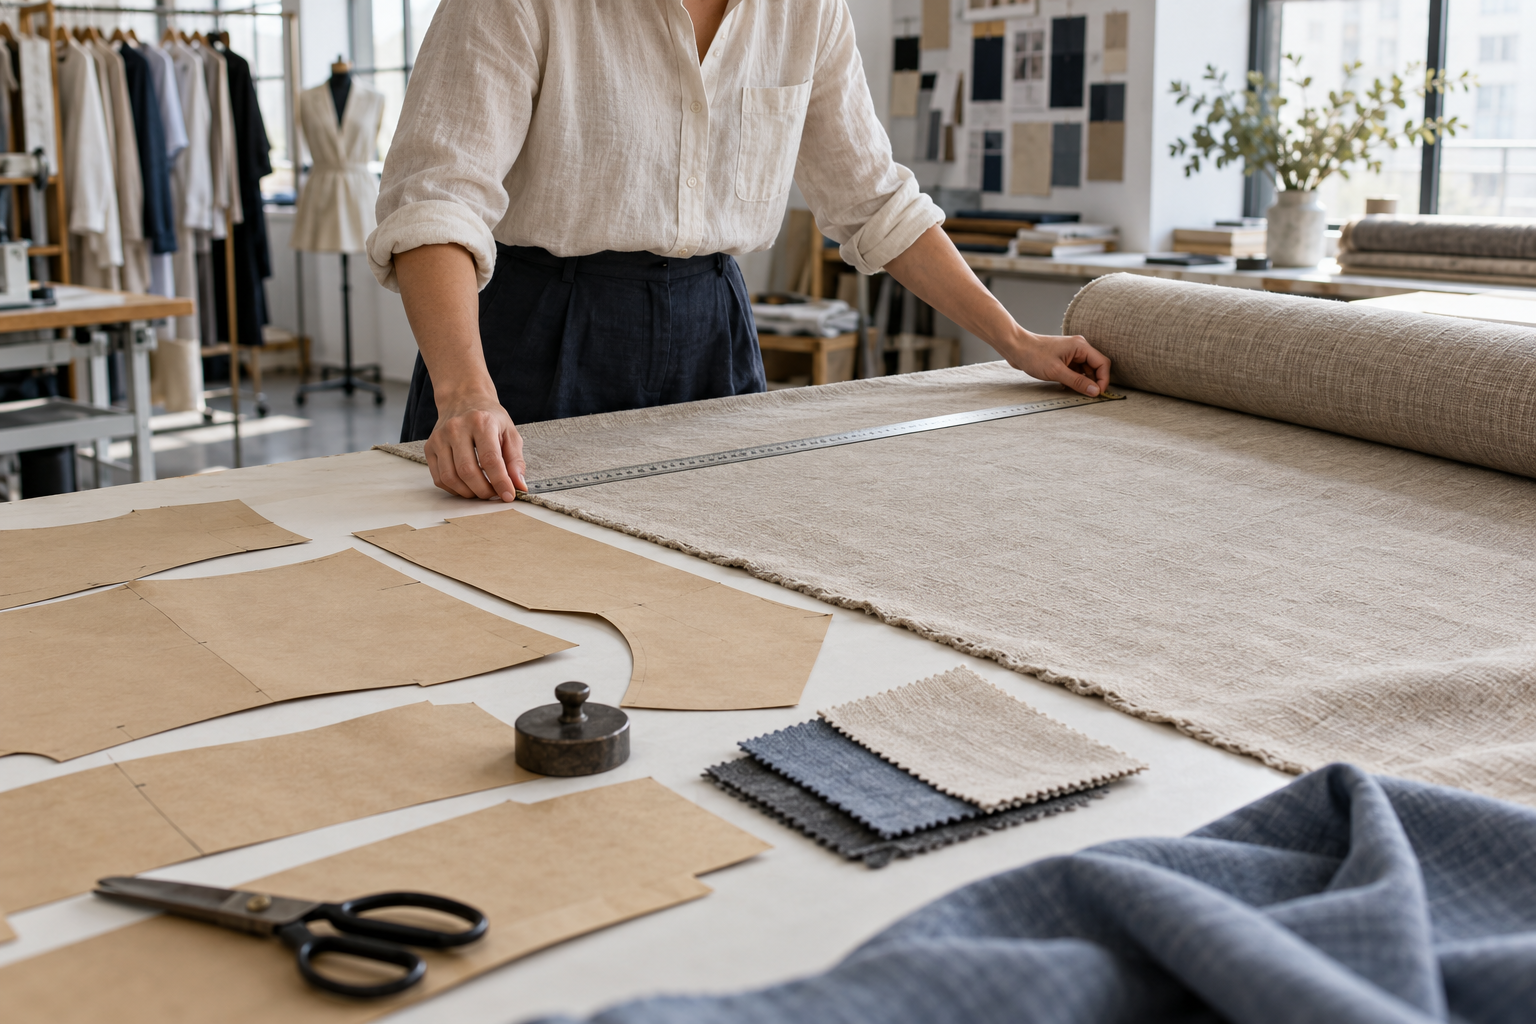
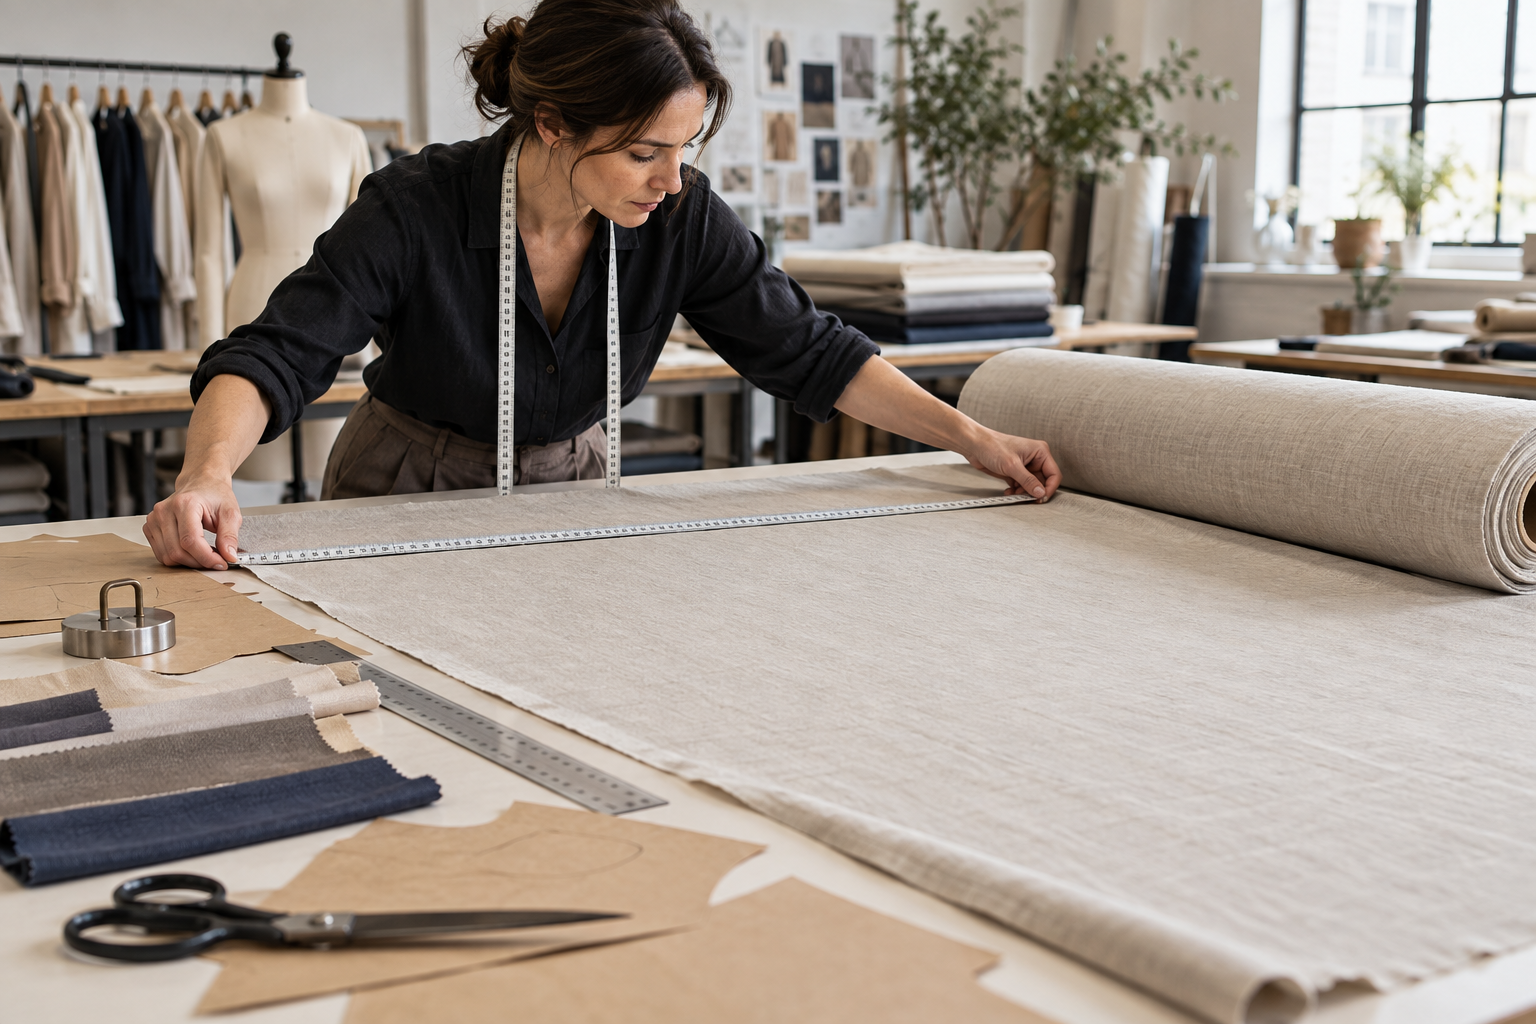
Piece dyeing means dyeing fabric by the roll before the garment is cut and sewn. The approved dyed fabric then moves into cutting, sewing, finishing, and final inspection. It is a common route when a style needs a controlled, even color across panels or when the fabric must be evaluated in its final color before construction.
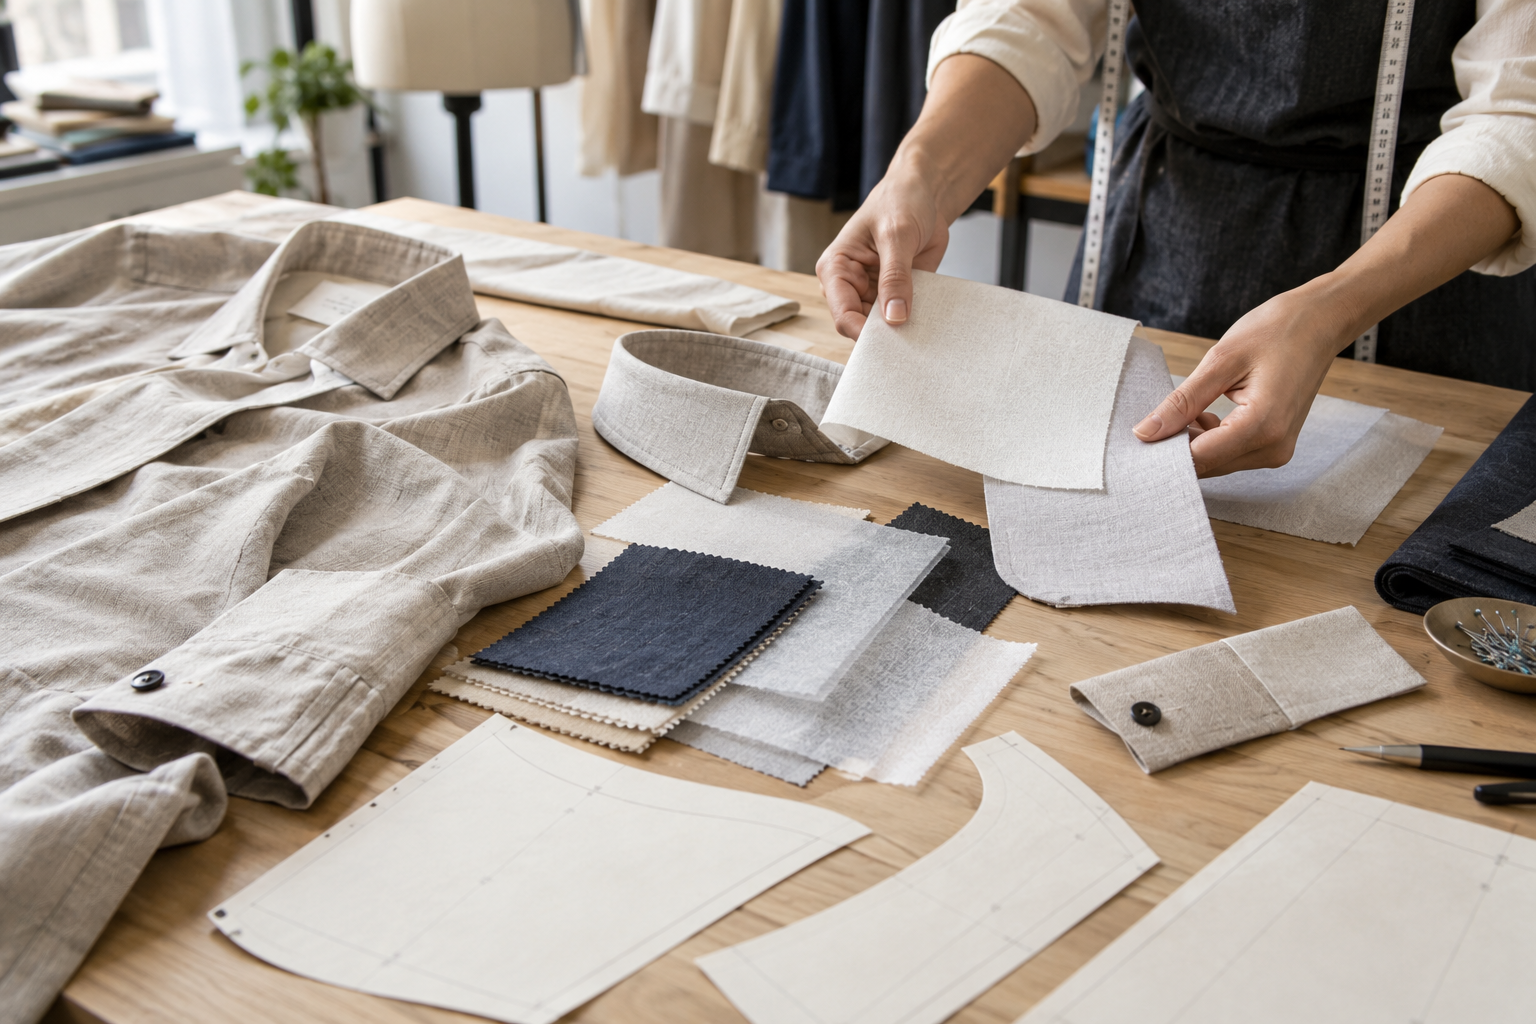
For a brand, piece dyeing makes the fabric itself a central approval point. Fiber content, construction, weight, stretch, surface texture, color, and any required performance characteristics should be considered together. A color may look right on a small swatch yet behave differently on the full fabric width or after it becomes a finished garment.
What is garment dyeing?
Garment dyeing means cutting and sewing the garment first, then dyeing the completed or largely completed garment. The process can create a softer, more lived-in, or subtly varied appearance depending on the fabric, color, garment construction, and finishing choices. It is often considered for casual jerseys, fleece, cotton wovens, and other styles where the intended look supports character rather than strict uniformity.
Because dyeing happens after sewing, every component that enters the dye process needs attention. Thread, labels, zippers, drawcords, elastic, interlinings, prints, and hardware may absorb color differently, resist dye, or react differently during processing. That does not automatically make garment dyeing unsuitable; it means the garment must be engineered and sampled as a complete system.
Garment dyeing vs. piece dyeing: the practical difference
The best route is not a universal quality judgment. It is a fit between the desired appearance, the material platform, the garment construction, and the level of color control your collection requires.
Color appearance and consistency
Piece-dyed fabric generally supports an intentionally uniform base color across the garment, subject to normal textile variation and the agreed approval standard. It is often a practical choice for styles with matching sets, color-blocked panels, repeated colors across multiple products, or details that must closely coordinate.
Garment dyeing can create tonal variation at seams, edges, pockets, rib areas, and layered construction. This can be attractive when it is part of the product direction. It can be a problem when the brief expects every garment to read as perfectly flat and identical. Describe the intended effect in words and reference images: “even solid color,” “washed depth,” or “subtle seam shadowing” gives a development team far more useful direction than a color name alone.
Fabric and construction behavior
For both routes, begin with the actual fabric—not only a fiber label. A fabric’s knit or weave, weight, stretch, surface treatment, and finishing history can influence how it takes color and how it changes through wet processing. In garment dyeing, seam puckering, torque, dimensional change, and abrasion can become more visible because the garment is processed after assembly.
Construction choices matter too. A multi-panel garment, lined item, structured outer layer, or style with contrast components may need additional trials. Confirm the intended fabric choices early using a documented fabric-selection process for private-label clothing, then test the dyeing route on a representative sample rather than assuming a fabric swatch will predict the final garment.
Trims, labels, and thread
Piece dyeing usually lets the team select and approve components against the final fabric color before the garment is made. For garment-dyed styles, components need a more explicit compatibility review. Some may dye with the garment; others may intentionally remain contrast. Either outcome must be designed, sampled, and approved.
List every component in a clear bill of materials: sewing thread, neck tape, drawcord, zipper tape, zipper teeth, snaps, eyelets, elastic, care labels, size labels, hangtags, and packaging. A detailed apparel bill of materials makes these decisions visible before bulk production. Do not leave “matching trims” as an undefined note.
Sampling and approvals
For piece-dyed production, the team may approve a lab dip or fabric color submission before moving to a garment sample. For garment dyeing, a finished garment in the intended fabric, construction, and component mix is usually the meaningful approval unit. A small color swatch can support direction, but it cannot show the full effect of seams, pocket layers, ribbing, or wash behavior.
In either route, identify what the approval sample represents. Is it confirming color only, the final silhouette, shrinkage allowance, trim behavior, or all of these? Keep feedback specific and consolidated: mark the issue, state the requested outcome, and record whether the change requires another sample.
How to choose the right dyeing route
Use the following questions as a decision framework before asking for a production quotation or sample plan.
1. What should the finished color look like?
Start with the visual target. If the collection calls for a clean, level shade with minimal variation, piece dyeing may align more naturally with that expectation. If the product concept values softness, vintage character, or nuanced color shifts around seams and edges, garment dyeing may be worth exploring. “Vintage” and “washed” are not production specifications by themselves—add visual references and define acceptable variation.
2. Can every component tolerate the proposed process?
Map the components before development. Ask which ones will enter the dye bath, whether any must be added afterward, and how the proposed approach affects their color and function. This matters especially for light-colored thread, coated hardware, printed graphics, elastic, and labels. If a detail is critical to the design, request a sample that includes that exact detail.
3. What is the risk to fit and dimensions?
Wet processing can affect length, width, twist, stretch recovery, and seam appearance. Your measurement specification should identify the points that matter to the style and the tolerances your team will use for evaluation. Review the garment after the proposed dye and finish process, not only before it. That creates a more reliable connection between development feedback and the eventual production standard.
4. How will color be approved and controlled?
Set an approval hierarchy before sampling: physical approved sample, fabric or garment color reference, written notes, and dated sign-off. Clarify how different lots, sizes, or colorways will be compared. For garment-dyed styles, also define whether tonal variation is expected and what level would no longer match the approved reference. The broader fabric, color, and trim approval checklist can help organize this handoff.
5. Does the collection need coordinated colors across styles?
Matching a tee, fleece, woven overshirt, and accessory in one named shade can require different development work because their fibers and constructions may take color differently. Consider whether “matching” means identical, visually coordinated, or intentionally tonal. Establish that expectation before setting the color range, particularly when a collection combines garment-dyed and piece-dyed products.
A practical development checklist for brands
- Define the color intent: State whether the goal is even color, washed character, seam variation, tonal depth, or a contrast-component effect.
- Confirm the material platform: Record fiber content, construction, weight, stretch, surface finish, and target colorway.
- Map all components: Identify what will dye, what will resist dye, and what may need to be applied after processing.
- Build a representative sample: Include intended stitching, trims, labels, pockets, ribs, prints, and finishing wherever possible.
- Measure after processing: Review the finished sample against the measurement specification and document the observations.
- Approve against a physical reference: Keep the signed sample or agreed reference available for future production communication.
- Record any exceptions: Note intentional variations, approved contrast parts, and limits that require escalation before bulk production.
Common mistakes to avoid
Choosing the process from a mood board alone
A mood board can set direction, but it cannot reveal how a specific fabric and garment construction will react. Translate the visual intention into a representative development sample and clear approval notes.
Approving fabric but not the finished garment
This is particularly risky for garment dyeing. A fabric swatch cannot show seam movement, trim contrast, pockets, rib attachments, or the final hand feel after processing. Approve the garment state that most closely represents what will be produced.
Leaving variation undefined
Variation can be desirable or unacceptable depending on the product. The mistake is not variation itself; it is failing to say what is intentional. Use reference samples and concrete comments to distinguish desired character from a result that needs review.
Separating color decisions from production documentation
Color decisions should appear in the tech pack, BOM, sample feedback, and approval record where relevant. A single message or image thread is not a durable production reference. Keep the final decision set organized before moving forward.
FAQ
Is garment dyeing better than piece dyeing?
Neither is inherently better. Garment dyeing may support a softer or more characterful appearance, while piece dyeing may suit a more even, controlled color direction. Choose based on the garment, material, components, and approval standard.
Can garment-dyed apparel use logos or prints?
It can, but the order of operations and material compatibility need to be planned. Discuss whether graphics or branding are applied before or after dyeing, and sample the actual combination. Do not assume a decoration method will look the same after wet processing.
Why should brands approve a post-dye sample?
The post-dye sample shows the condition customers will receive: color character, seam appearance, component behavior, dimensions, and hand feel. It is more useful than an unfinished or pre-process sample for confirming the final product intent.
What should be included in a garment-dyeing brief?
Include the style, fabric details, color reference, intended visual effect, all components, measurement points, decoration sequence, sample requirements, and the approval criteria for variation. Add clear photos or physical references when available.
Turn a color concept into a production-ready decision
The right dyeing route becomes clearer when a brand connects aesthetic direction to material, construction, components, and sample approval. Whether your next style calls for a uniform piece-dyed finish or the distinctive character of garment dyeing, document the decisions that the production team needs to see and review the finished sample closely.
If you are planning custom apparel and want to turn your color and product-development brief into a clearer sampling conversation, contact Huilin Fashion with your style details, fabric direction, and reference images.