Custom Children’s Clothing Manufacturing: A Development Guide for Apparel Brands
Children’s apparel is not simply adult clothing made smaller. A design may need to account for active movement, frequent washing, changing proportions, caregiver use, and product requirements in the intended market. That makes a clear development process especially useful before a style reaches bulk production.
This guide helps brand teams turn an initial idea into a practical brief for custom children’s clothing manufacturing. It focuses on decisions a buyer can prepare, discuss with a manufacturer, and confirm through sampling—without assuming a specific price, lead time, certification, or outcome.
Start with the product role, customer, and age range
Begin by defining what the garment needs to do in a collection. Is it an everyday jersey set, a lightweight woven dress, a layering piece, schoolwear, sleepwear, or an occasion style? The answer affects fabric, construction, trims, packaging, and the level of testing or review your team may need.
Describe the intended wearer as precisely as the brand can. A toddler, a preschool child, and an older child have different movement, dressing, and fit considerations. Rather than relying on a generic size name, state the target age band, the body measurements behind each size, how much ease is intended, and whether the style is designed for a close, regular, or relaxed fit.
Write a one-page product brief before discussing details
A useful opening brief includes the garment category, target age range, end use, planned colorways, expected decoration, preferred fabric direction, size run, and the market where the item will be sold. Add reference images only to explain the desired silhouette or finish; call out which elements are essential and which are merely inspirational. This gives a development conversation a practical starting point while leaving room to evaluate what is feasible.
Build a specification that supports safe, repeatable production
For children’s garments, small design details deserve early attention. Consider closures, drawstrings, cords, buttons, appliqués, labels, pocket openings, seam finishes, and decoration placement. The appropriate choices depend on the product, the wearer, and the rules that apply in the sales market, so brands should identify their own compliance requirements and have qualified advisors review them where needed.
Then translate design intent into measurable information. A manufacturer can make a better sample when it receives a clear tech pack, construction callouts, artwork files, a bill of materials, and a measurement chart. The apparel tech pack guide explains the core information worth assembling before development begins.
Separate design preferences from non-negotiable requirements
Mark each decision as either a must-have, a preferred option, or open for discussion. For example, a brand may require a certain neckline shape and sleeve length, prefer a particular pocket treatment, and remain open to compatible zipper or binding options. This distinction helps a supplier focus on the elements that define the style rather than treating every visual reference as an exact instruction.
For each component, record material, color, size, placement, attachment method, and approval reference. A structured apparel bill of materials is a helpful way to keep fabric, elastic, thread, labels, trims, and packaging decisions aligned as the style evolves.
Select fabrics for comfort, performance, and construction
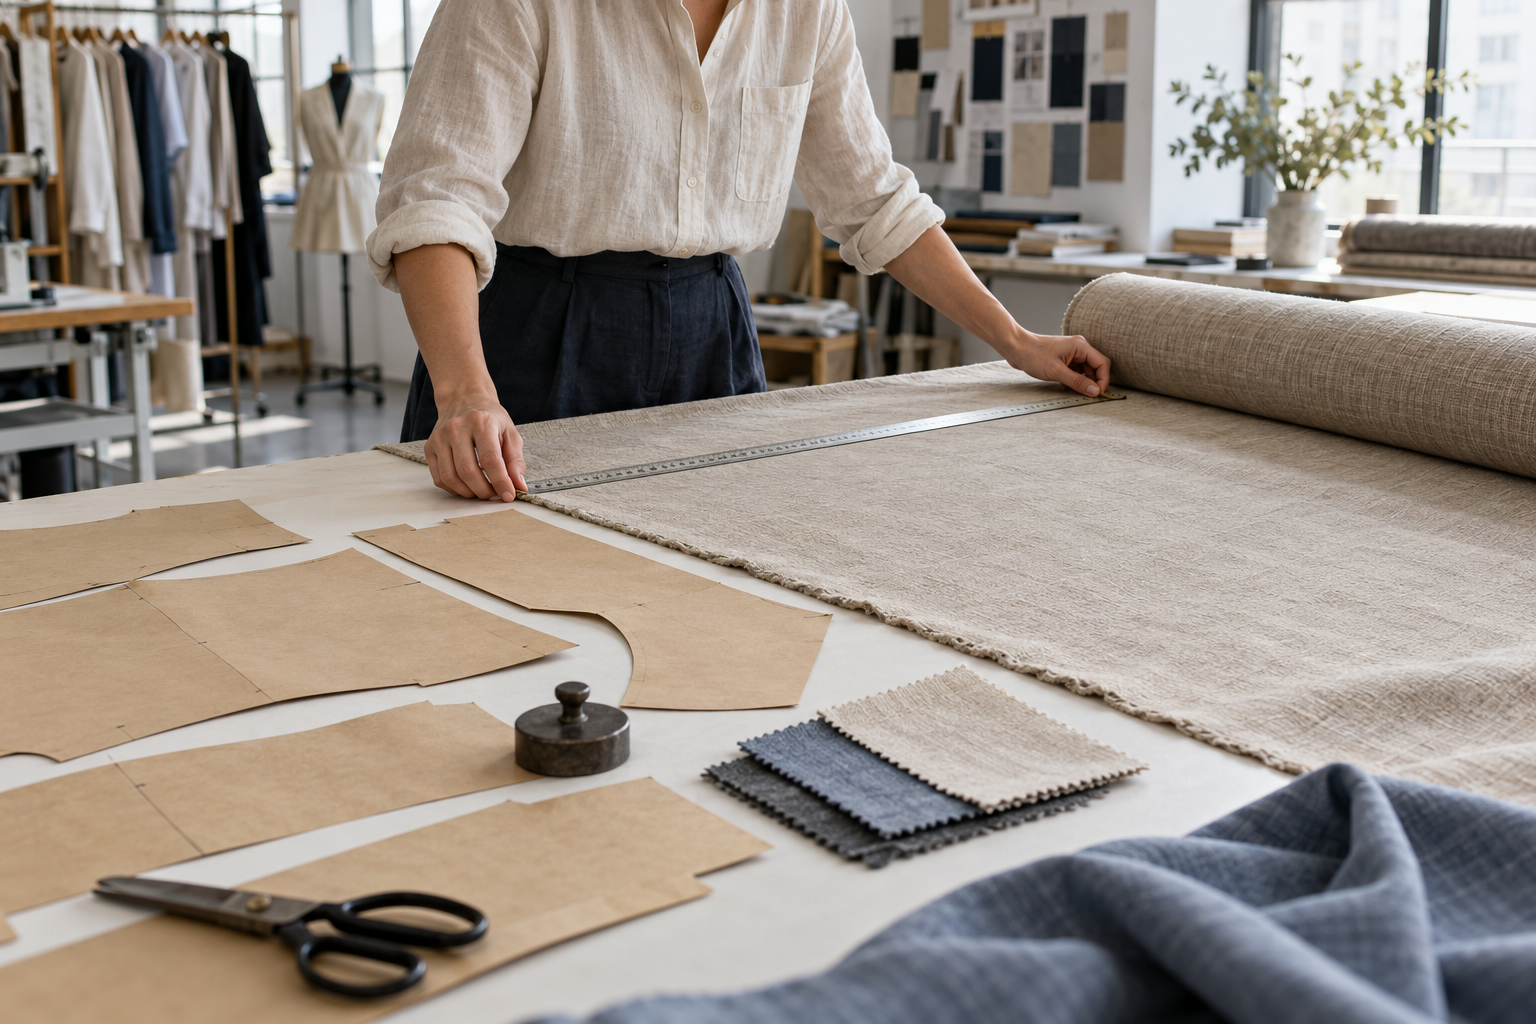
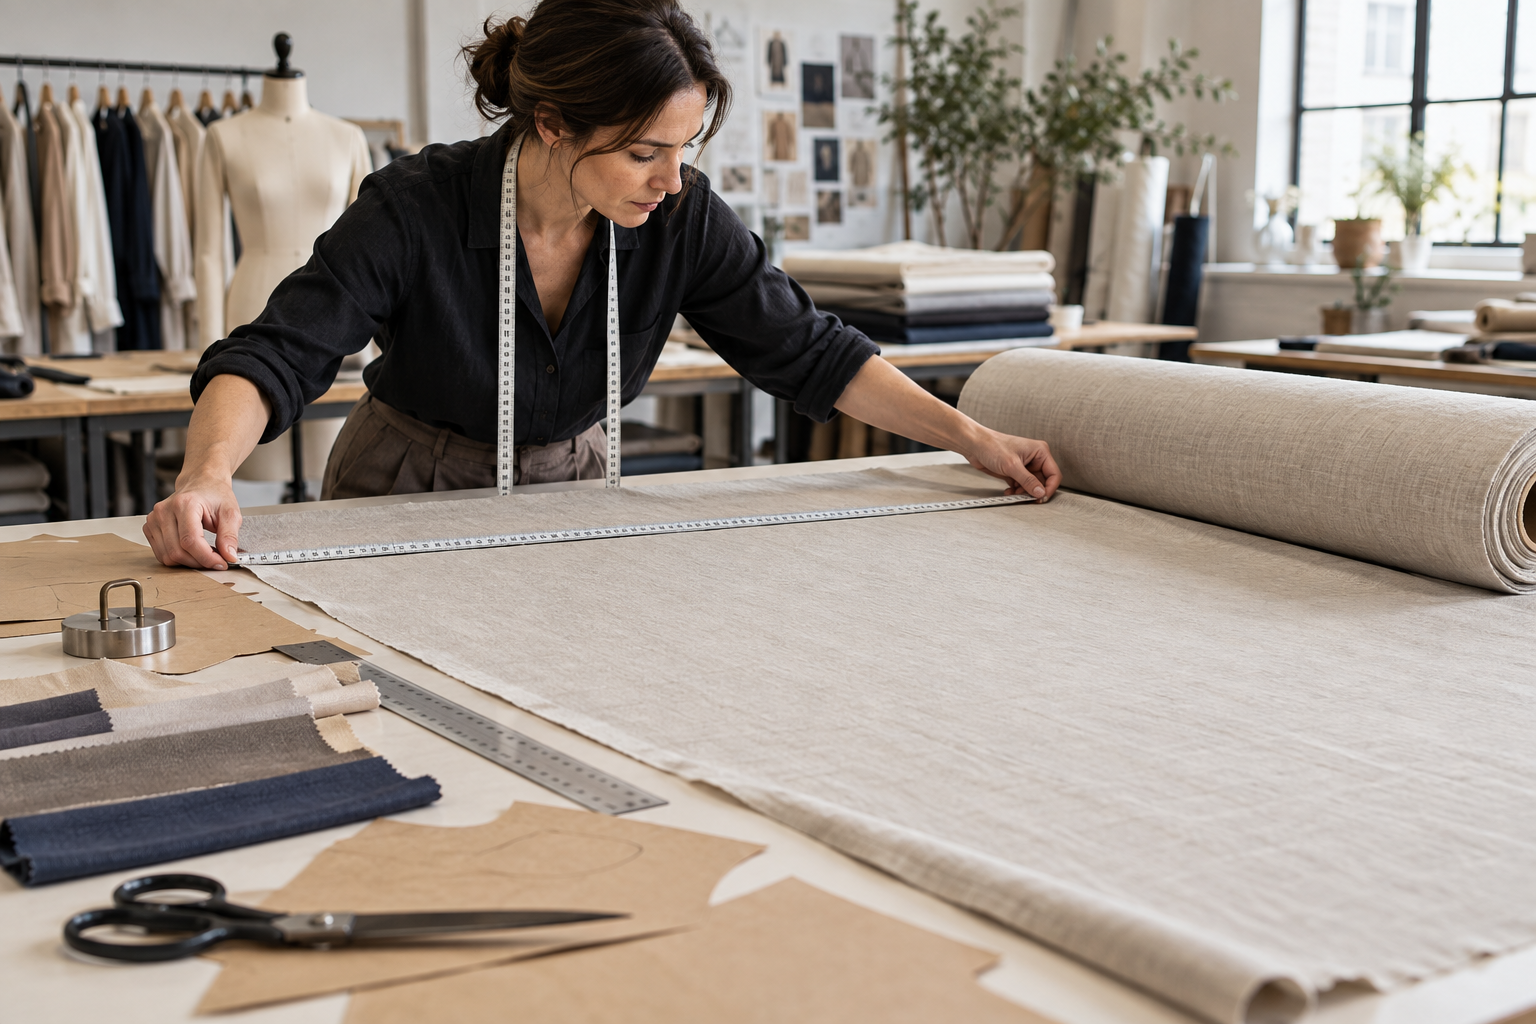
Fabric selection should start with the actual use case, not a swatch alone. A fabric for a soft base layer may be evaluated differently from one for a structured overshirt or an outer layer. Consider hand feel, weight, stretch and recovery, opacity, surface stability, abrasion, shrinkage, color behavior, care expectations, and how the material responds at seams, hems, necklines, and closures.
Ask for a fabric specification whenever possible and make sure the selected material is referenced consistently in the tech pack and sample comments. If a substitute is proposed, compare it against the approved material in terms of appearance, performance, and construction impact before accepting it. The goal is not to chase an abstract “best” fabric, but to choose one that supports the garment’s purpose and the brand’s stated requirements.
Plan color and print with the finished garment in mind
Color can look different on a screen, a swatch, a knit panel, and a finished garment. For solid colors, define the reference standard and the approval method. For prints, supply production-ready artwork, repeat information where applicable, scale, placement, and the acceptable orientation on each size. If a placement must remain centered or avoid a seam, state that explicitly. Review print appearance on the actual sample fabric rather than relying only on a digital file.
Design fit and construction around movement and everyday use
Fit is where the intended wearer becomes real. Consider how the garment is put on and taken off, how it performs while sitting, reaching, running, or playing, and what happens after laundering. A neck opening, waist construction, sleeve shape, crotch depth, or hem finish can change both comfort and the consistency of the final garment.
Create a point-of-measurement chart for every size, with measurement method and tolerance expectations. The guide to garment measurement tolerances can help teams distinguish a target measurement from the accepted variation around it. For a graded size range, identify the base size and make the intended changes between sizes visible, rather than assuming that proportions will scale automatically.
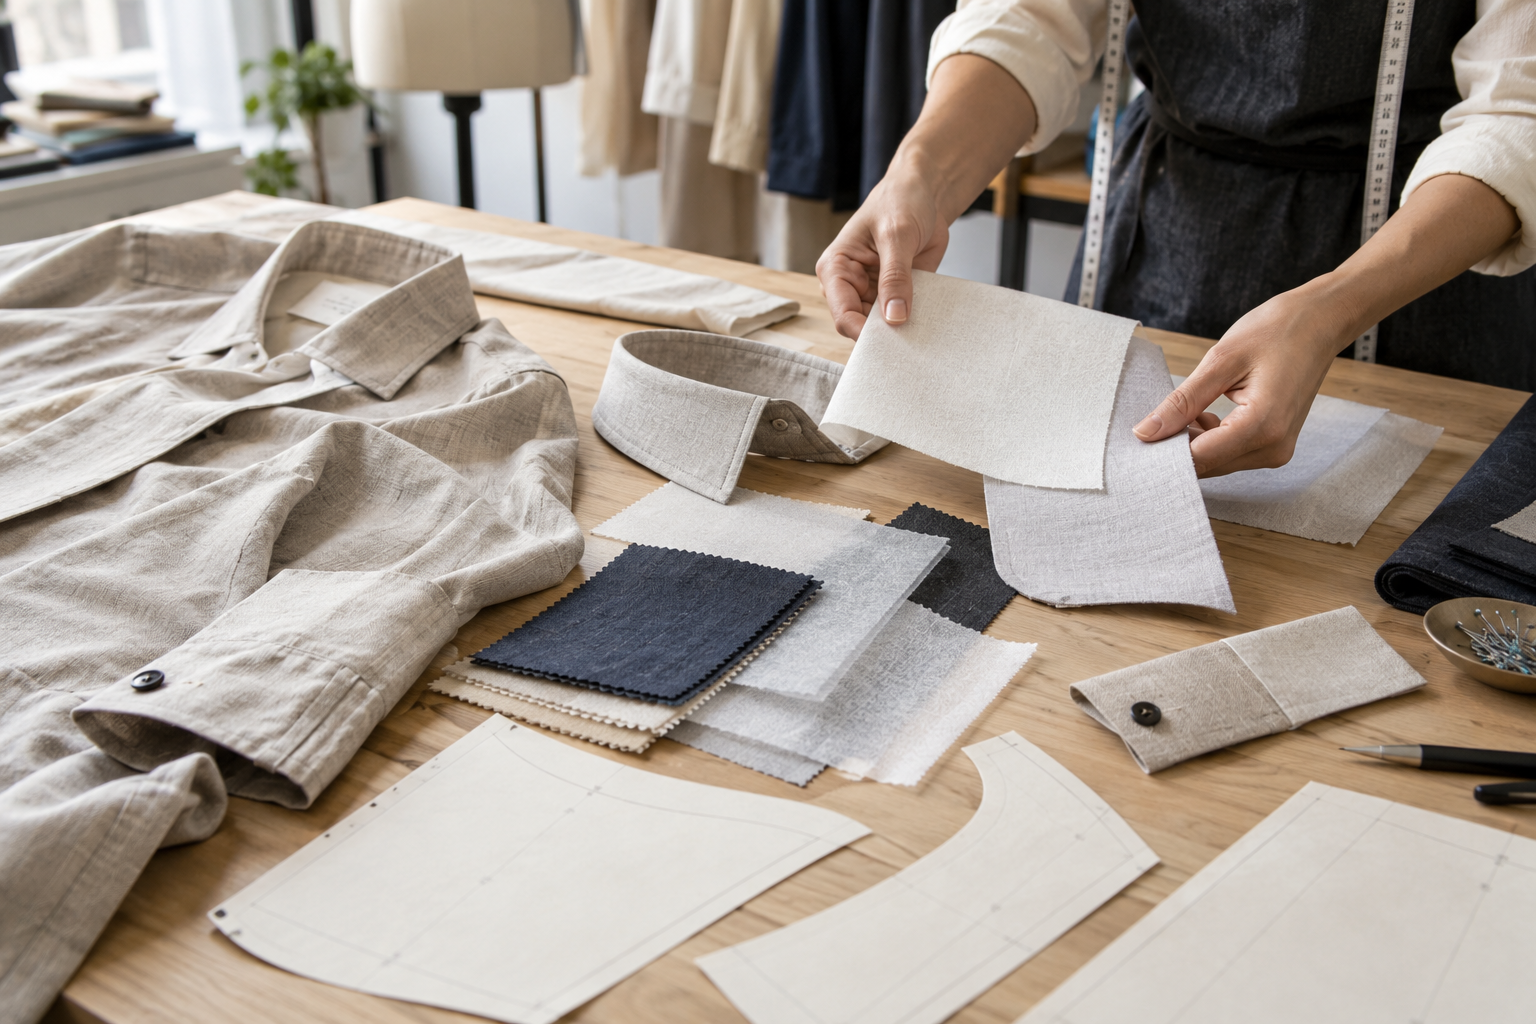
Construction callouts should explain the result the brand expects: seam type, stitch detail, reinforcement, lining or facing, elastic specification, neckline finish, label placement, and any special care for delicate areas. Photos with arrows and short notes are often more effective than a long paragraph. If there is a choice between a visually similar construction and a more durable one, discuss the use case and sample both when the difference matters.
Use sampling to reduce assumptions before bulk production
A sample is a decision tool, not just a presentation piece. Review it against the approved brief in a consistent order: materials, color, silhouette, measurements, ease of dressing, construction, labels, decoration, and finish. Try the garment on an appropriate fit form or through your own approved fit process. Handle the closures, inspect the inside, and compare every component with the specification.
Give feedback that can be acted on
Consolidate comments in one marked-up document or spreadsheet. Reference the sample version, photo, location, current condition, requested change, and approval status. Avoid comments such as “make it better” or “looks off.” Instead, describe the observable issue and expected result: “reduce the front neck depth to the approved measurement” or “move the care label to the left side seam.”
Before bulk approval, confirm that the approved sample, final measurements, fabric and trim references, artwork, packaging instructions, and any required test or compliance documentation are represented in the production handoff. A practical pre-production approval checklist can help the team make that review more systematic.
Questions to ask a prospective manufacturing partner
- What information is needed to assess this style and develop a sample?
- Which fabric and trim details need to be finalized before a production quotation can be scoped?
- How will pattern, sample, measurement, and construction feedback be documented?
- What sample approvals or references will be used for the bulk-production handoff?
- How should the brand share market-specific labeling, testing, and compliance requirements?
These questions encourage a clear working process without asking a supplier to make unsupported promises. They also reveal where the brand needs to supply more information before a reliable development decision can be made.
FAQ about custom children’s clothing manufacturing
What should a children’s clothing tech pack include?
Include flat sketches, a measurement chart by size, fabric and trim details, construction notes, artwork or print files, label and packaging instructions, and a clear list of approval requirements. Add details that affect safety, dressing, comfort, or market compliance.
Should brands use adult size grading for children’s apparel?
No. Children’s proportions and fit needs differ by age range and garment type. Set a base size and grading approach that reflect your target customer, then evaluate the size set through your own fit review process.
When should safety and compliance requirements be discussed?
At the briefing stage, before materials and details become difficult to change. Brands remain responsible for defining the requirements that apply to their product and sales market, and should obtain appropriate specialist guidance where necessary.
Move from concept to a reviewable production brief
Strong custom children’s clothing manufacturing starts with a focused product brief and improves through specific, documented approvals. When fabric, fit, construction, and production references speak the same language, a brand is better prepared to evaluate a sample and make a confident bulk-production decision.
If you are preparing a children’s apparel collection, contact Huilin Fashion with your product brief, reference materials, and questions to begin a development conversation.