Streetwear Clothing Manufacturing: A Development Guide for Apparel Brands
Streetwear succeeds when a clear point of view is translated into garments people want to wear repeatedly. For a brand moving from moodboard to production, the work is less about choosing a single oversized tee or hoodie and more about defining a consistent system: silhouettes, materials, trims, artwork, wash effects, fit, and the approvals that keep them aligned.
This guide helps apparel buyers prepare a production-ready streetwear brief. It is designed for founders and product teams who need practical decisions before sampling, without treating every streetwear label as if it should use the same fabrics, proportions, or finishes.
Start with a focused streetwear product direction
“Streetwear” describes an aesthetic and a customer relationship, not a technical garment specification. Before asking a manufacturer for a quote or sample, define what your first drop needs to accomplish. A graphic-led essentials range has different priorities from a utility-inspired collection, a premium fleece program, or a lightweight seasonal capsule.
Write a short product brief for each style that covers the wearer, intended season, styling role, price positioning, and the visual details that cannot be compromised. Then group the range into a few connected decisions: shared colors, compatible fabrics, repeat trims, and a fit language that feels intentional across tops and bottoms. This focus makes it easier to review feasibility without diluting the concept.
Define the silhouette before styling the surface
Silhouette drives both customer perception and construction. Specify whether a top should be regular, relaxed, boxy, cropped, longline, or oversized; do not rely on those labels alone. Supply target body and garment measurements, including chest width, body length, shoulder width, sleeve length, rise, inseam, leg opening, and hood dimensions where relevant. Note the base size and intended wearing ease.
Reference photos can communicate proportion, but they should support rather than replace a measurement specification. A garment measurement spec sheet gives the sample team measurable targets and gives your reviewers a common basis for feedback.
Choose materials for hand feel, structure, and end use
Fabric is a large part of streetwear’s identity. Weight, surface texture, drape, recovery, warmth, and how a fabric accepts printing or washing can all change the finished look. Start with the intended function of the style: a substantial graphic tee, a brushed fleece layer, a crisp overshirt, or a lightweight technical piece each needs a different material conversation.
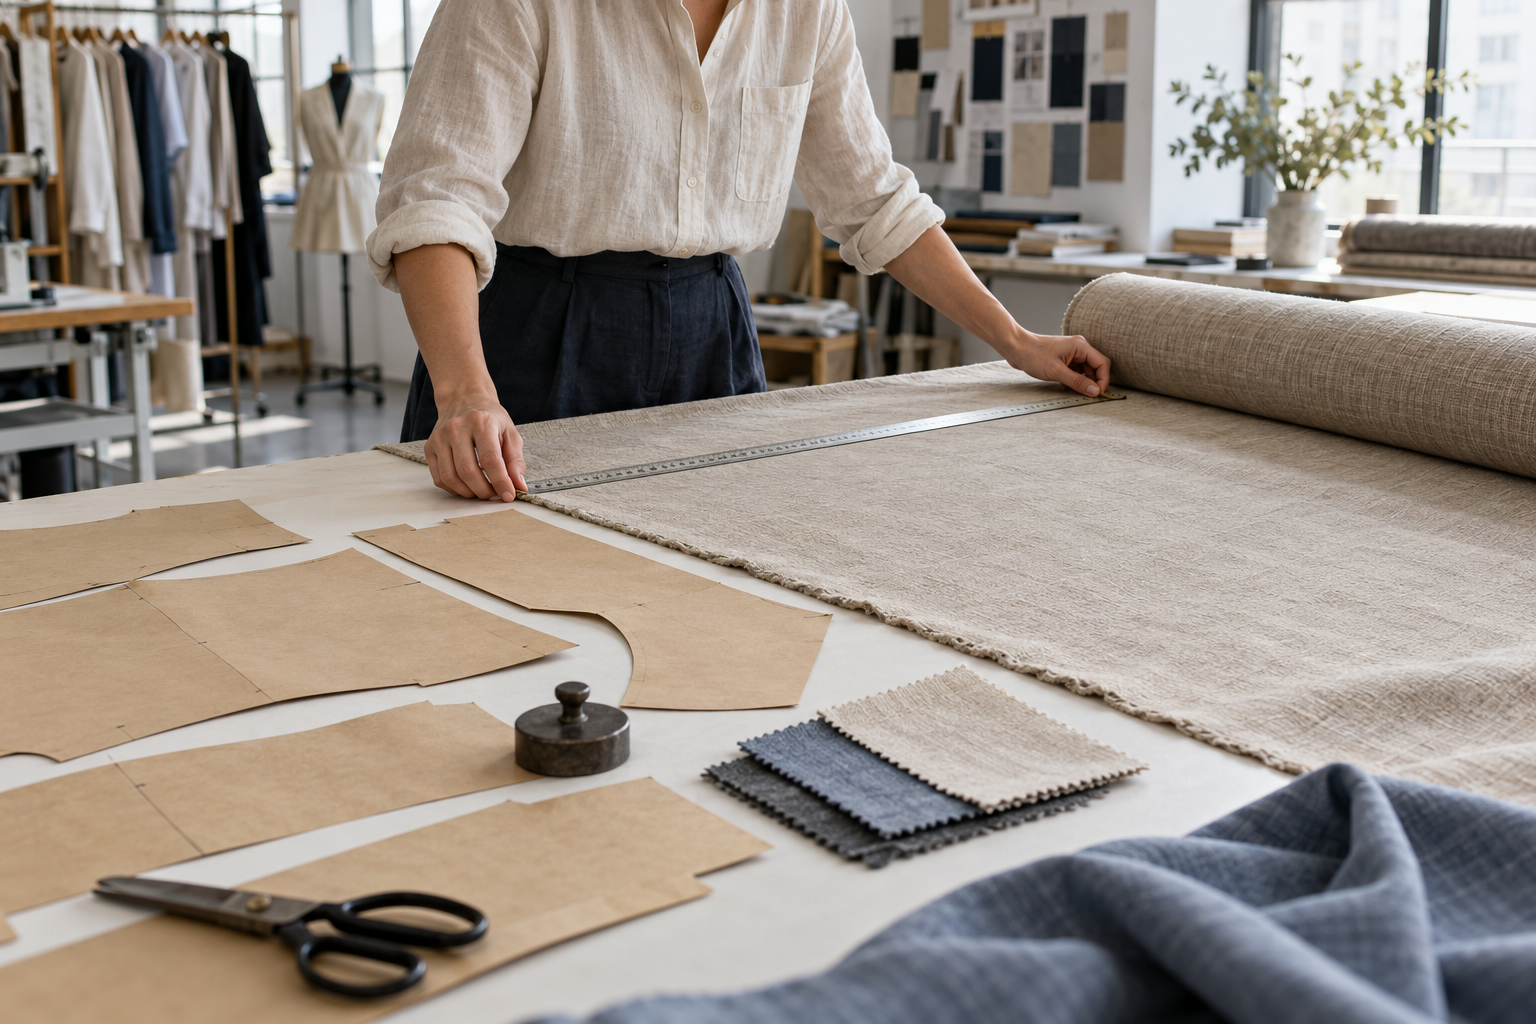
Rather than requesting a fabric by name only, describe the outcome you want. For example, state whether the garment should feel dense or fluid, hold a square shape or fall close to the body, show a clean print surface or a textured vintage character. Confirm composition, weight range, color, finish, and any required lining, rib, or pocketing materials in the bill of materials.
For fleece and jersey styles, the relation between the main fabric and the rib is especially important. A mismatched rib can alter recovery, color appearance, or the way a cuff sits after wear. For woven or utility-focused styles, consider how seams, pockets, hardware, and reinforcement will affect the fabric’s shape. Turn the resulting material decisions into style-specific requirements in your production brief.
Build recognisable details into the construction plan
Streetwear details often look simple only after they have been carefully resolved. Neck ribs, hood openings, drawcord channels, kangaroo pockets, woven labels, contrast stitching, zipper guards, patch pockets, and seam placements all need a clear description. Identify which details are signature elements and which may be adjusted for practical construction after sample review.
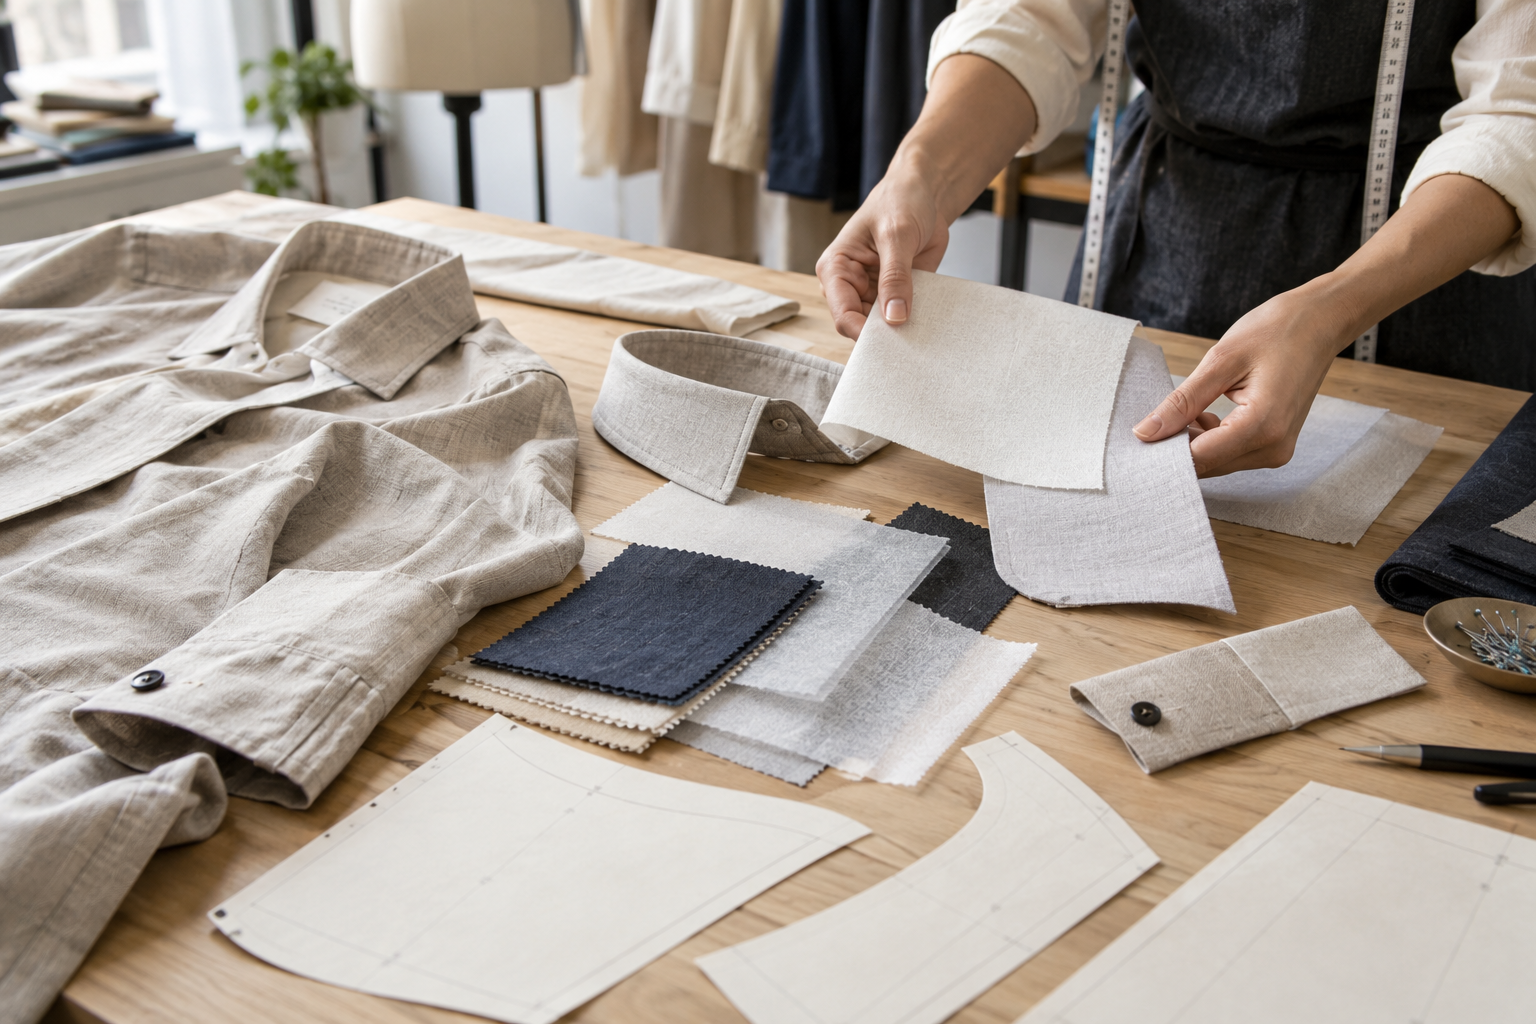
Include close-up references and callouts for visible details. Specify dimensions and placement for pocket openings, label positions, cord ends, stitch lines, and panels. If a detail must use a particular material or finish, record it in the bill of materials rather than leaving it in a visual reference. A good apparel tech pack connects these instructions to the pattern, measurement chart, colorways, and sample notes.
Plan artwork and decoration as part of the garment
Artwork is not an afterthought. Its method and placement affect fabric selection, panel layout, sampling, and approval. Provide final artwork files in a usable format, identify each placement, define scale from stable garment reference points, and clarify whether a print is intended to look sharp, raised, distressed, tonal, or deliberately irregular. If the same artwork appears on more than one fabric or colorway, review each application rather than assuming it will behave identically.
Screen printing, embroidery, heat transfer, appliqué, and other methods each have different strengths and limitations. Use the decoration-method comparison to frame the decision, then document the chosen method, artwork version, placement, colors, and approval reference for every style.
Use wash and finish requests with precise expectations
A washed, faded, peached, garment-dyed, or distressed effect can make a new style feel lived-in, but it also affects color, hand feel, measurements, seams, and trims. Do not use a descriptive phrase such as “vintage wash” as the entire requirement. Explain the desired visual character, provide reference images, and state what must remain controlled: logo legibility, print durability, color family, fabric recovery, or size measurement.
Finish development deserves a sample review because it can change the base garment. Review the sample after the intended process, not just before it. Record approved color, visual variation, hand feel, measurement results, and any trim changes in the final production notes. This creates a usable approval point rather than an expectation that can be interpreted differently later.
Create a sample plan that answers the right questions
Sampling is most useful when each round has a purpose. An early development sample may confirm the silhouette, pattern, and construction. A later sample can confirm fabric, trim, color, artwork, and finishing. If the range contains linked styles, sequence the work so a shared fabric, rib, label, or wash is resolved before it spreads through the collection.
Review samples on a body or form that reflects the intended fit. Take notes against the measurement chart and against the agreed visual direction. Separate mandatory corrections from optional ideas, and consolidate feedback into one clear response. When approving a style for production, retain the approved sample, confirmed specification, color and trim information, artwork files, and documented changes together.
Check the range, not just one garment
Individual styles can look correct while the range feels disconnected. Lay out samples by color and silhouette to check visual balance. Compare shared components under the same lighting. Confirm that fits relate as intended: for example, an oversized hoodie and a relaxed pant should feel deliberately coordinated, not accidentally mismatched. This range-level review is particularly useful when a collection is built around a small number of repeat materials and branded details.
Prepare a production-ready handoff
Before bulk production, assemble a single source of truth for each approved style. It should include the approved sample reference, tech pack, measurement specification and tolerances, bill of materials, colorways, artwork instructions, wash or finish approval, packaging and labeling notes, and the final feedback record. Make sure version names are clear so the team is not working from an earlier artwork or measurement sheet.
Ask practical questions before confirming the order: Are all fabrics and trims identified? Is every colorway tied to a confirmed artwork and finish? Which measurements and visual details need inspection? Are any substitutions or production changes subject to approval? Clear answers do not eliminate normal production variation, but they make the expected result easier to communicate and review.
Frequently asked questions
What should a streetwear brand prepare before requesting a manufacturing quote?
Prepare a concise style brief, reference images, target measurements, fabric and trim preferences, colorways, artwork requirements, estimated quantities, and the timing of your intended launch. The more clearly the product is defined, the more useful a feasibility discussion and quote comparison can be.
How can a brand make oversized streetwear fit consistently?
Define oversized fit with measurements and intended ease, not a label alone. Review the base-size sample on the intended wearer, identify the balance of body width, length, shoulder drop, sleeve shape, rise, and leg opening, then document the approved proportions before grading.
When should artwork be approved?
Approve artwork placement, scale, color, method, and visual effect on a representative garment sample before bulk production. Digital artwork approval is useful, but it cannot fully show how a decoration will interact with a specific fabric, color, seam, or finish.
Move from streetwear concept to an approval-ready brief
Strong streetwear manufacturing starts with a deliberate product system and ends with clear production instructions. When silhouette, fabric, construction, artwork, finish, and sample feedback point in the same direction, a manufacturer has the information needed to evaluate and develop the collection with fewer avoidable assumptions.
Ready to discuss a custom streetwear range? Contact Huilin Fashion with your style brief, reference material, and product priorities to begin a focused development conversation.