Garment Pattern Making for Custom Clothing: What Brands Need Before Sampling
For a custom garment, a pattern is the working bridge between an idea and something that can be cut, sewn, fitted, and repeated. It turns a sketch, reference garment, or technical pack into pieces with defined shapes, measurements, seam allowances, and construction logic. When a pattern is unclear, even a strong concept can produce a sample that is hard to assess—and difficult to reproduce consistently.
For apparel buyers and product teams, understanding the pattern-making stage makes conversations with a clothing manufacturer more productive. You do not need to draft the pattern yourself. You do need to provide the inputs that let a pattern maker interpret your design accurately, review the right sample, and capture changes before production preparation moves forward.
What garment pattern making does in custom apparel production
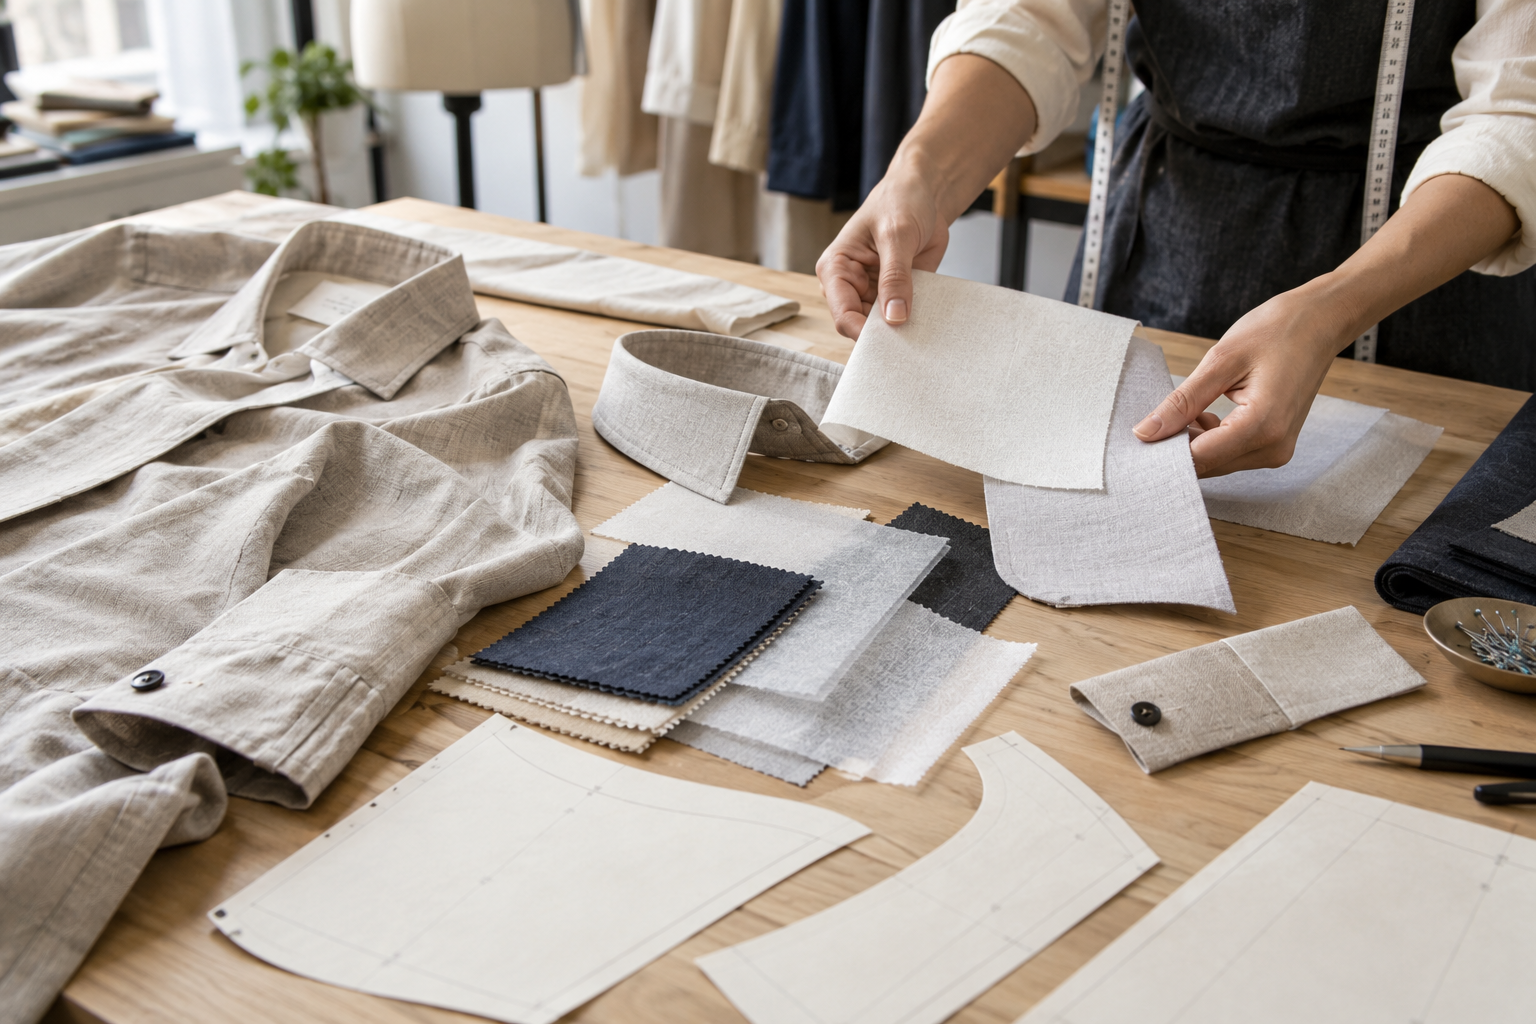
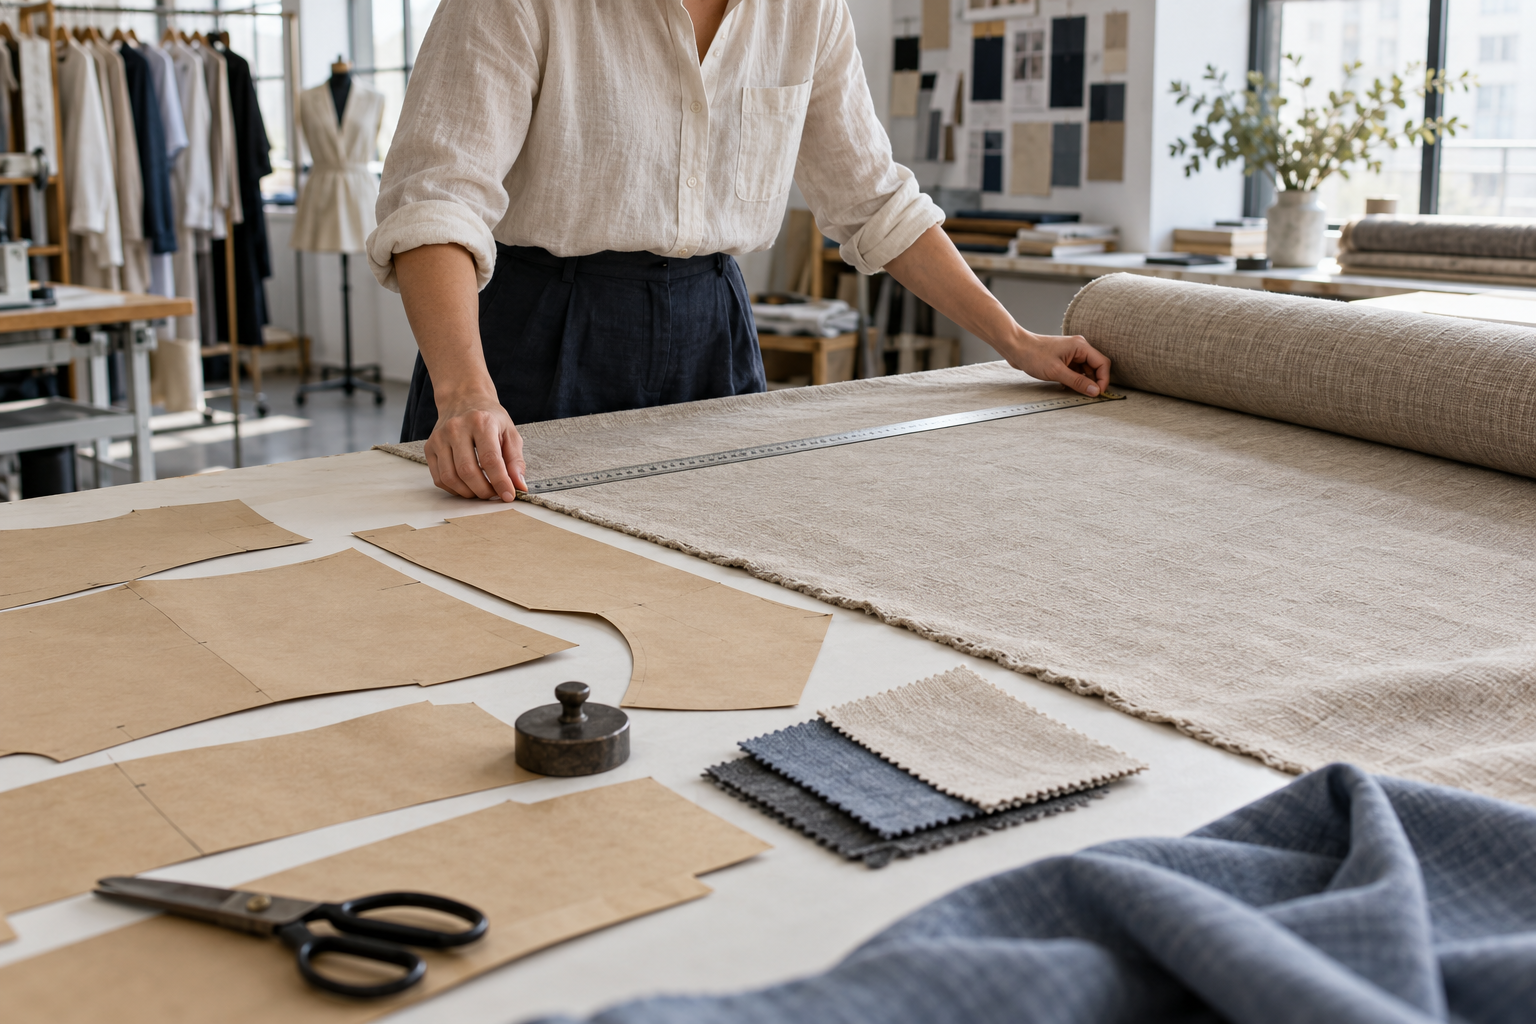
A garment pattern is a set of templates for the fabric components of a style: for example, front and back bodies, sleeves, collars, cuffs, pockets, facings, waistbands, linings, or panels. The pieces establish how the garment takes shape when sewn together. They also communicate practical details such as grain direction, notches, seam allowances, darts, pleats, and the relationship between adjoining seams.
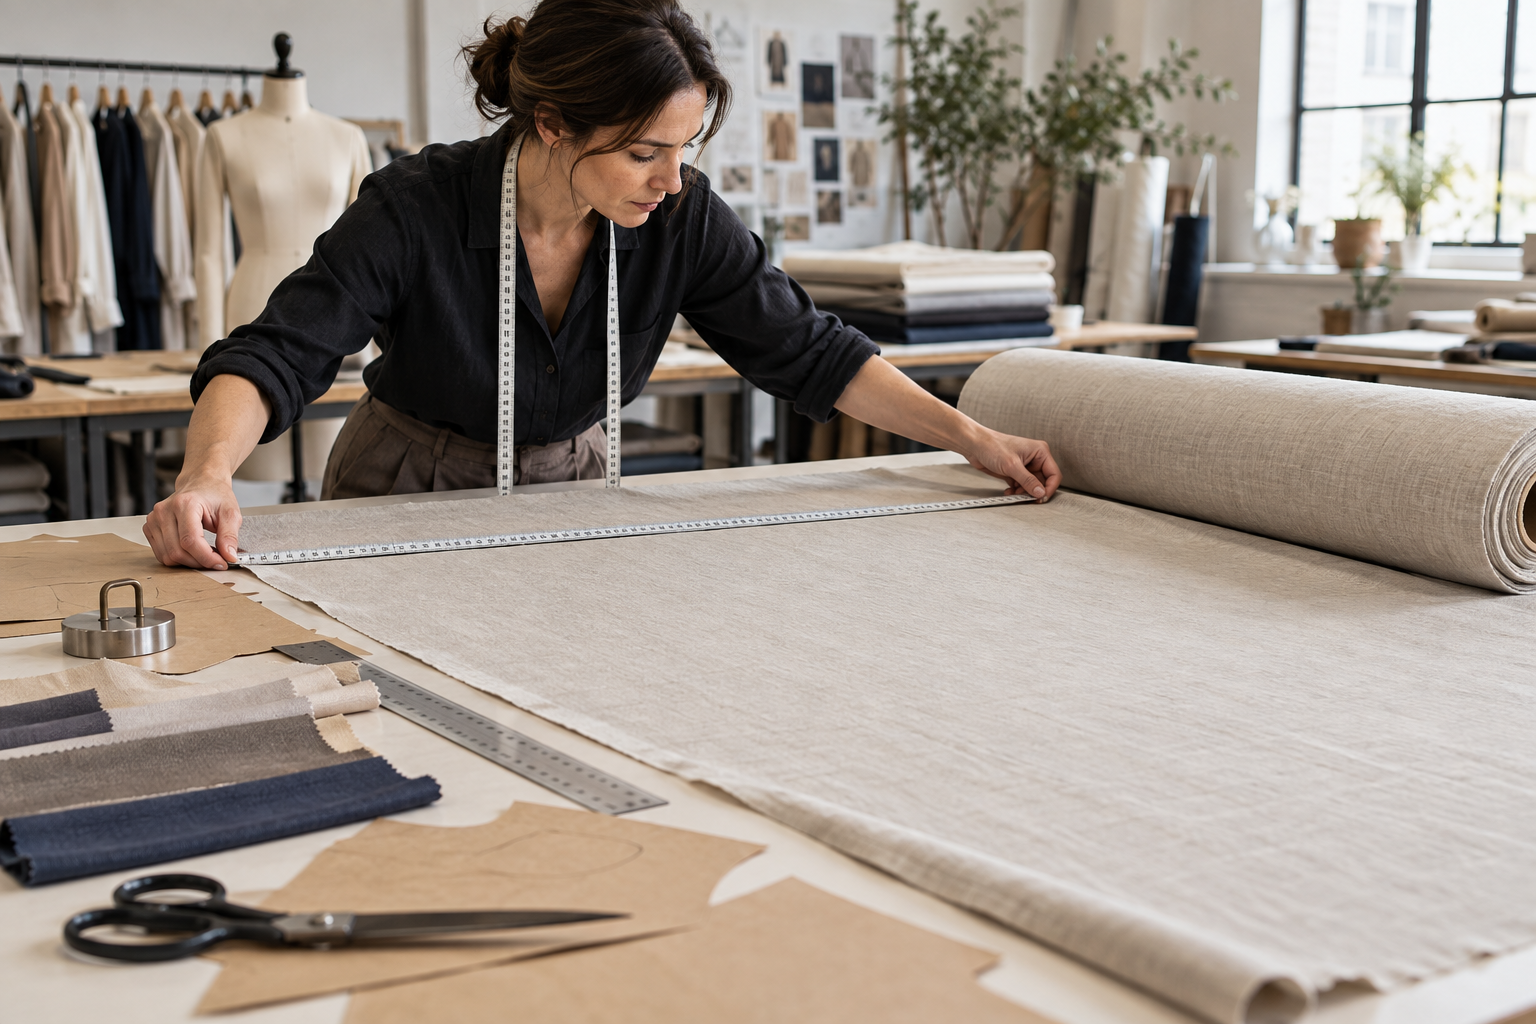
Pattern making is not simply tracing a drawing. The pattern maker translates the intended silhouette into a construction that works with the chosen fabric and the intended fit. A relaxed woven overshirt, a fitted jersey top, and a structured jacket can share a visual direction while needing very different pattern decisions. Stretch, thickness, drape, recovery, wash behavior, seam type, and finishing all affect how a pattern should be developed.
For a new style, the first pattern is usually a starting point rather than the final production pattern. Sampling and fitting reveal where the garment needs adjustment. The useful outcome is a documented loop: approved design information, a pattern, a sample, focused feedback, and a revised pattern when changes are confirmed.
Start with a clear design brief
A manufacturer can give better pattern guidance when the brief distinguishes what is essential from what is flexible. Before sampling, assemble a concise package that covers the product purpose, target customer, fit intention, key construction details, material assumptions, and preferred size range. A full apparel tech pack is often the most practical home for this information, but a carefully organized brief can also support the initial conversation.
Define the silhouette, not only the category
“Oversized hoodie” or “women’s shirt” leaves many choices open. Describe the proportions you want the pattern to achieve: shoulder position, body width, body length, sleeve volume, rise, leg shape, neckline depth, or intended ease. Reference photos can help, provided you identify the feature you are referencing instead of asking for an unexamined copy. Mark whether a visual detail is a must-have or simply direction for the overall mood.
Provide the measurements that matter
Measurement points help everyone evaluate the sample against the same standard. Use a measurement specification to define the base size, target dimensions, and acceptable approach to variation where relevant. If your team needs a starting structure, this garment measurement spec sheet guide explains the information brands commonly organize. Include how each point should be measured; a body width taken flat, for example, should not be confused with circumference.
Identify fabric and trim assumptions early
Patterns cannot be separated from materials. A pattern developed around a stable cotton twill may need different ease, reinforcement, or seam treatment when the fabric changes to a stretch knit or a slippery woven. State the planned material composition or construction if known, and flag anything still under review. For trims, identify their type and approximate placement: zipper length, elastic width, rib quality, pocket hardware, label position, or drawcord route. This prevents the pattern from being judged against assumptions that were never agreed.
Choose a base size and fit reference carefully
Most custom styles begin with a base-size pattern. The base size is the size used to establish the proportions and fit before other sizes are graded. Select it intentionally according to your size range, customer, and market. The base size is not automatically the smallest, largest, or best-selling size; it is the anchor for development.
A fit reference may be a measured sample garment, a block supplied by the manufacturer, a fit model, or a combination of these. A reference sample is useful when it shows a feature you want to match, but it should be treated as reference material, not as a complete specification. It may have hidden construction choices, a different fabric, or wear-related changes. Record exactly what should be evaluated: perhaps the shoulder slope and sleeve shape, rather than every measurement or finish.
It is also worth stating who will approve fit. Product, design, technical, and merchandising stakeholders can notice different issues. Naming one decision owner and collecting internal comments before sending feedback helps prevent competing revisions to the same pattern.
Use sampling to test the pattern, not just the appearance
The first sample is where the pattern becomes a physical garment. Review it on the intended type of fit model or dress form whenever possible, while also inspecting it flat. A sample can look acceptable on a hanger while showing restriction, imbalance, twisting, or excess volume when worn.
Separate observations into fit, construction, material response, and appearance. This makes feedback actionable. Instead of “the sleeve feels wrong,” note the condition and desired adjustment: the cuff sits too high when the arm bends; increase sleeve length subject to confirming the armhole and cuff relationship. Instead of “make the body better,” identify whether body length, sweep, chest ease, or hem behavior needs attention.
Review these pattern-related points during fitting
- Balance: Does the garment sit level and hang as intended from the shoulders, waist, or hip?
- Mobility: Can the wearer raise, bend, sit, or move through the intended use without unintended pulling?
- Proportion: Are length, width, volume, and placement of design lines consistent with the approved intent?
- Seam behavior: Do seams lie smoothly, match at joins, and support the garment’s shape?
- Material response: Does the fabric stretch, drape, recover, or distort in a way that requires a pattern adjustment?
- Construction feasibility: Can the requested detail be sewn and finished cleanly with the selected materials?
Keep fit comments organized by sample version and measurement point. For a practical feedback format, see this fit sample feedback guide for clothing manufacturing. Clear feedback preserves the reason behind a change and makes it easier to confirm that the next revision addressed it.
Understand the handoff from pattern to grading and production
Once the base-size fit and construction are approved, the pattern can be prepared for the broader size range through grading. Grading is not a simple scale-up or scale-down. Different points may change by different increments so the garment maintains appropriate proportions across sizes. The grade rules should reflect the target customer and the approved base-size measurements.
Before treating a pattern as production-ready, align the final pattern with the latest approved information. That includes the measurement specification, construction notes, fabric and trim choices, decoration placement if applicable, and any changes made during sampling. A late switch from one fabric to another, for example, may require a fit check rather than assuming the approved pattern will behave identically.
Ask the manufacturer which items they need confirmed before production preparation. The answer will vary by style, but the conversation should make version control visible. Your team should be able to identify the approved sample version, the associated measurement sheet, and the current design notes. That discipline reduces the risk of approving a sample while another document still describes an earlier version.
Questions to ask your clothing manufacturer about patterns
Pattern development works best as a technical conversation, not a black box. These questions can help a brand establish the right review points:
- Which source files or references are most useful for this style?
- What assumptions are being made about fabric, trims, and finishing?
- Which size will be used as the base for the first sample?
- What will be checked during the fitting review, and what feedback format is preferred?
- Which design details may need adjustment for construction or material behavior?
- When will grade rules be developed, and how will size measurements be confirmed?
- How will revised patterns and sample versions be identified?
These questions do not ask a supplier to reveal proprietary processes. They make the interface between your approved design and the sample more explicit, which is exactly where costly misunderstandings often begin.
FAQ: garment pattern making for clothing brands
Do I need a finished pattern before contacting a manufacturer?
Not necessarily. Many brands approach a manufacturer with a technical pack, measurement sheet, sketches, reference garments, and material direction. Be transparent about what is complete and what needs development so the pattern-making work can be scoped appropriately.
Can a technical pack replace a pattern?
No. A technical pack communicates the design intent and specifications; a pattern converts that information into cut pieces and sewing relationships. They support each other, and both should be aligned with the approved sample.
Should I approve grading before bulk production?
Review the size range and grading approach with the manufacturer before bulk preparation. Depending on the style and your process, you may also need to confirm size-set samples or measurements. The right level of review depends on the garment’s fit sensitivity and the decisions already validated in the base size.
What causes pattern revisions after a sample is made?
Common reasons include fit observations, a material change, updated measurements, construction refinements, or a new trim that affects the garment shape. A revision is useful when it is tied to a specific, documented decision rather than a vague request to improve the sample.
Move from concept to a reviewable sample
Strong pattern development gives your custom clothing project a stable technical foundation. Bring a clear brief, define the base size and fit priorities, confirm material assumptions, and give precise feedback on each sample version. This keeps creative intent connected to the practical choices that shape a finished garment.
If you are preparing a custom apparel style, contact Huilin Fashion with your design brief, technical documents, reference images, and material direction. A focused initial review can help identify the information needed to begin a productive sampling discussion.