How to Sew Pants: A Step-by-Step Guide for Beginners
Welcome to your guide on sewing pants, perfect for beginners. If you want to try DIY pants sewing or make your own pants, this guide is for you. We’ll help you pick the right patterns, fabrics, and teach you key sewing skills.
Sewing pants might look hard, but it’s easy with the right steps. Imagine wearing pants that fit you perfectly and show off your style. Let’s start our sewing journey together.
Key Takeaways
- Learn the basics of DIY pants sewing with easy steps for beginners.
- Find out how to pick the best pattern for your first pants.
- Learn about the best fabrics for pants and how to prepare them.
- Get to know the tools and supplies you’ll need for sewing.
- Master the skills to sew and finish your pants like a pro.
Keep reading as we cover each step of sewing. We’ll make sure your first handmade pants are perfect!
Choosing the Right Pattern for Your Pants
Choosing sewing patterns is key in making pants. Beginners need to pick the right patterns for success. Start with simple designs like pull-on pants for an easier time.
Understanding Pattern Sizing
Knowing about a pattern sizing guide is crucial. Pattern sizes differ from ready-to-wear sizes. They are based on waist and hip measurements.
For example, you need to know your waist, hip, and crotch depth. These measurements help create a pants pattern that fits you well.
- Waist Circumference
- Front and Back Waist
- Hip Circumference
- Front and Back Hip
- Waist to Hip Measurement
- Crotch Depth
- Front and Back Crotch Length
- Thigh Circumference
- Hip to Knee
- Knee Circumference
- Hip to Ankle
- Ankle Circumference
Getting these measurements right is important. It ensures your pants fit perfectly.
Finding Patterns for Beginners
Beginners should look for simple pants patterns. Look in sections like Pants and Skirts or Sleepwear. These patterns are easy to follow.
Start with a basic block pattern. It’s easy to modify as you get better.
Here’s a comparison of different patterns:
| Pattern Type | Design Elements | Skill Level |
|---|---|---|
| Basic Pull-On Pants | Elastic Waist, No Zippers or Buttons | Beginner |
| Classic Trousers | Front Fly, Pockets, and Darting | Intermediate |
| Jeans | Topstitching, Rivets, and Contours | Advanced |
In conclusion, use a pattern sizing guide and start with beginner patterns. This will help you on your sewing journey.
Selecting the Ideal Fabric
Choosing the right fabric for pants is key for comfort and durability. When sewing, pick materials that are easy for beginners. They should also match the pants style you want to make. Each fabric has its own special qualities, helping you make a better choice.
Recommended Fabric Types
From sewing 16 pairs of pants in a year, fabric choice is crucial. Cone Mills denim is great, with stretch and non-stretch options. The stretch types, like Cone Mills 12 oz S-Gene denim, offer flexibility and comfort.
For projects like Ginger Jeans, 1-2% spandex fabrics are best. Here are some top picks:
| Fabric Type | Width | Weight | Shrinkage |
|---|---|---|---|
| Linen Cotton Canvas | 54″ wide printable area | 6.2 oz per square yard | 2-4% length, 0-2% width |
| Lightweight Cotton Twill | 58″ (147 cm) | 5.8 oz per square yard | 4-6% length, 1-2% width |
| Dogwood Denim™ | 56″ (142 cm) | 11.7 oz per square yard | 7-8% length, 1-2% width |
| Cypress Cotton Canvas | 56″ (142 cm) | 10.6 oz per square yard | 3-4% length, 0-1% width |
The Emerson Crop Pant by True Bias is great with linen for summer. Chi-town Chinos by Alina Sewing and Design Co. work well with twill and denim. Stretch twill might need a size adjustment for a good fit.
Purchasing Fabric and Notions
When buying fabric for sewing pants, think about the type and amount needed. Usually, 2.5 to 3 yards is enough. But always check the pattern instructions for specific needs. Also, don’t forget to buy matching threads and essential sewing notions like elastics and zippers.
Always read the fabric care labels. Knowing how to care for the fabric and its shrinkage—like Dogwood Denim™’s 1-2% or Cypress Cotton Canvas’s 3-4%—helps beginners. It makes sure the fabric is right for your project.

Essential Tools and Supplies
To sew pants well, you need the right tools. It’s key to know the sewing toolkit essentials. Also, learn about beginner’s sewing machine tips and necessary sewing accessories.
Sewing Machine Basics
A reliable sewing machine is a must. It’s important to know how to use it. This includes threading, loading the bobbin, and regular maintenance.
- Threading the machine
- Loading the bobbin
- Maintaining the machine regularly
Reading your sewing machine manual helps. It shows you what the machine can do. This makes sewing pants easier.
Notions and Accessories
Having the right sewing accessories is key. You’ll need things like:
| Tool/Accessory | Description |
|---|---|
| Pincushion | Commonly shaped like a tomato with a dangling strawberry, but available in various shapes, sizes, and colors. |
| Sewing Shears | Ergonomically designed to prevent hand fatigue and ensure accurate cutting of fabric. |
| Needle Threader | Makes threading needles easier, which is great for big projects. |
| Tape Measure | Offers metric and American units for proper sewing tasks. |
| Bodkin | Used for threading elastics, drawstrings, and other enclosed items through casings. |
| Seam Ripper | Easily removes stitches that are not needed. |
| Pressing Tools | Includes ironing boards, press cloths, and sleeve rolls for pressing fabric. |
| Seam Guide | Aids in sewing consistent seams, often printed on the throat plate of most sewing machines. |
| Hand Sewing Needles | Recommended for small jobs and minor repairs, available in various sizes and types. |
Knowing these tools and accessories helps a lot. They make sewing easier and more precise. Attachable guides help keep your stitches straight.
Use rotary cutters on cutting mats for clean cuts. Seam guides, adjustable rulers, and pressing tools are vital for a pro finish. They’re very helpful for beginners.
Prepping Your Fabric
Getting your fabric ready is key to sewing well. Start with careful fabric prep to save time and effort later.
Prewashing Fabric
It’s important to know how to prewash fabric. This stops shrinkage and removes residues that can mess with sewing. Different fabrics need different prep, like organic twill, wool, and Japanese denim.
For machine-safe fabrics, a simple wash and dry works. But for delicate stuff like wool, you might need to steam or dry clean.
For example, 100% cotton needs washing and drying before sewing. This gets rid of chemicals and sizing agents. Wovens should be washed gently with regular detergent and a color catcher to stop color bleeding.
Silks need extra care. Don’t wash them with dirty clothes to keep them looking good.
Ironing and Cutting
After washing, iron your fabric to get rid of wrinkles. This makes cutting easier and more accurate.
When cutting, use the right cutting techniques for sewing. Lay out fabric flat and pin patterns before cutting. Use sharp tools for clean edges. This is crucial for projects like the Bianca Flight Suit or Mitchell Trousers.
Cutting Out Your Pattern Pieces
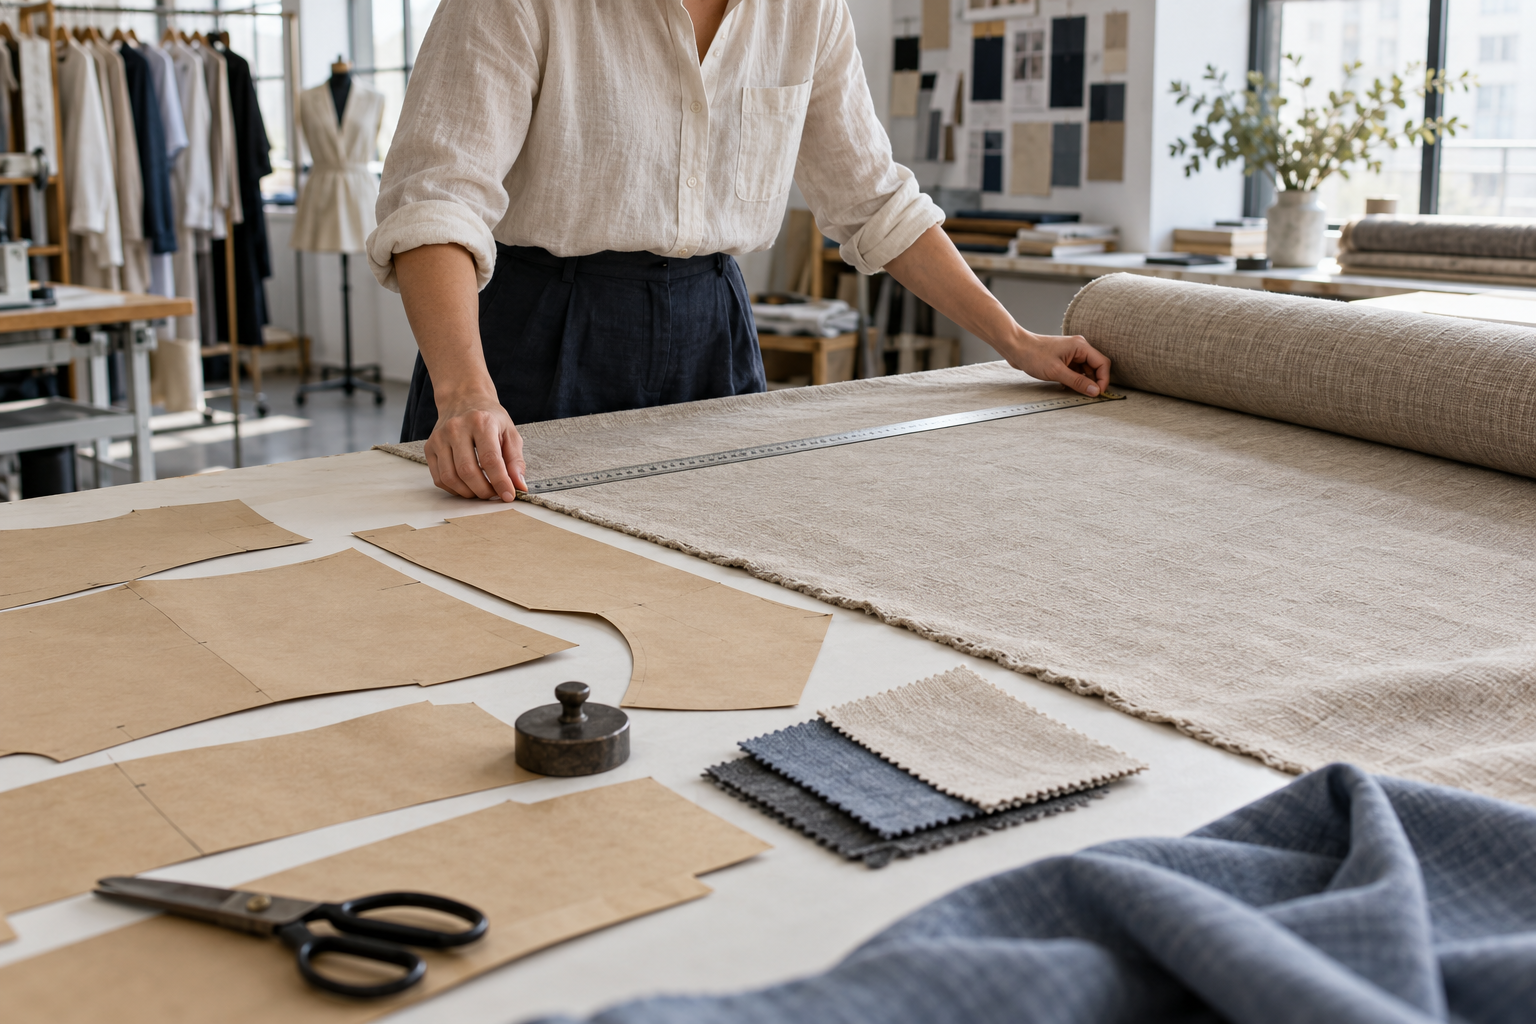
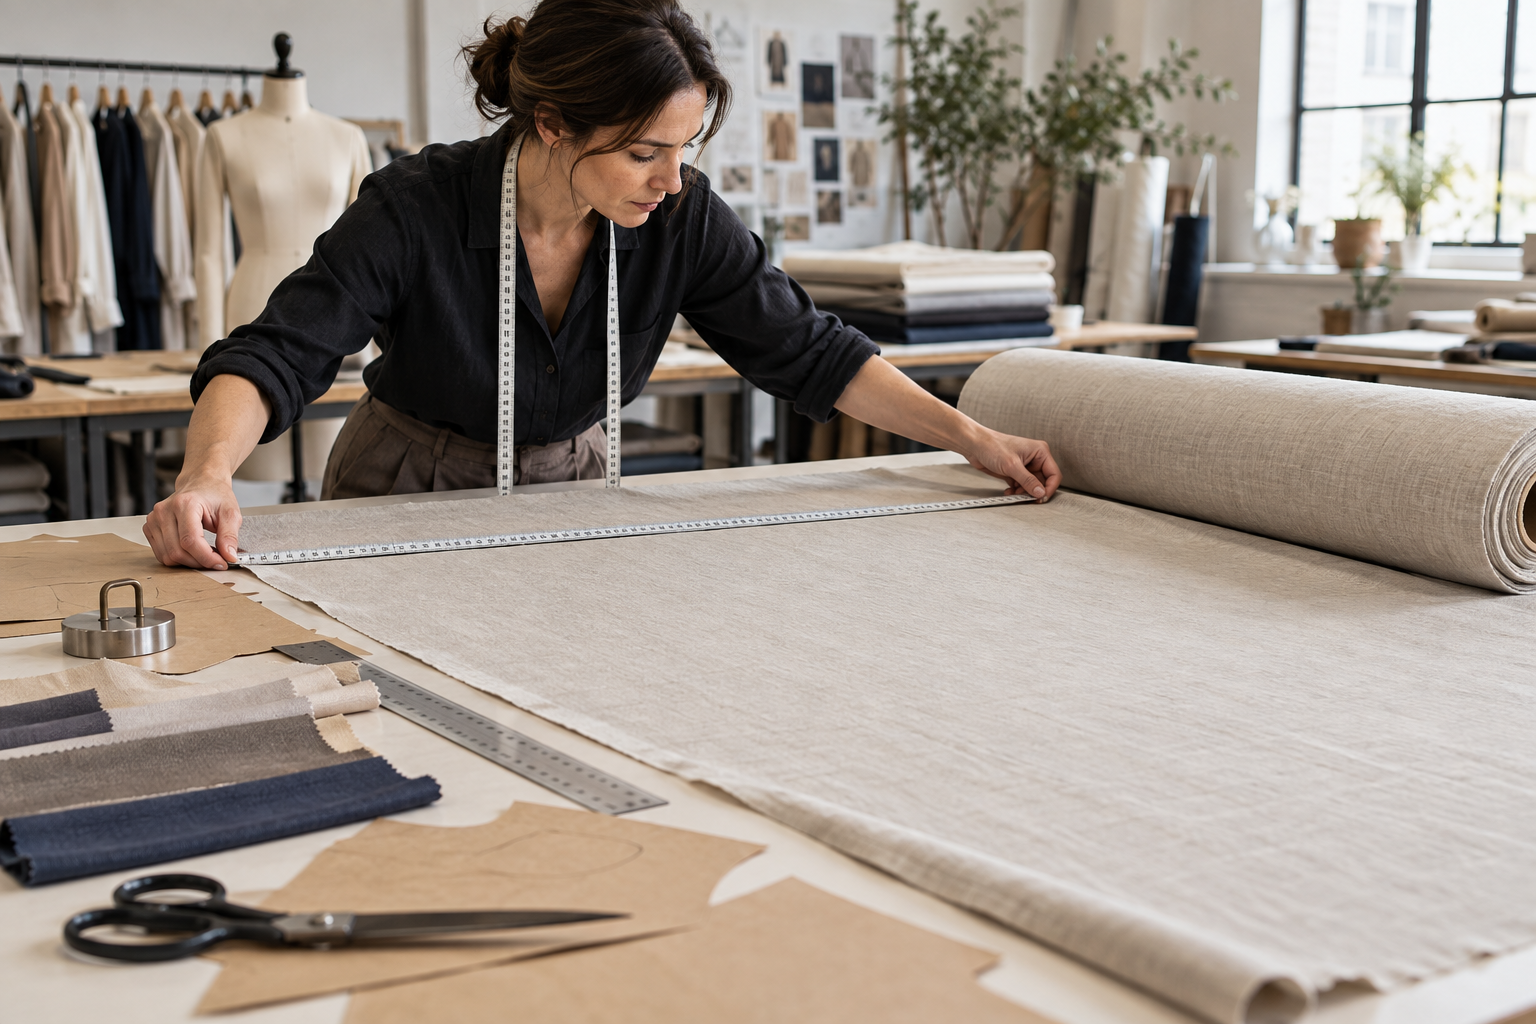
Getting your pattern pieces right is key for pants that fit well. Start by washing and ironing your fabric. Then, lay it flat on a cutting surface for precise cutting.
Knowing how to cut fabric starts with good pattern layout techniques. Make sure your patterns match the fabric’s grain lines for the best fit. As you place the patterns, mark all notches and lines with chalk or disappearing markers.
Start cutting with sharp scissors or a rotary cutter for clean edges. Here are some important tips for cutting:
- Make sure fabric grain lines match the pattern’s grainline to avoid shape issues.
- Mark all pleat lines and notches on the right side of the fabric for correct assembly.
- For waistbands, cut the fabric flat for pieces that need it.
- Mark notches at pocket tops and sides for exact alignment.
Handling fabric and patterns well is crucial. Cutting, pressing, and checking your work takes up 50% of sewing time. Notches should be about 1/4” [1cm] long to avoid getting in the way of sewing.
Make sure you have all the materials you need:
| Material | Quantity |
|---|---|
| Front Pants | 2 |
| Back Pants | 2 |
| Front Waistband | 1 |
| Back Waistband | 1 |
| Pocket Facings | 2 |
| Pocket Bags | 2 |
| Front Waistband Interfacing | 1 |
Don’t forget to iron the interfacing to the wrong side of the front waistband. Also, press both waistbands in half lengthwise. Following these steps ensures your pants will fit perfectly.
How to Sew Pants
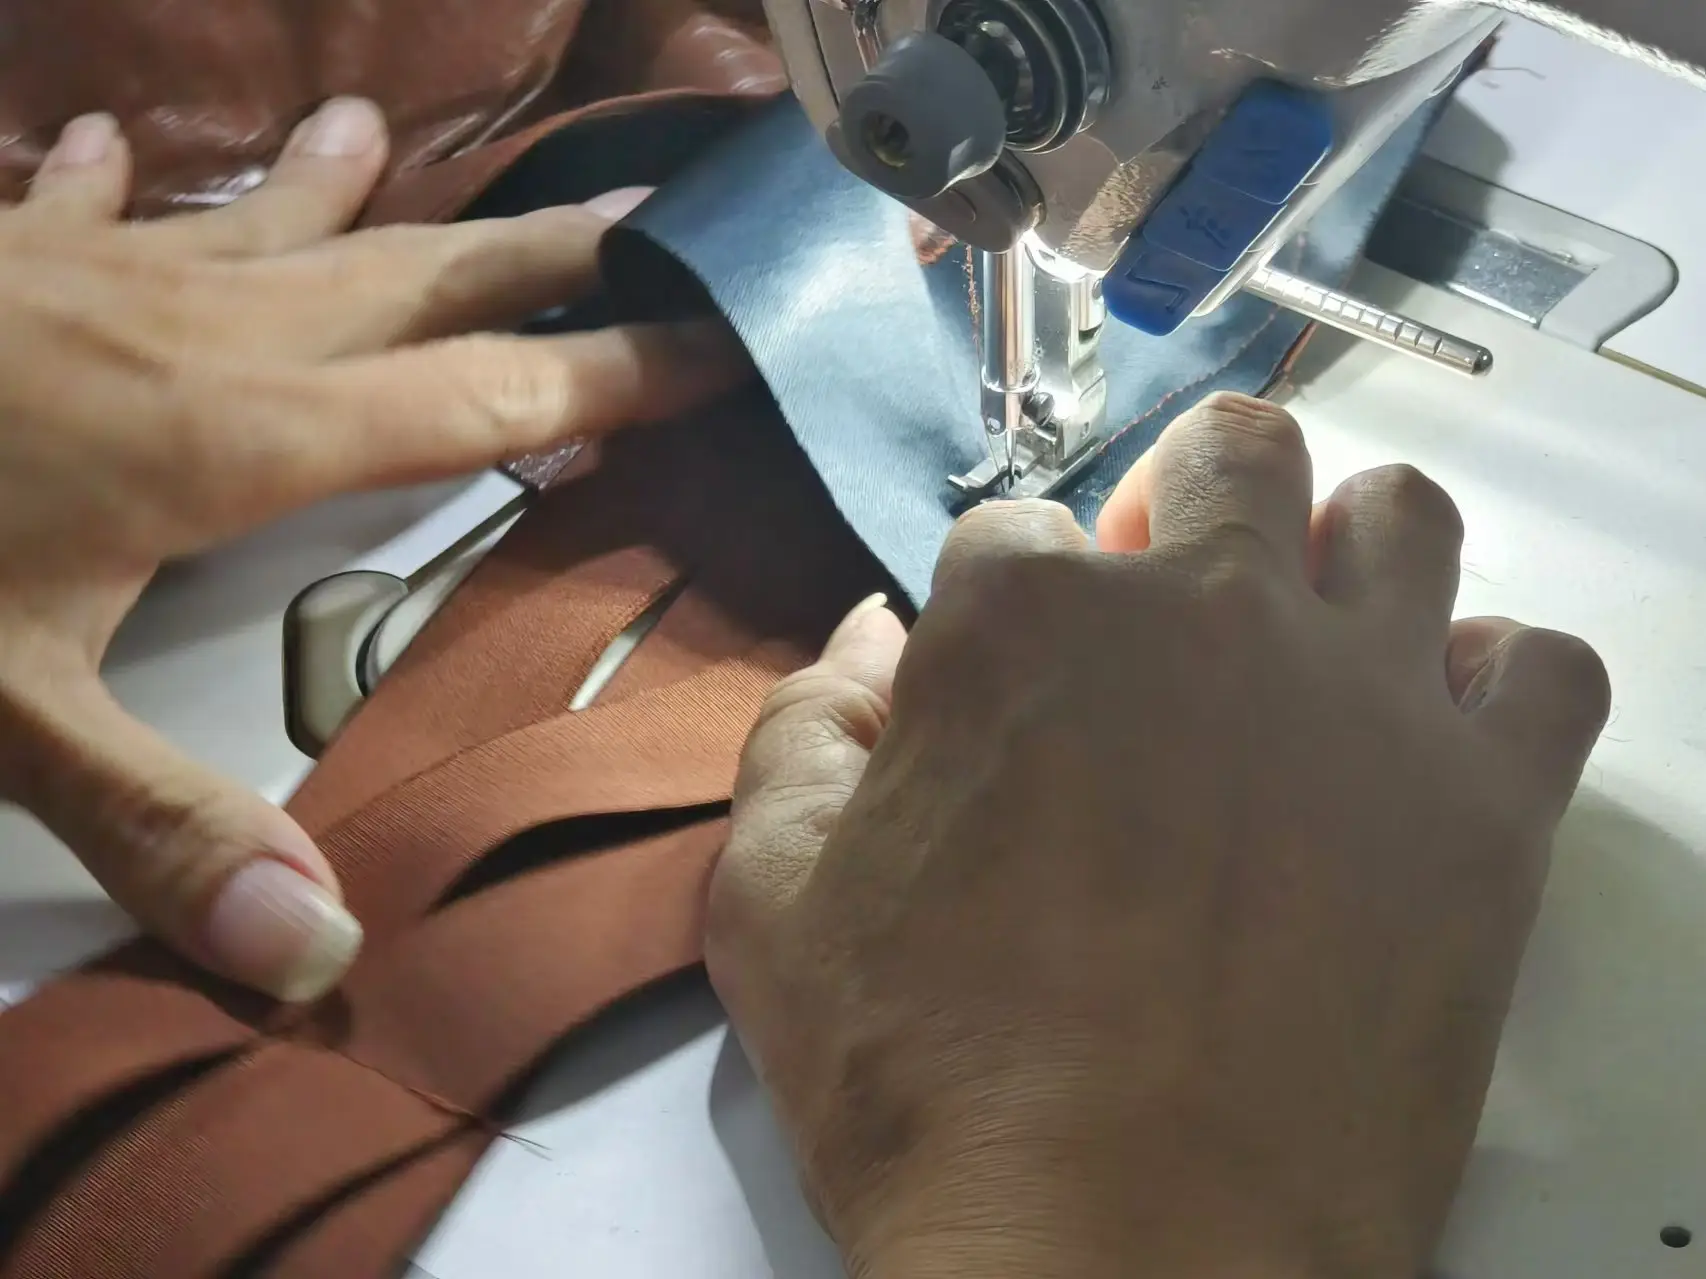
Sewing pants can seem hard, but with the right steps, you can make great clothes at home. This guide will help you match and pin fabric pieces, sew seams, and press seams for a neat finish.
Matching and Pinning Fabric Pieces
Start by matching your fabric pieces, making sure the right sides are together. It’s important to pin them well. Use straight pins to hold the fabric in place, putting them across the edges you’ll sew.
This helps keep the fabric steady while you sew. Remember to pin corners and the seam’s center to keep things straight.
Sewing the Outer and Inner Seams
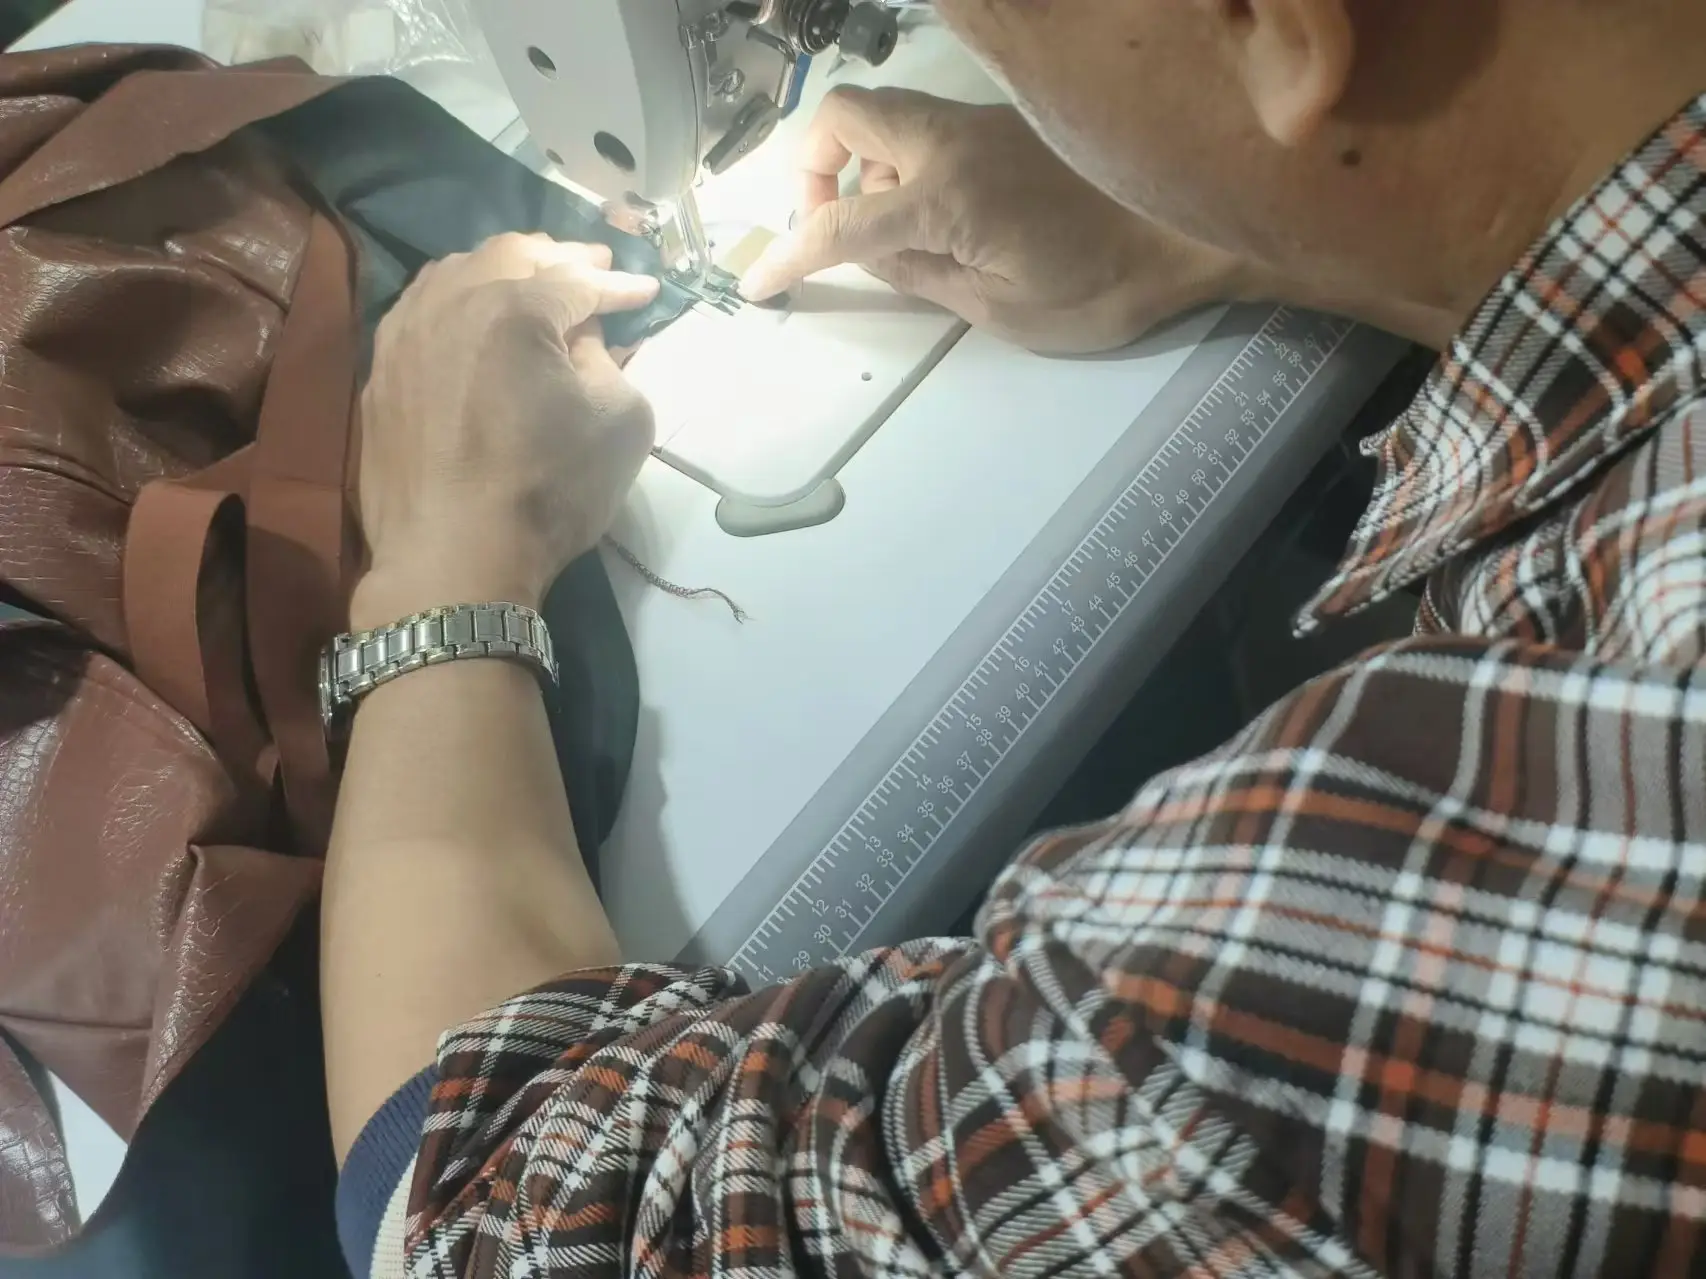
First, sew the outer seams of the pants. Use a straight stitch and keep a 1/2″ seam allowance, as most patterns suggest. If your pattern has a crotch seam, sew that next.
Make sure it’s well-stitched to last. For extra strength, you can add a second line of stitching or a zigzag pattern to the crotch seam.
Pressing Seams for a Professional Finish
After sewing, pressing the seams is key. Use an iron to press the seam allowances open or to one side, as your pattern says. This step makes your stitches look good and makes the pants flat.
By following these steps and pinning well, your pants will look professional. Using these techniques will make your sewing project look great.
Adding the Waistband and Elastic
Sewing elastic waistbands is easy and great for beginners. It makes pants comfy and adjustable. We’ll cover making a waistband casing and different ways to insert elastic.
Creating a Waistband Casing
To make a waistband casing, follow these steps:
- Fold the fabric at the pant’s waist. Fold it over by 1 to 2 inches, depending on the elastic width.
- Stitch along the edge of the folded fabric. Leave a small opening (about 2 inches) for the elastic.
- Reinforce the stitching for durability, in high-stress areas.
Inserting Elastic
Here’s a basic way to insert elastic:
- Measure the elastic for a comfy fit. Add an extra inch for overlap.
- Attach a safety pin to one end of the elastic. Use it to thread the elastic through the casing.
- Ensure the elastic is evenly distributed in the casing. Then sew the ends together.
- Close the opening in the waistband casing with a final stitch.
It’s important to know the differences in elastic types. Here’s a quick comparison:
| Elastic Type | Properties | Best Uses |
|---|---|---|
| Braided Elastic | Frays when cut, less durable | Lightweight garments, accessories |
| Knitted Elastic | Soft, maintains width when stretched | Waistbands, knit fabrics |
| Woven Elastic | Firm, durable, retains shape | Heavy-weight fabrics, garments |
With these tips, sewing elastic waistbands is easy and rewarding. It ensures a perfect fit for DIY pants.
Hemming the Pants
Getting the hem right is key for a neat look. Here’s a simple guide on how to hem pants for great results.
Determining the Correct Length
First, figure out the pant length with shoes on. This prevents them from dragging on the floor. For dress pants or khakis, a 1-inch hem is best. Jeans usually need a 1/2-inch hem.
Experts say pants should end about 1/2 inch above the floor with shoes. Use a fabric pen or pins to mark the length before you start.
Folding and Stitching the Hem
After marking the length, fold the fabric at the bottom to the hem line. Iron the fold to keep it sharp. For a clean finish, cut off any extra fabric, leaving 1 1/2 inches from the fold.
When sewing, polyester thread is best. It’s durable and stretches a bit, fitting most pants well.
- Wear the pants with shoes and mark the desired length.
- Measure and cut excess fabric, leaving 1 1/2 inches from the fold.
- Fold the edge of the pants to the desired hem length and iron to secure.
- Use fusible tape if needed, with 33.3% of sources recommending it for a sturdier hem.
- Sew the hem approximately 1/2 inch from the edge.
Learning to hem pants can save you money on tailoring. It also makes your clothes look custom-made. With practice, finding the right length and sewing hems becomes easy and rewarding.
Common Troubleshooting Tips
Sewing pants can be fun and rewarding, but it comes with challenges. Many sewers face common issues that need fixing to get the perfect fit and look. Knowing how to solve these problems can greatly improve your sewing skills. This section will cover common fit and seam issues.
Adjusting Fit Issues
Getting the perfect fit is a common challenge. Every body is different, so even the best patterns might need tweaks. Start by making a muslin or toile to find fit problems before cutting your main fabric.
A good pair of pants should lay flat in the front and fit well around the hips and legs. If you see smile lines, it means the pants are too tight in the front. Back issues like wedgies can be fixed by adjusting the back rise or crotch point.
Begin with small changes on your first muslin, then make more on the second. Use enough muslin to make at least three pairs to get it right. Try different adjustments and use one fitting guide to make it easier.
Fixing Seam Problems
Seam issues are another common problem. Seams that pull apart or are crooked can ruin your pants’ look. Make sure your sewing machine is set up right to avoid wavy or skipped stitches.
Strengthen seams that get a lot of use, like the inner thigh. If you need to fix a seam, carefully remove the old stitches to avoid damaging the fabric. Keeping a consistent seam allowance is key for a professional look. Use a seam guide and press your seams flat to help the fabric lie right.
FAQ
What should beginners look for when choosing pants patterns?
Beginners should look for “pull-on pants” patterns. These are simple and don’t need zippers or buttons. They’re great for those new to sewing.
How do I understand pattern sizing?
Pattern sizes vary by brand. They’re based on waist and hip measurements. Always check the measurement chart with the pattern to pick the right size.
What fabric types are recommended for sewing pants?
Look for fabrics with a bit of stretch, like those with 1-2% spandex. Cotton, polyester, or blends like silk-cashmere are good. They’re easy to work with and comfy.
How much fabric do I need for making pants?
You’ll need 2.5 to 3 yards of fabric for a standard pair of pants. Don’t forget to buy matching thread and any elastic you need.
What are the essential tools needed for sewing pants?
You’ll need a good sewing machine, threads, scissors, pins, and a ruler. Knowing your sewing machine well is key for a great project.
Why is prewashing fabric important?
Prewashing stops fabric shrinkage and removes dirt. It keeps your garment fitting right after washing.
How do I cut pattern pieces accurately?
Wash and iron the fabric first. Then, lay it flat and pin the patterns on, following the grain lines. Use sharp scissors or a rotary cutter for clean cuts. Don’t forget the notches.
How do I match and pin fabric pieces before sewing?
Place the fabric pieces right sides together. Make sure the edges match up well. Pin them to keep them in place before sewing.
How do I sew the seams of the pants?
Start by sewing the outer and inner seams with a straight stitch. Then, sew the crotch seams. Press each seam with an iron for a neat finish.
What steps are involved in adding a waistband and elastic?
Fold the fabric at the waist to make a casing. Stitch the casing, leaving a gap for the elastic. Thread the elastic through with a safety pin. Sew the elastic ends together and close the casing gap.
How do I determine the correct length for hemming pants?
Try on the pants to find the length you like. Mark it with pins or a pen. Fold the fabric at the bottom, iron it, and then sew the hem for a neat look.
What are common troubleshooting tips for sewing pants?
If the fit is off, you might need to adjust the seams. For seam problems, reinforce or re-sew them. Fixing these issues can make your pants look and fit better.